
Placeholder
Instructions
Log into your NYSERDA Portal account.
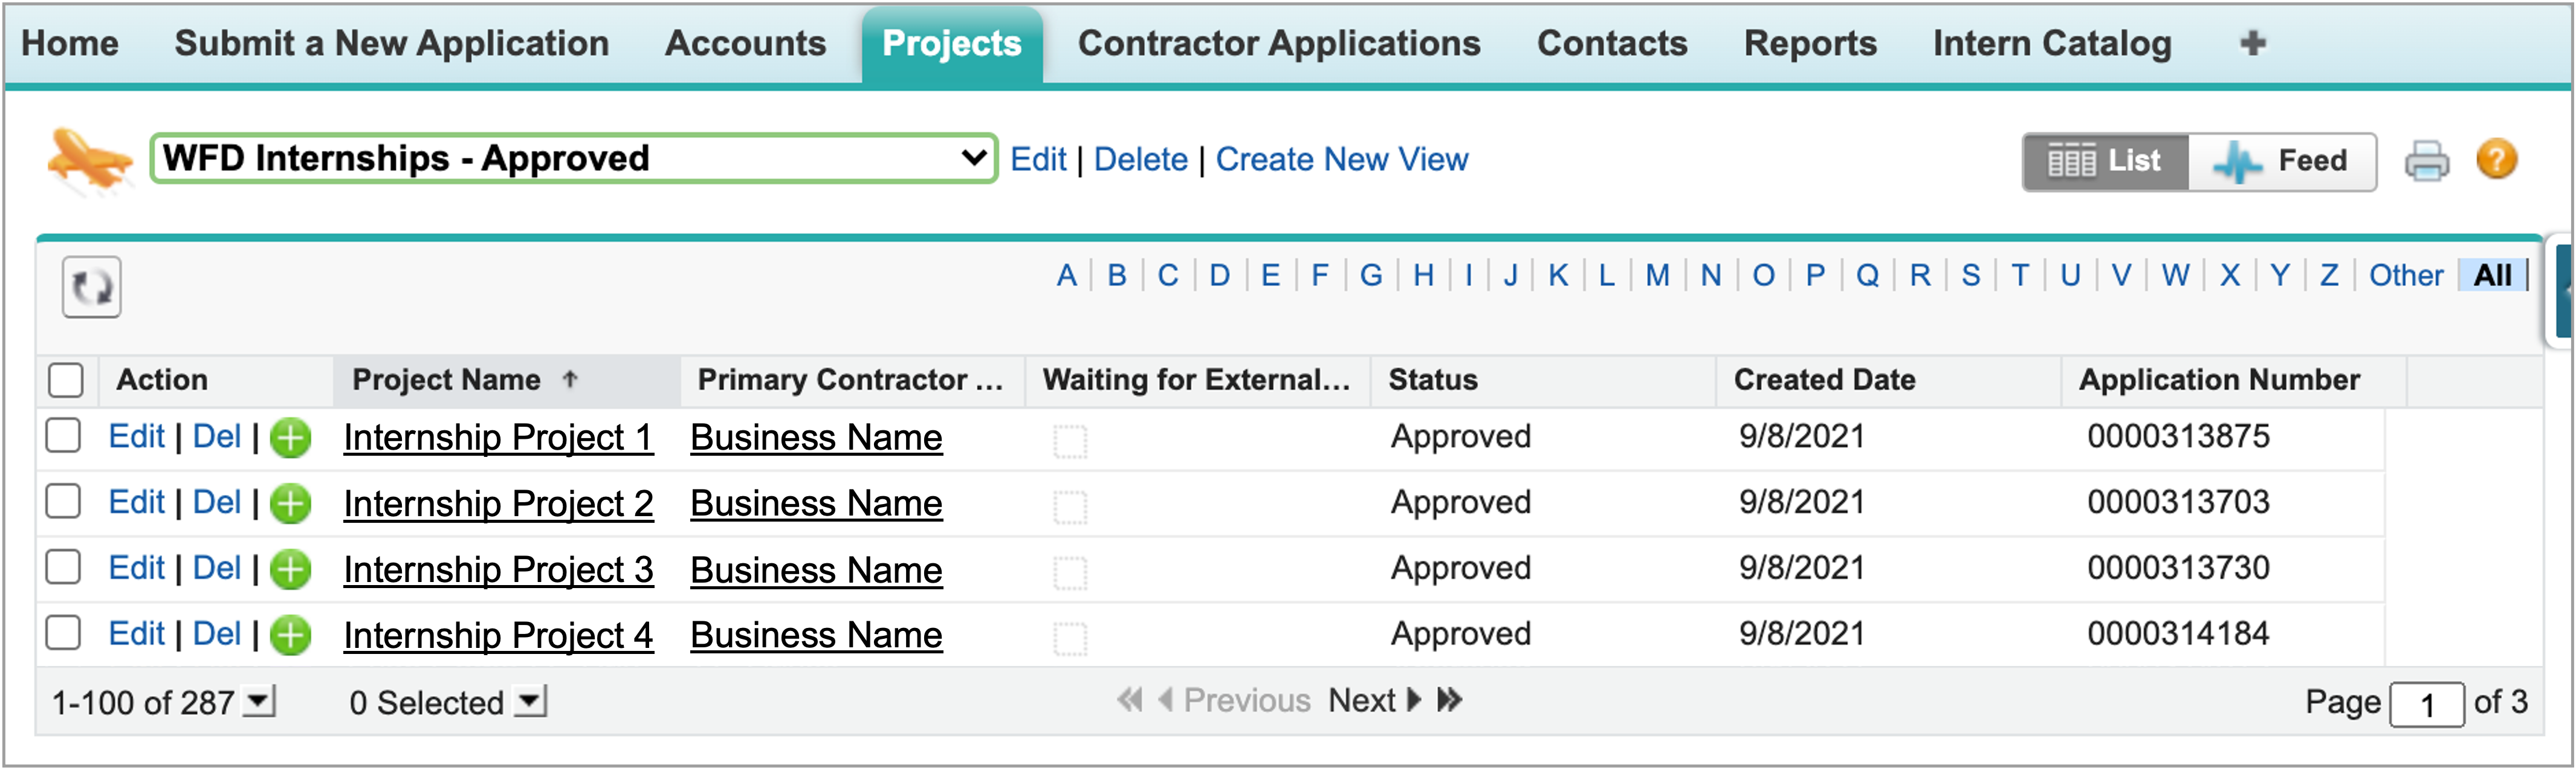
Access the Projects tab and select WFD Internships - Approved from the drop-down. The list will filter to display only Approved Internship project records.
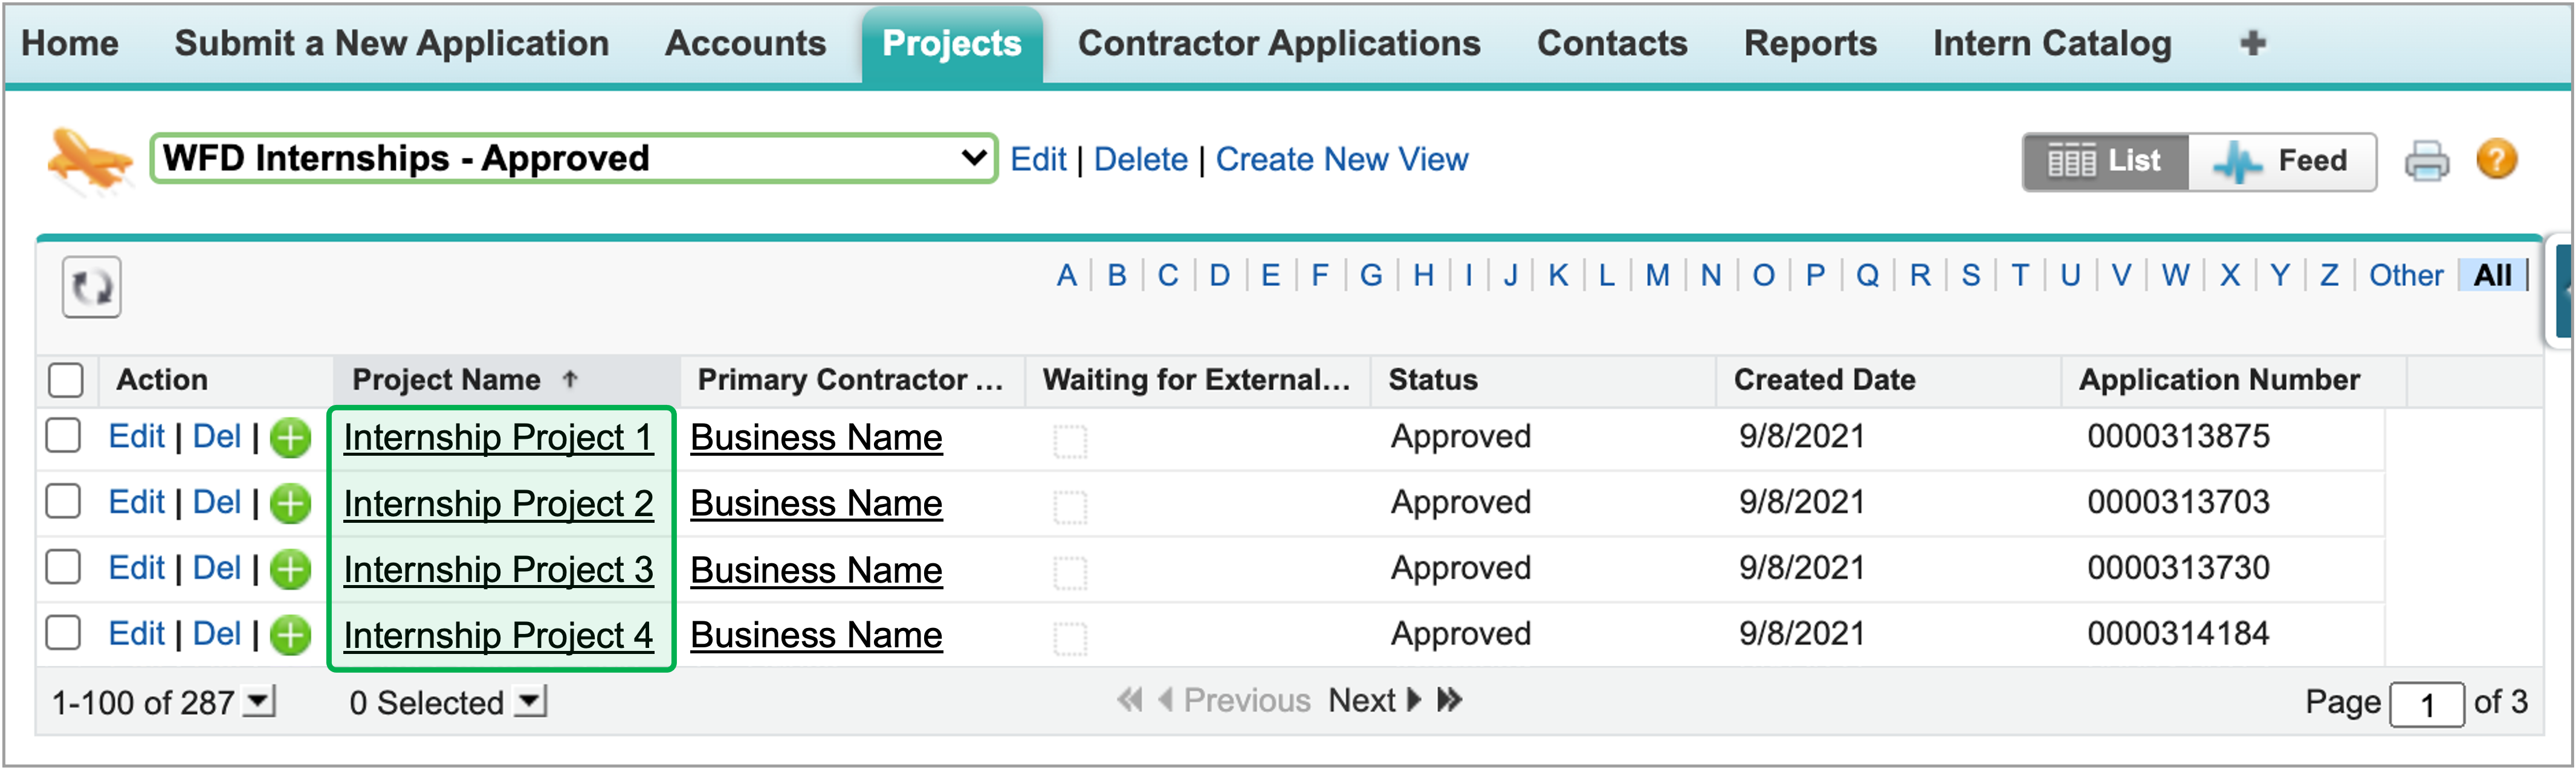
Locate the correct Project Record and access by clicking the name in the Project Name column.
Once in the Project Record, move your cursor over the Project Invoices option at the top of the page until the hover over window appears. Without moving your cursor outside this window, click on New Project Invoice. This will open a new window with the Invoice details.

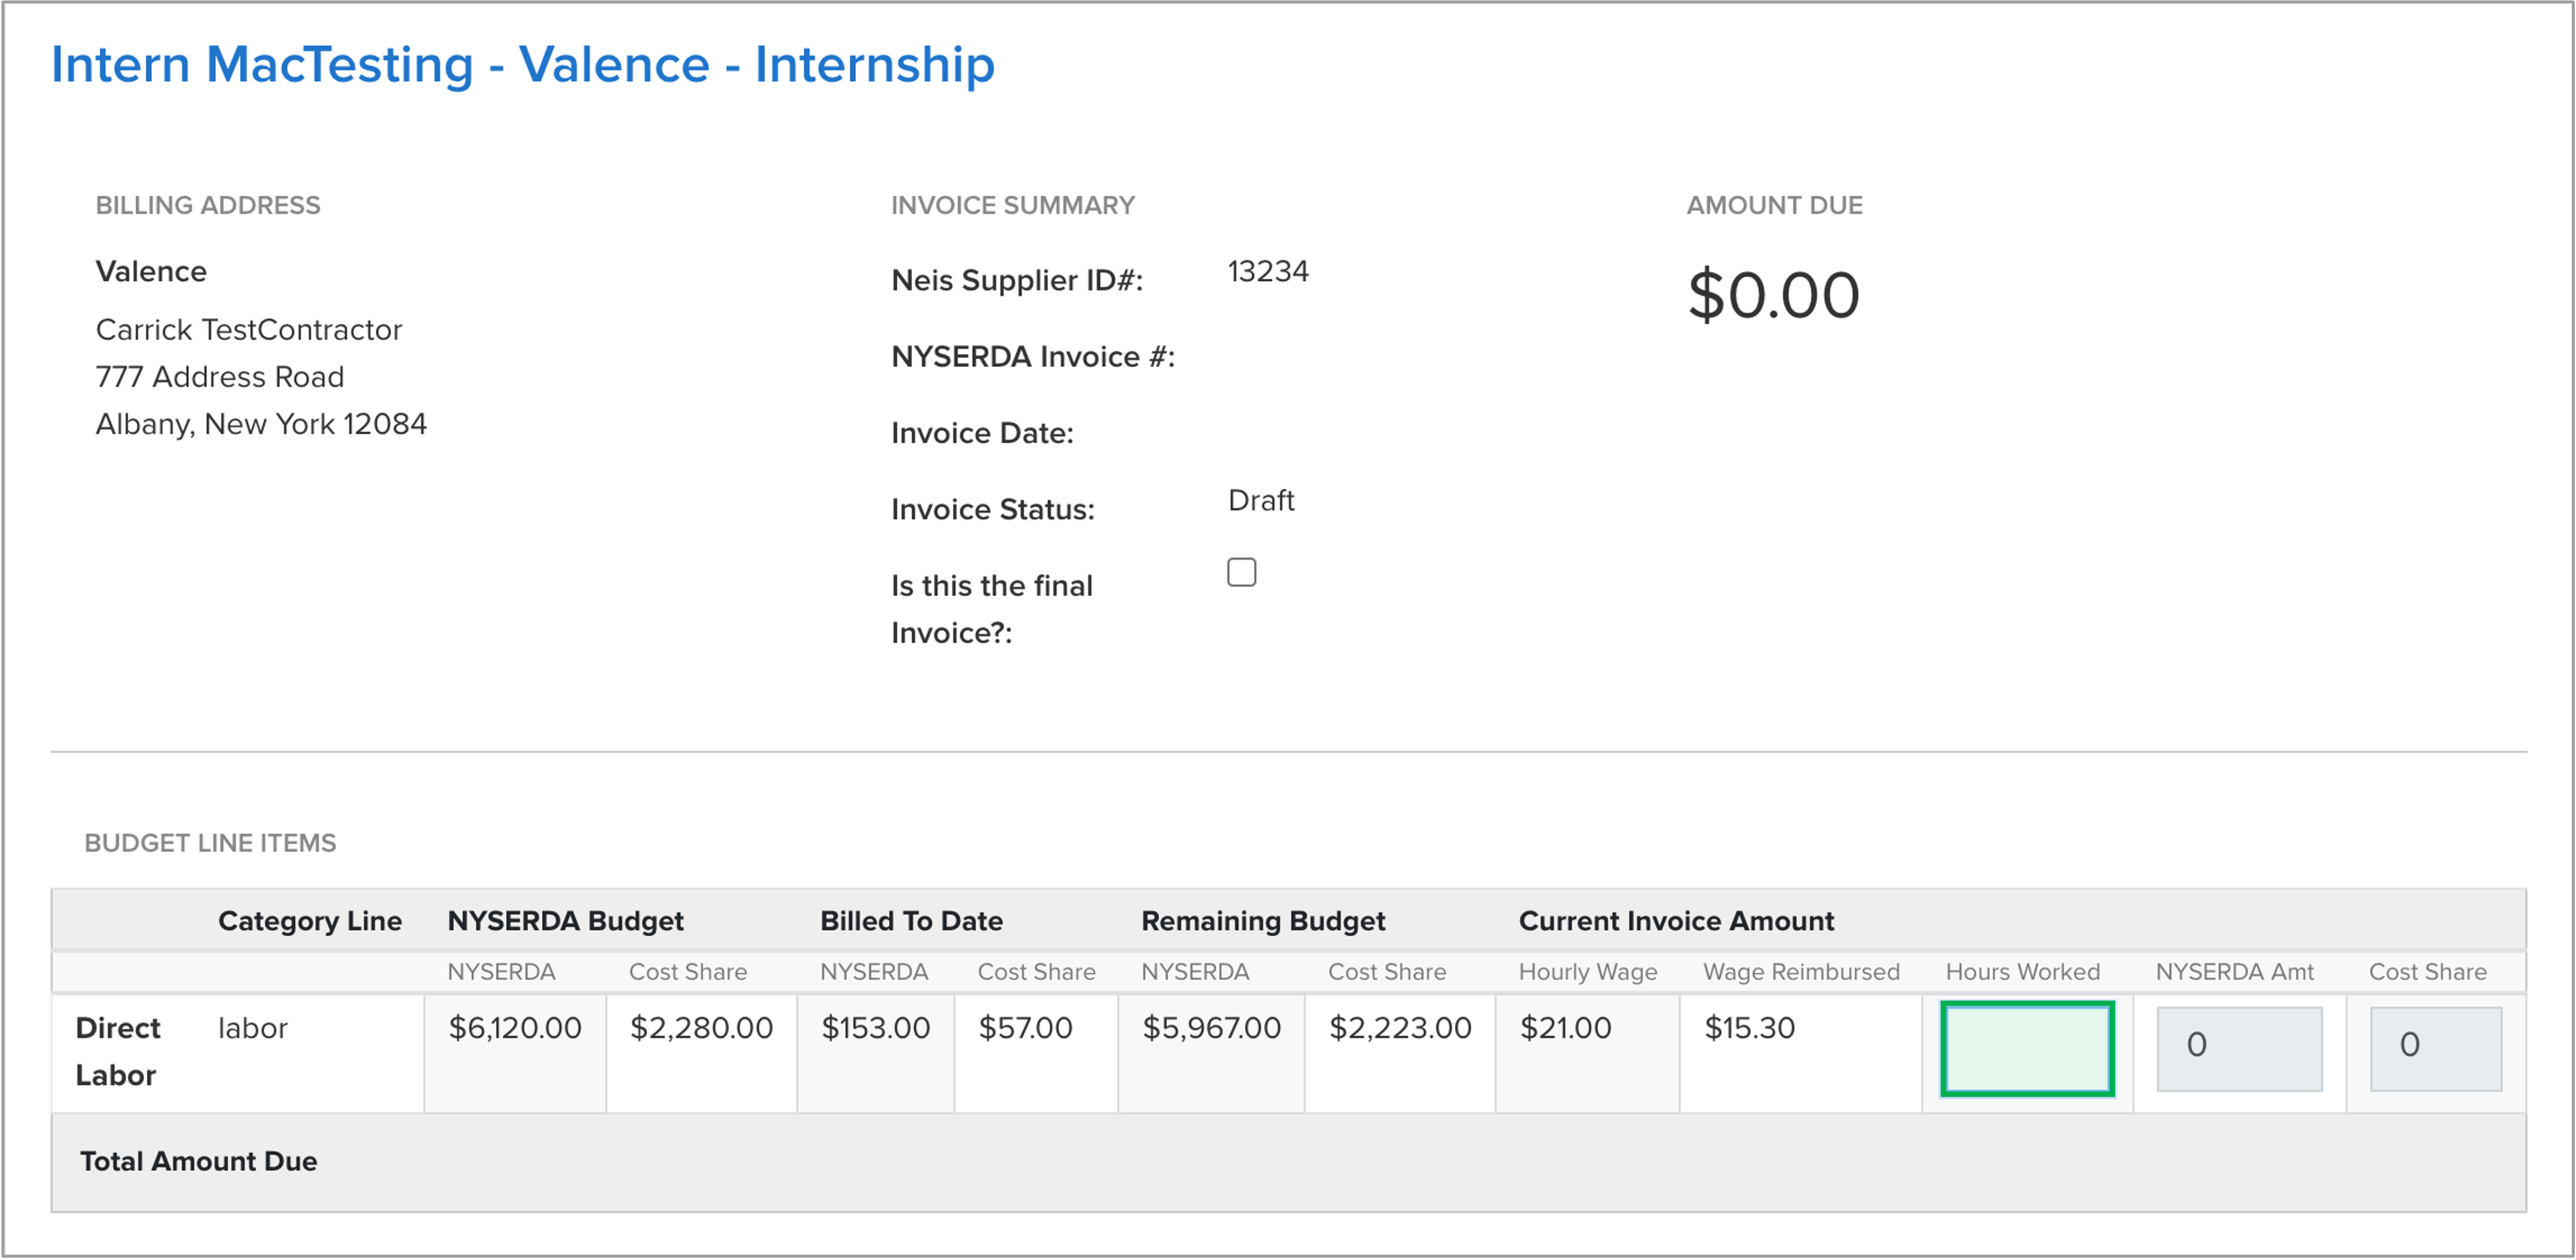
Review the information at the top of the invoice for accuracy. Then, input the total hours worked by the Intern since the last Invoice. The invoice totals will auto-update based on your input.
The Is this the final Invoice field should only be checked if this invoice represents the last in the project.
Next, enter in a Customer Invoice # (is there any guidance on this? Can business use a number that would suit their internal processes better, or are the specific rules they need to follow?) and indicate the date range for the hours worked in the Invoice Notes field.

Before you can attach supporting documentation, click Save. The Invoice page will refresh with the payment amount that will be provided by NYSERDA.
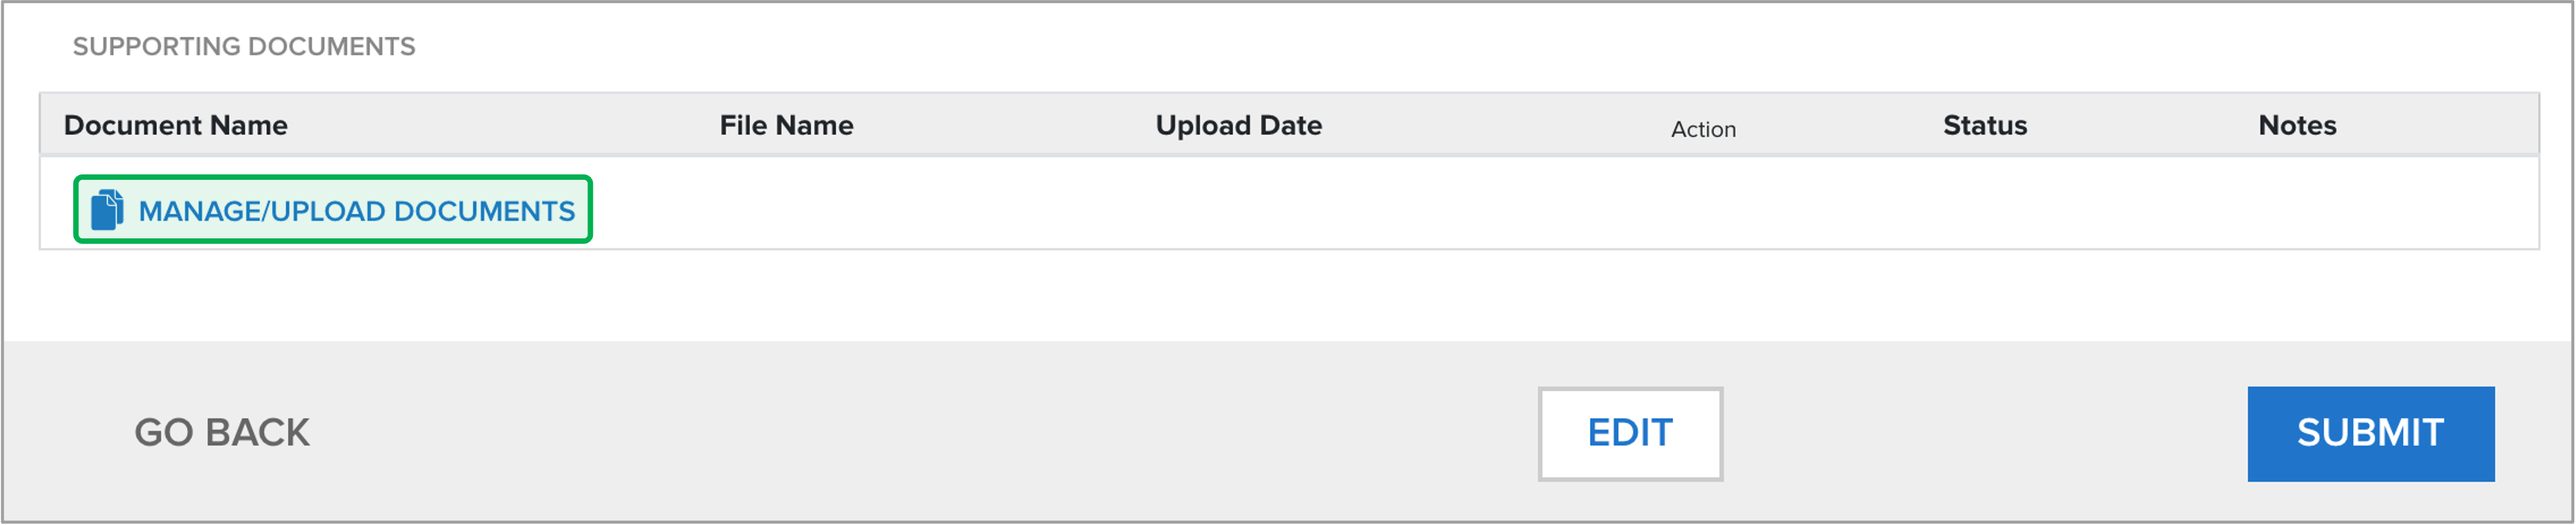
Click Manage/Upload Documents to attach any supporting documentation. This will open the Invoice Supporting Documents page.
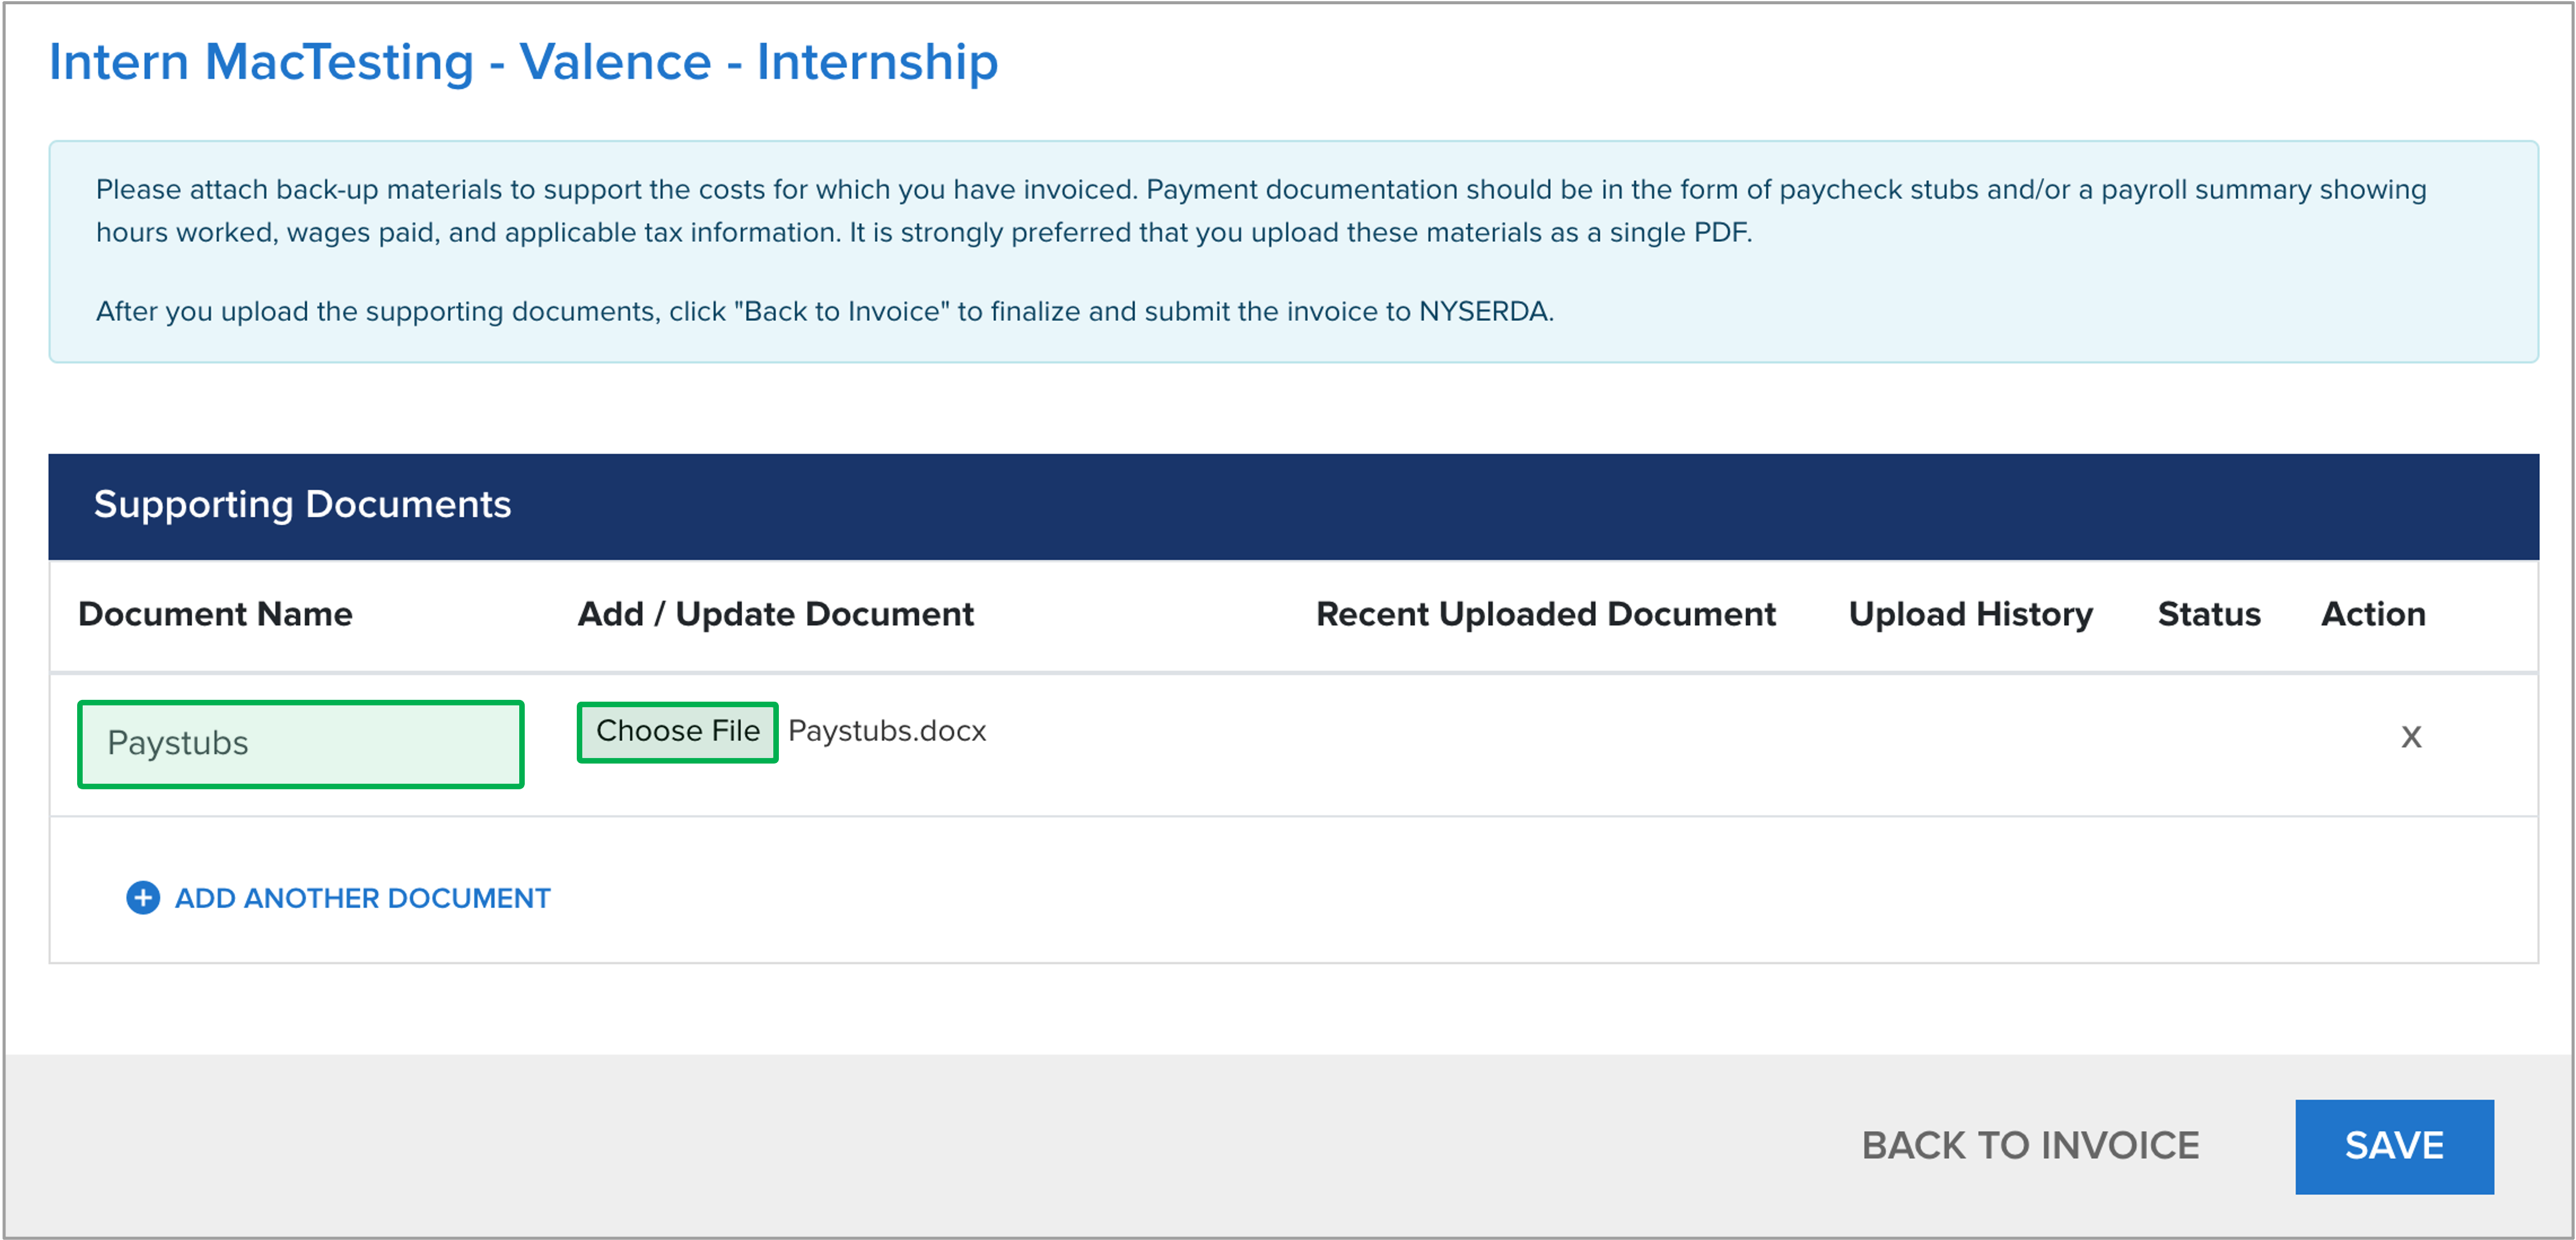
On the Invoice Supporting Documentation page, enter in a name for the supporting document in the Document Name field, then click the Choose File button to locate and upload the document from your computer. Click Save to add the document to the Invoice Record.
If you do not click Save after uploading a document, it will not be saved to the Invoice Record.
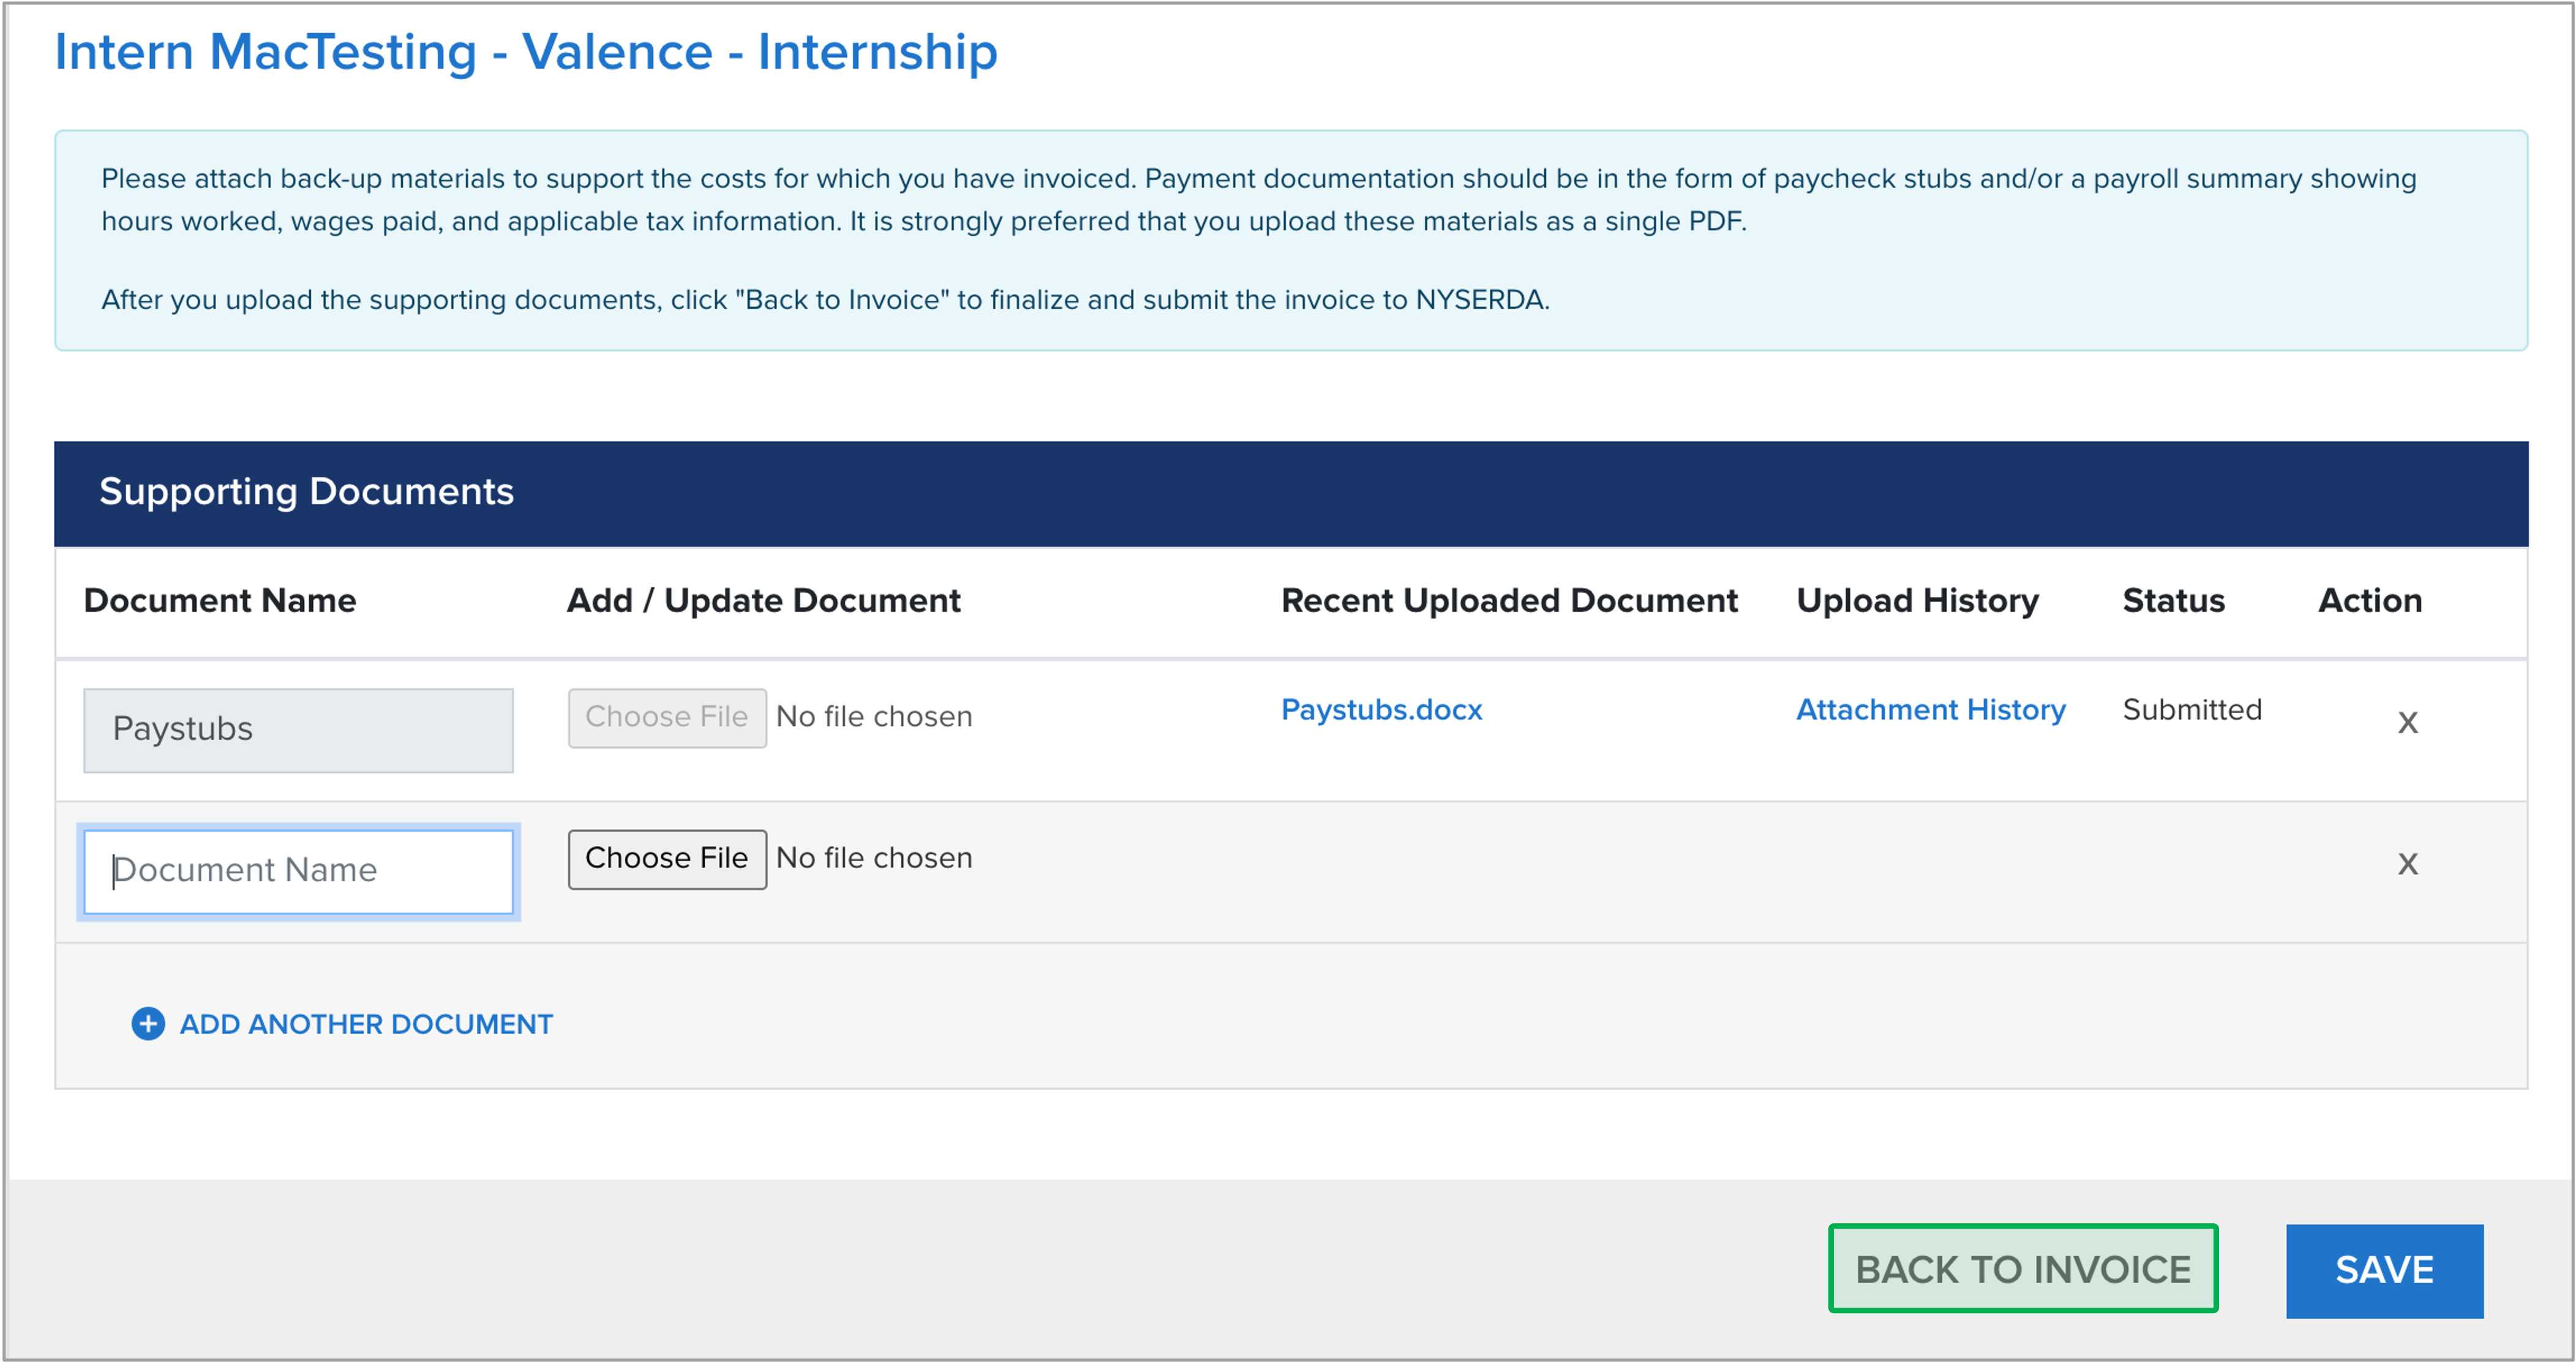
Add additional documents by clicking the Add Another Document option and following Step 9 above until all supporting documents have been uploaded to the Invoice Record.
When all supporting documentation has been uploaded, click Save to ensure all your documents have been uploaded and attached to the Invoice Record. Then click Back to Invoice.
If any details on the Invoice need to be updated, click Edit, make any required changes and click Save again.

Click Submit to submit the invoice to NYSERDA's Program and Finance team for review, approval and payment.
If there are any issues during the review and approval process, NYSERDA Program staff will contact the primary Contact to resolve the issue(s).