You are viewing an old version of this page. View the current version.

Compare with Current View Page History

Version 1 Next »


Business Submitting Application

This step will link to/refer to the materials we will create for the Public Knowledge Base.

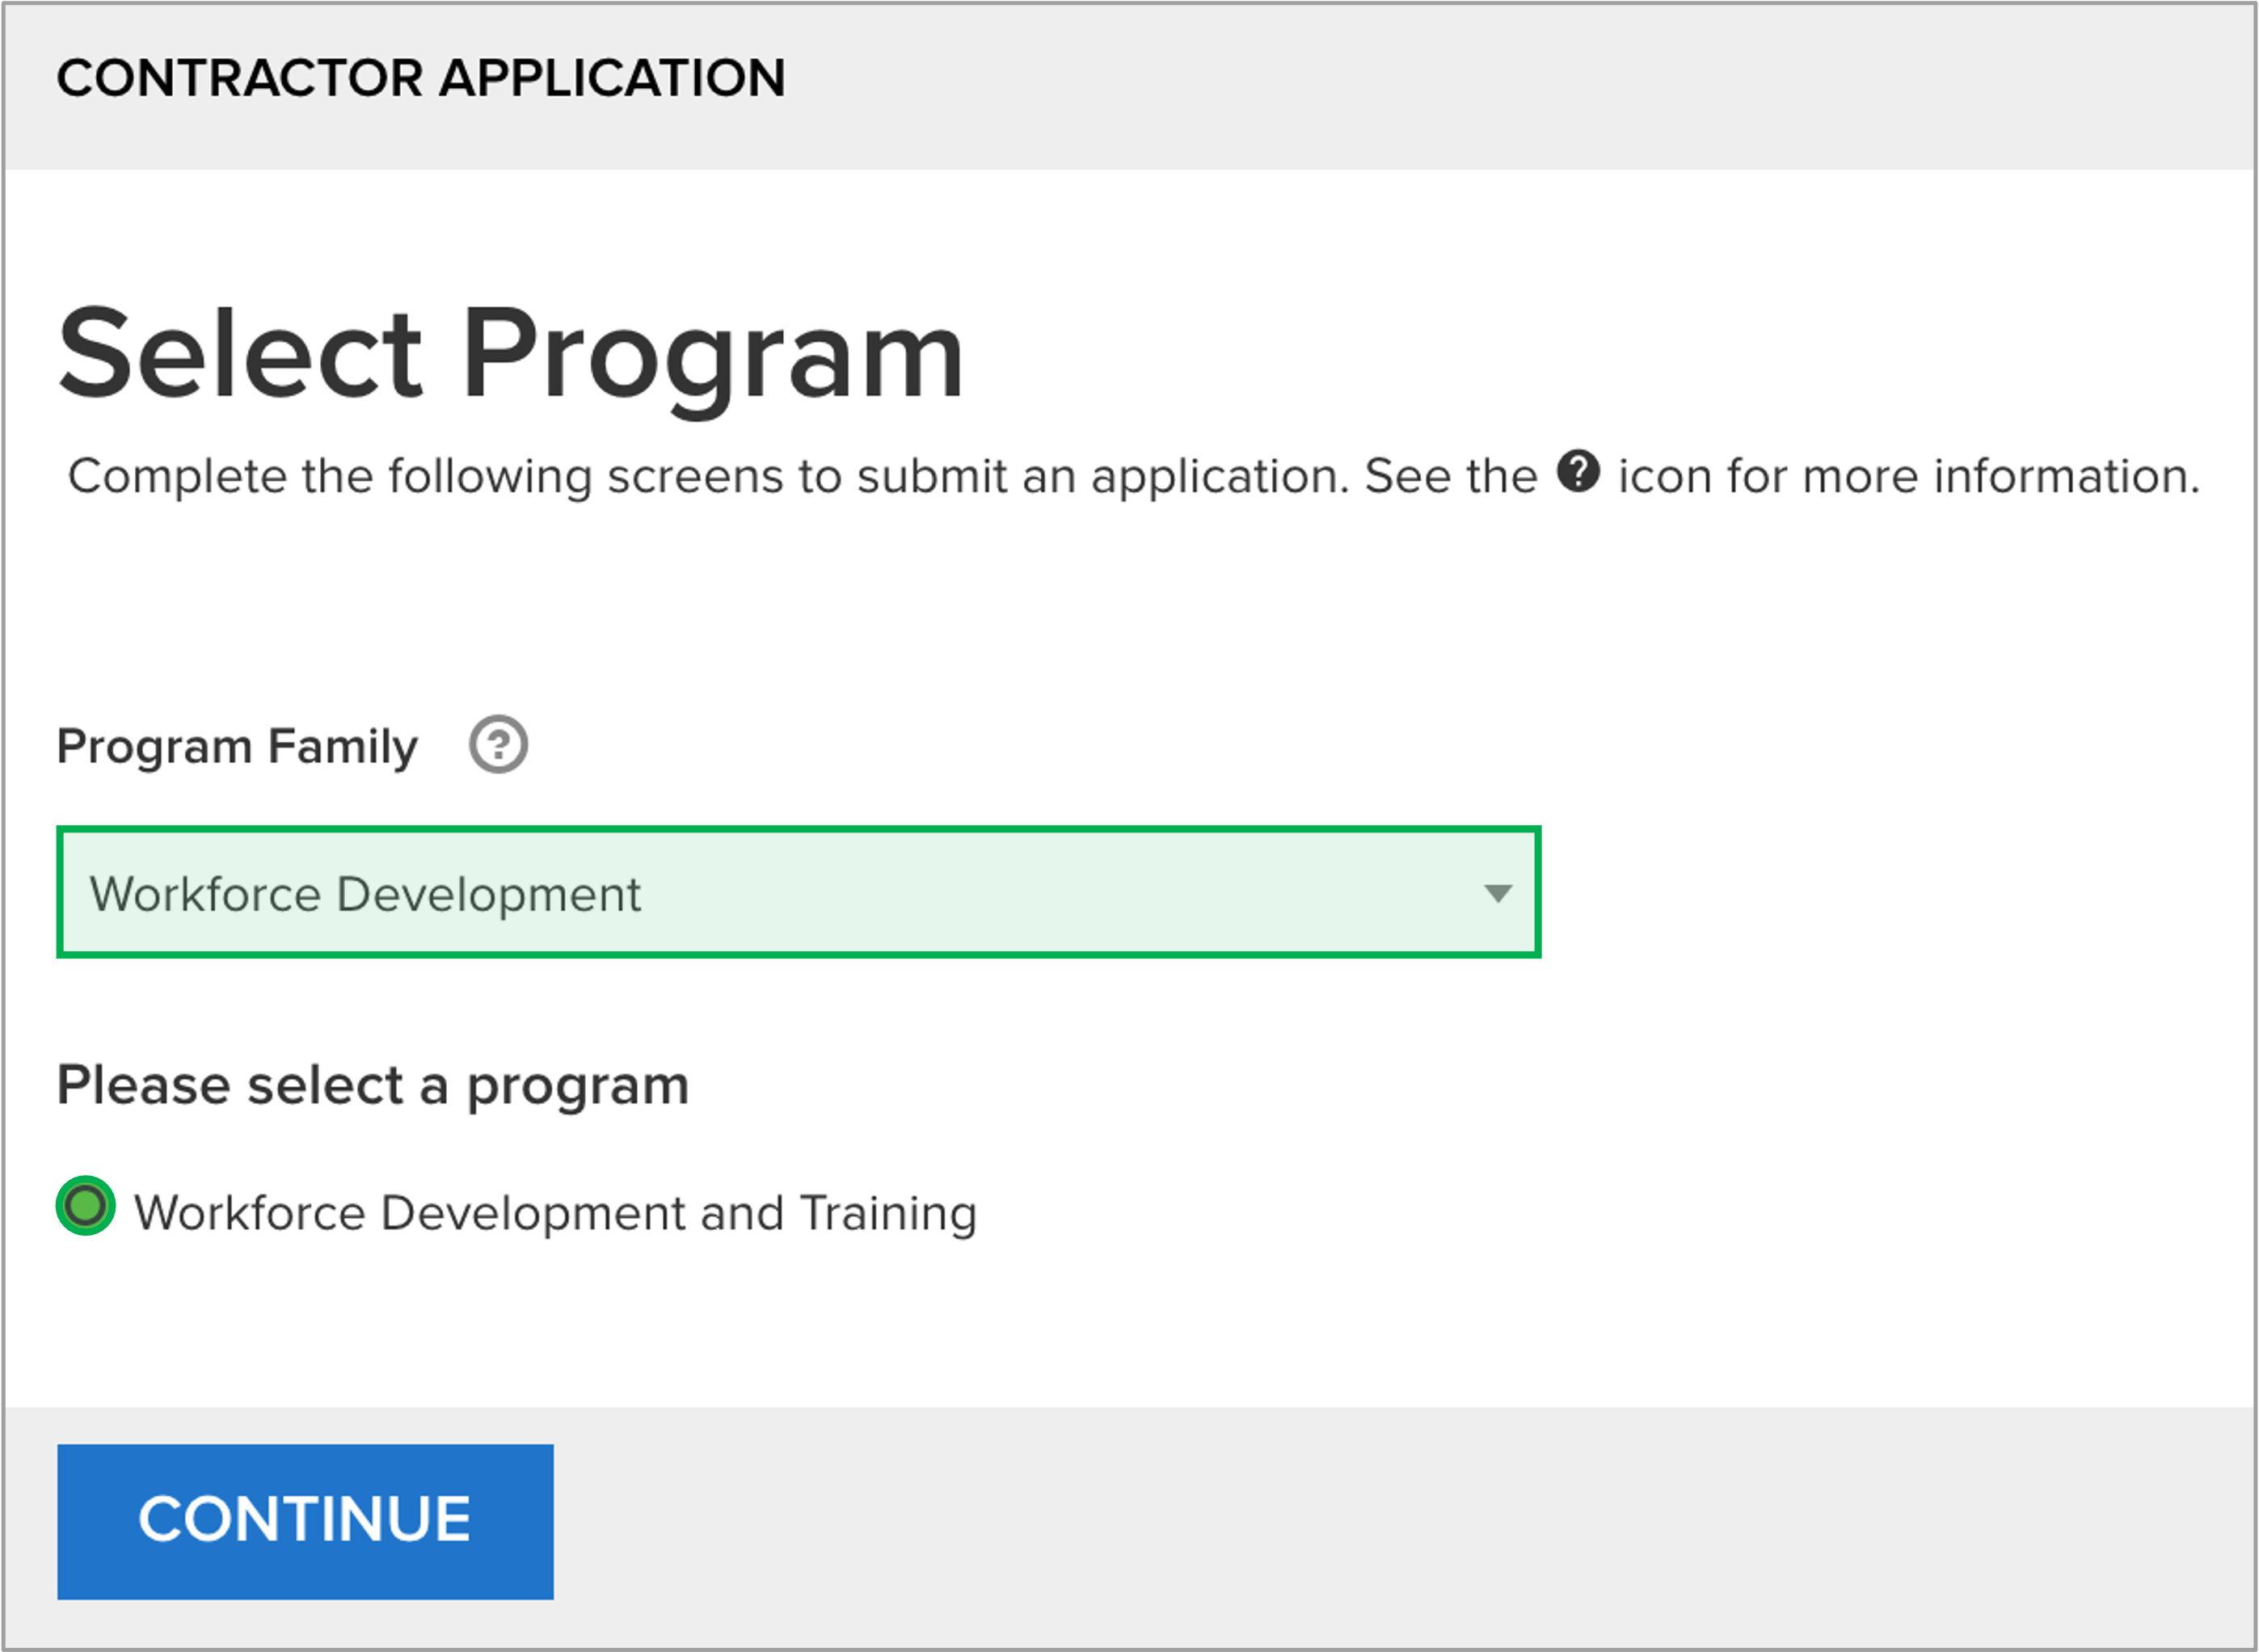
Once the application is accessed, ensure Workforce Development is selected for the Program Family drop-down and click the Workforce Development and Training radio button. Then click Continue.

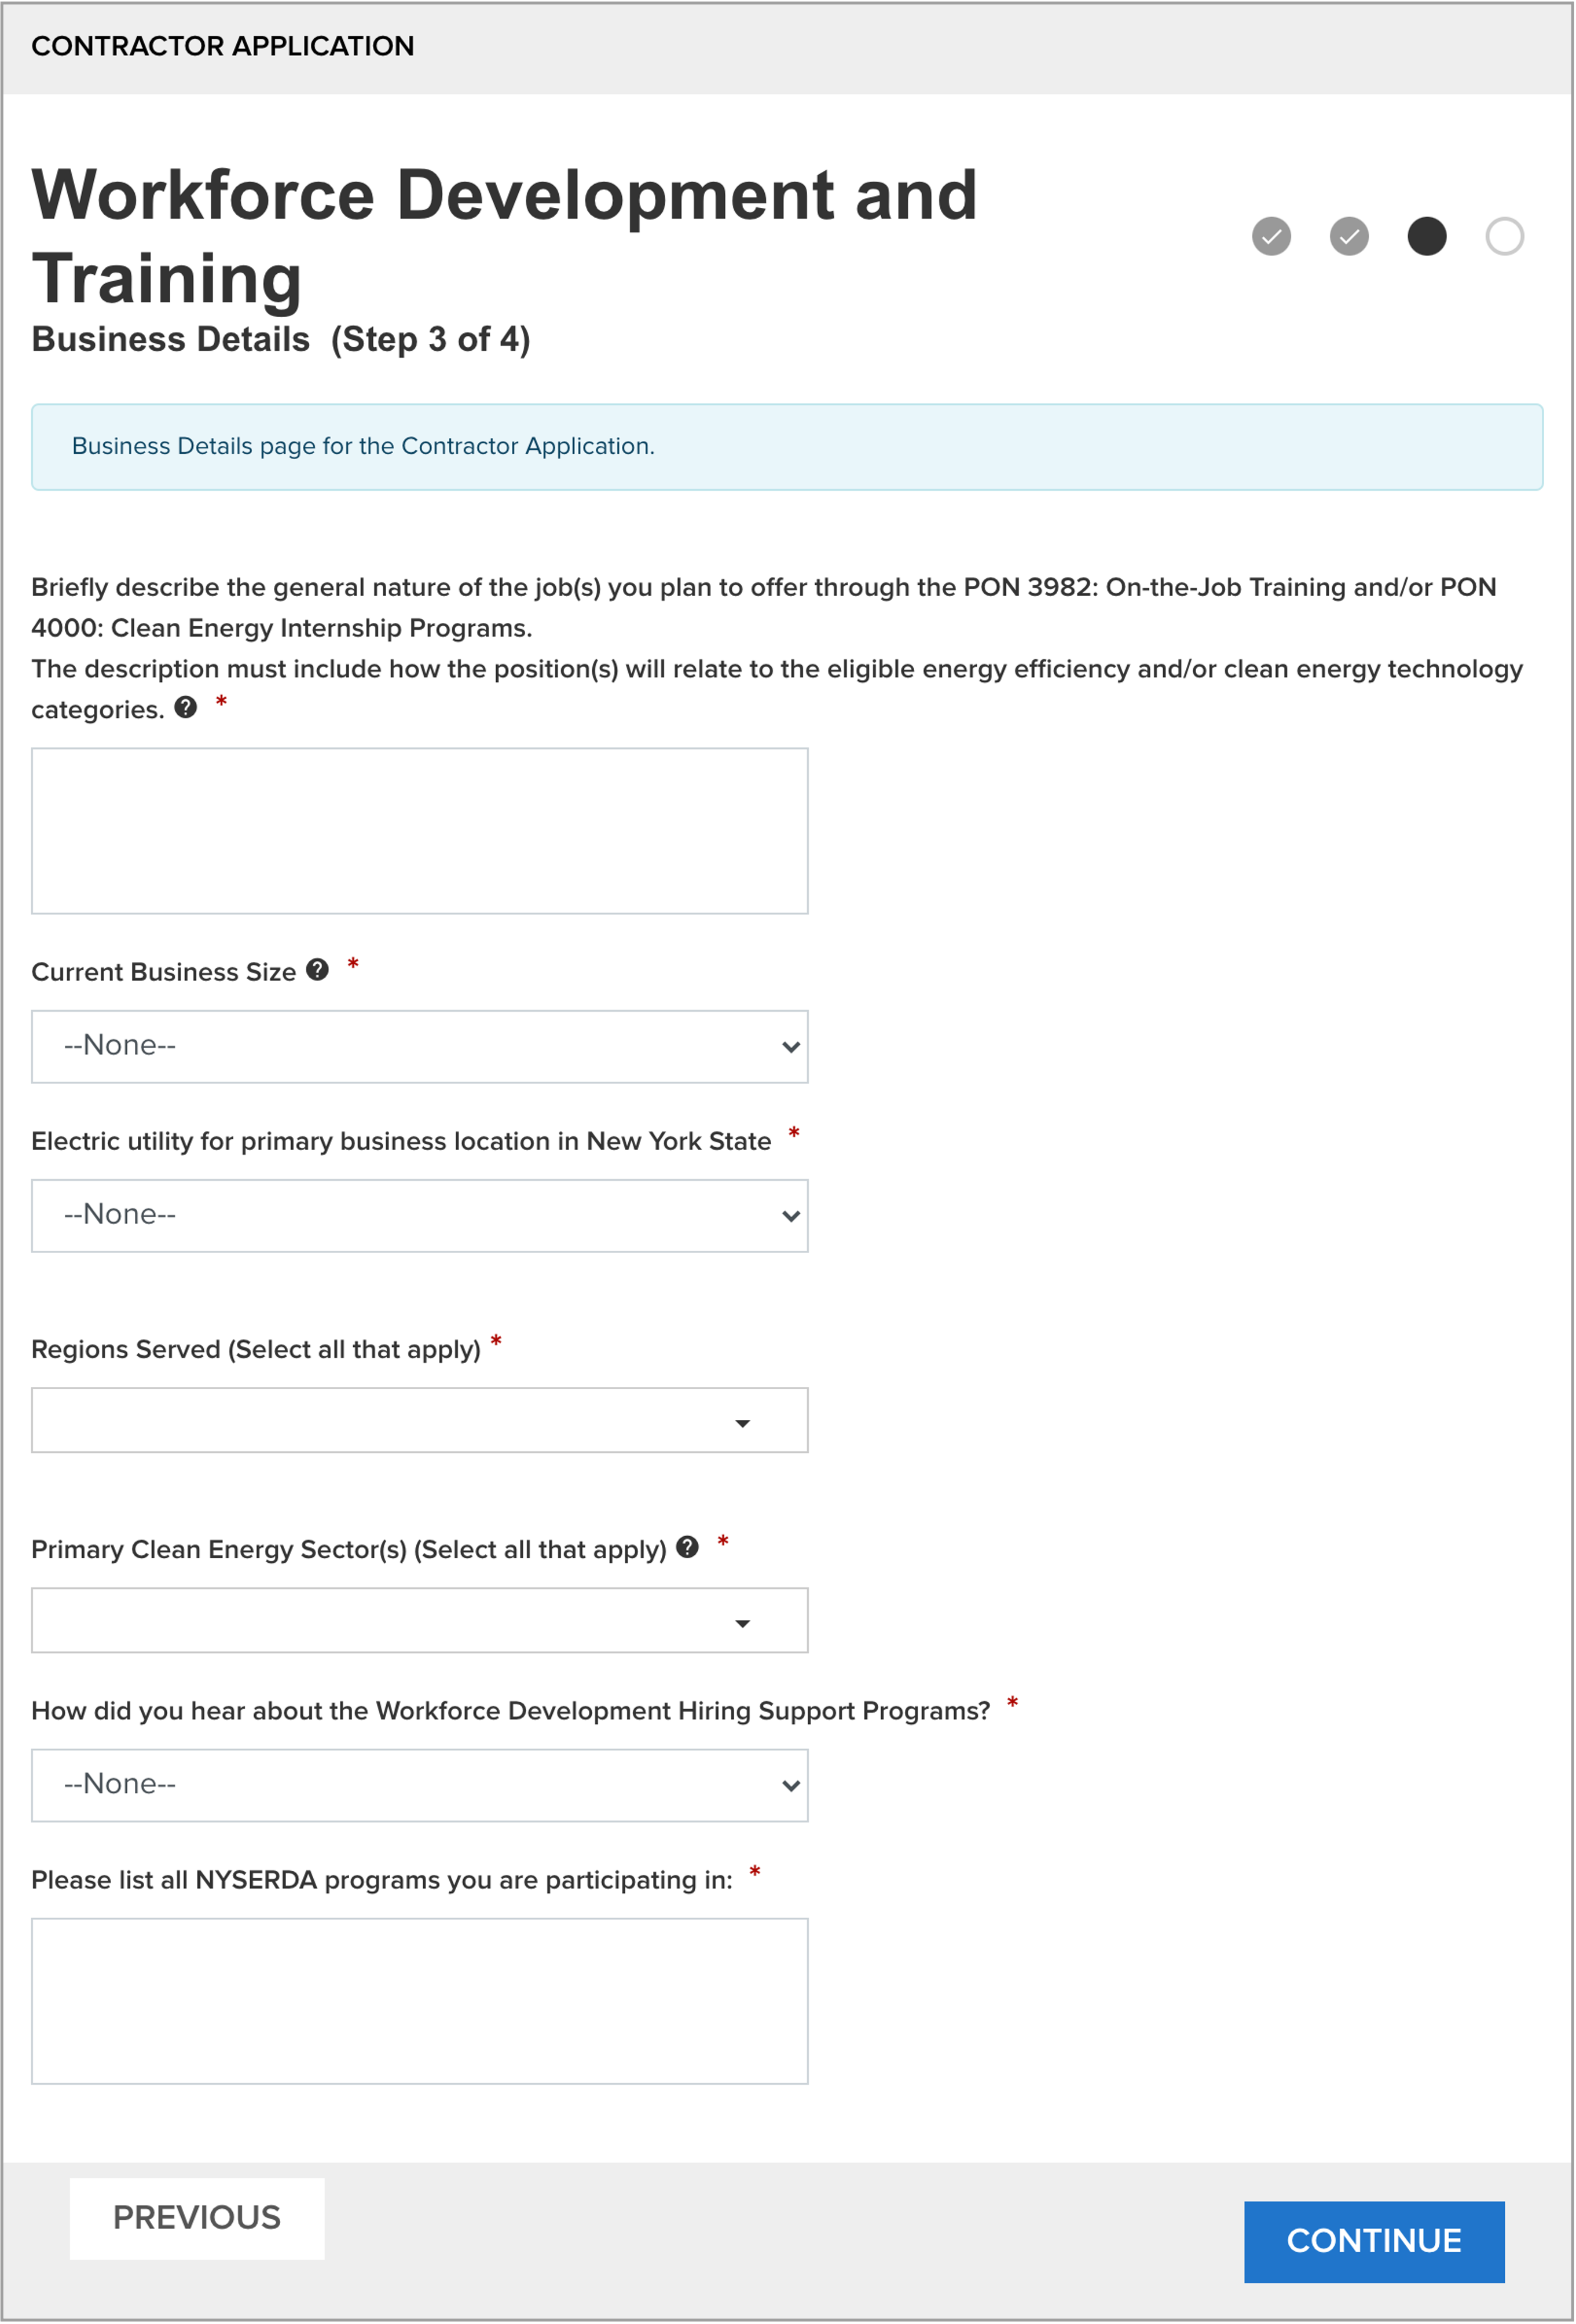
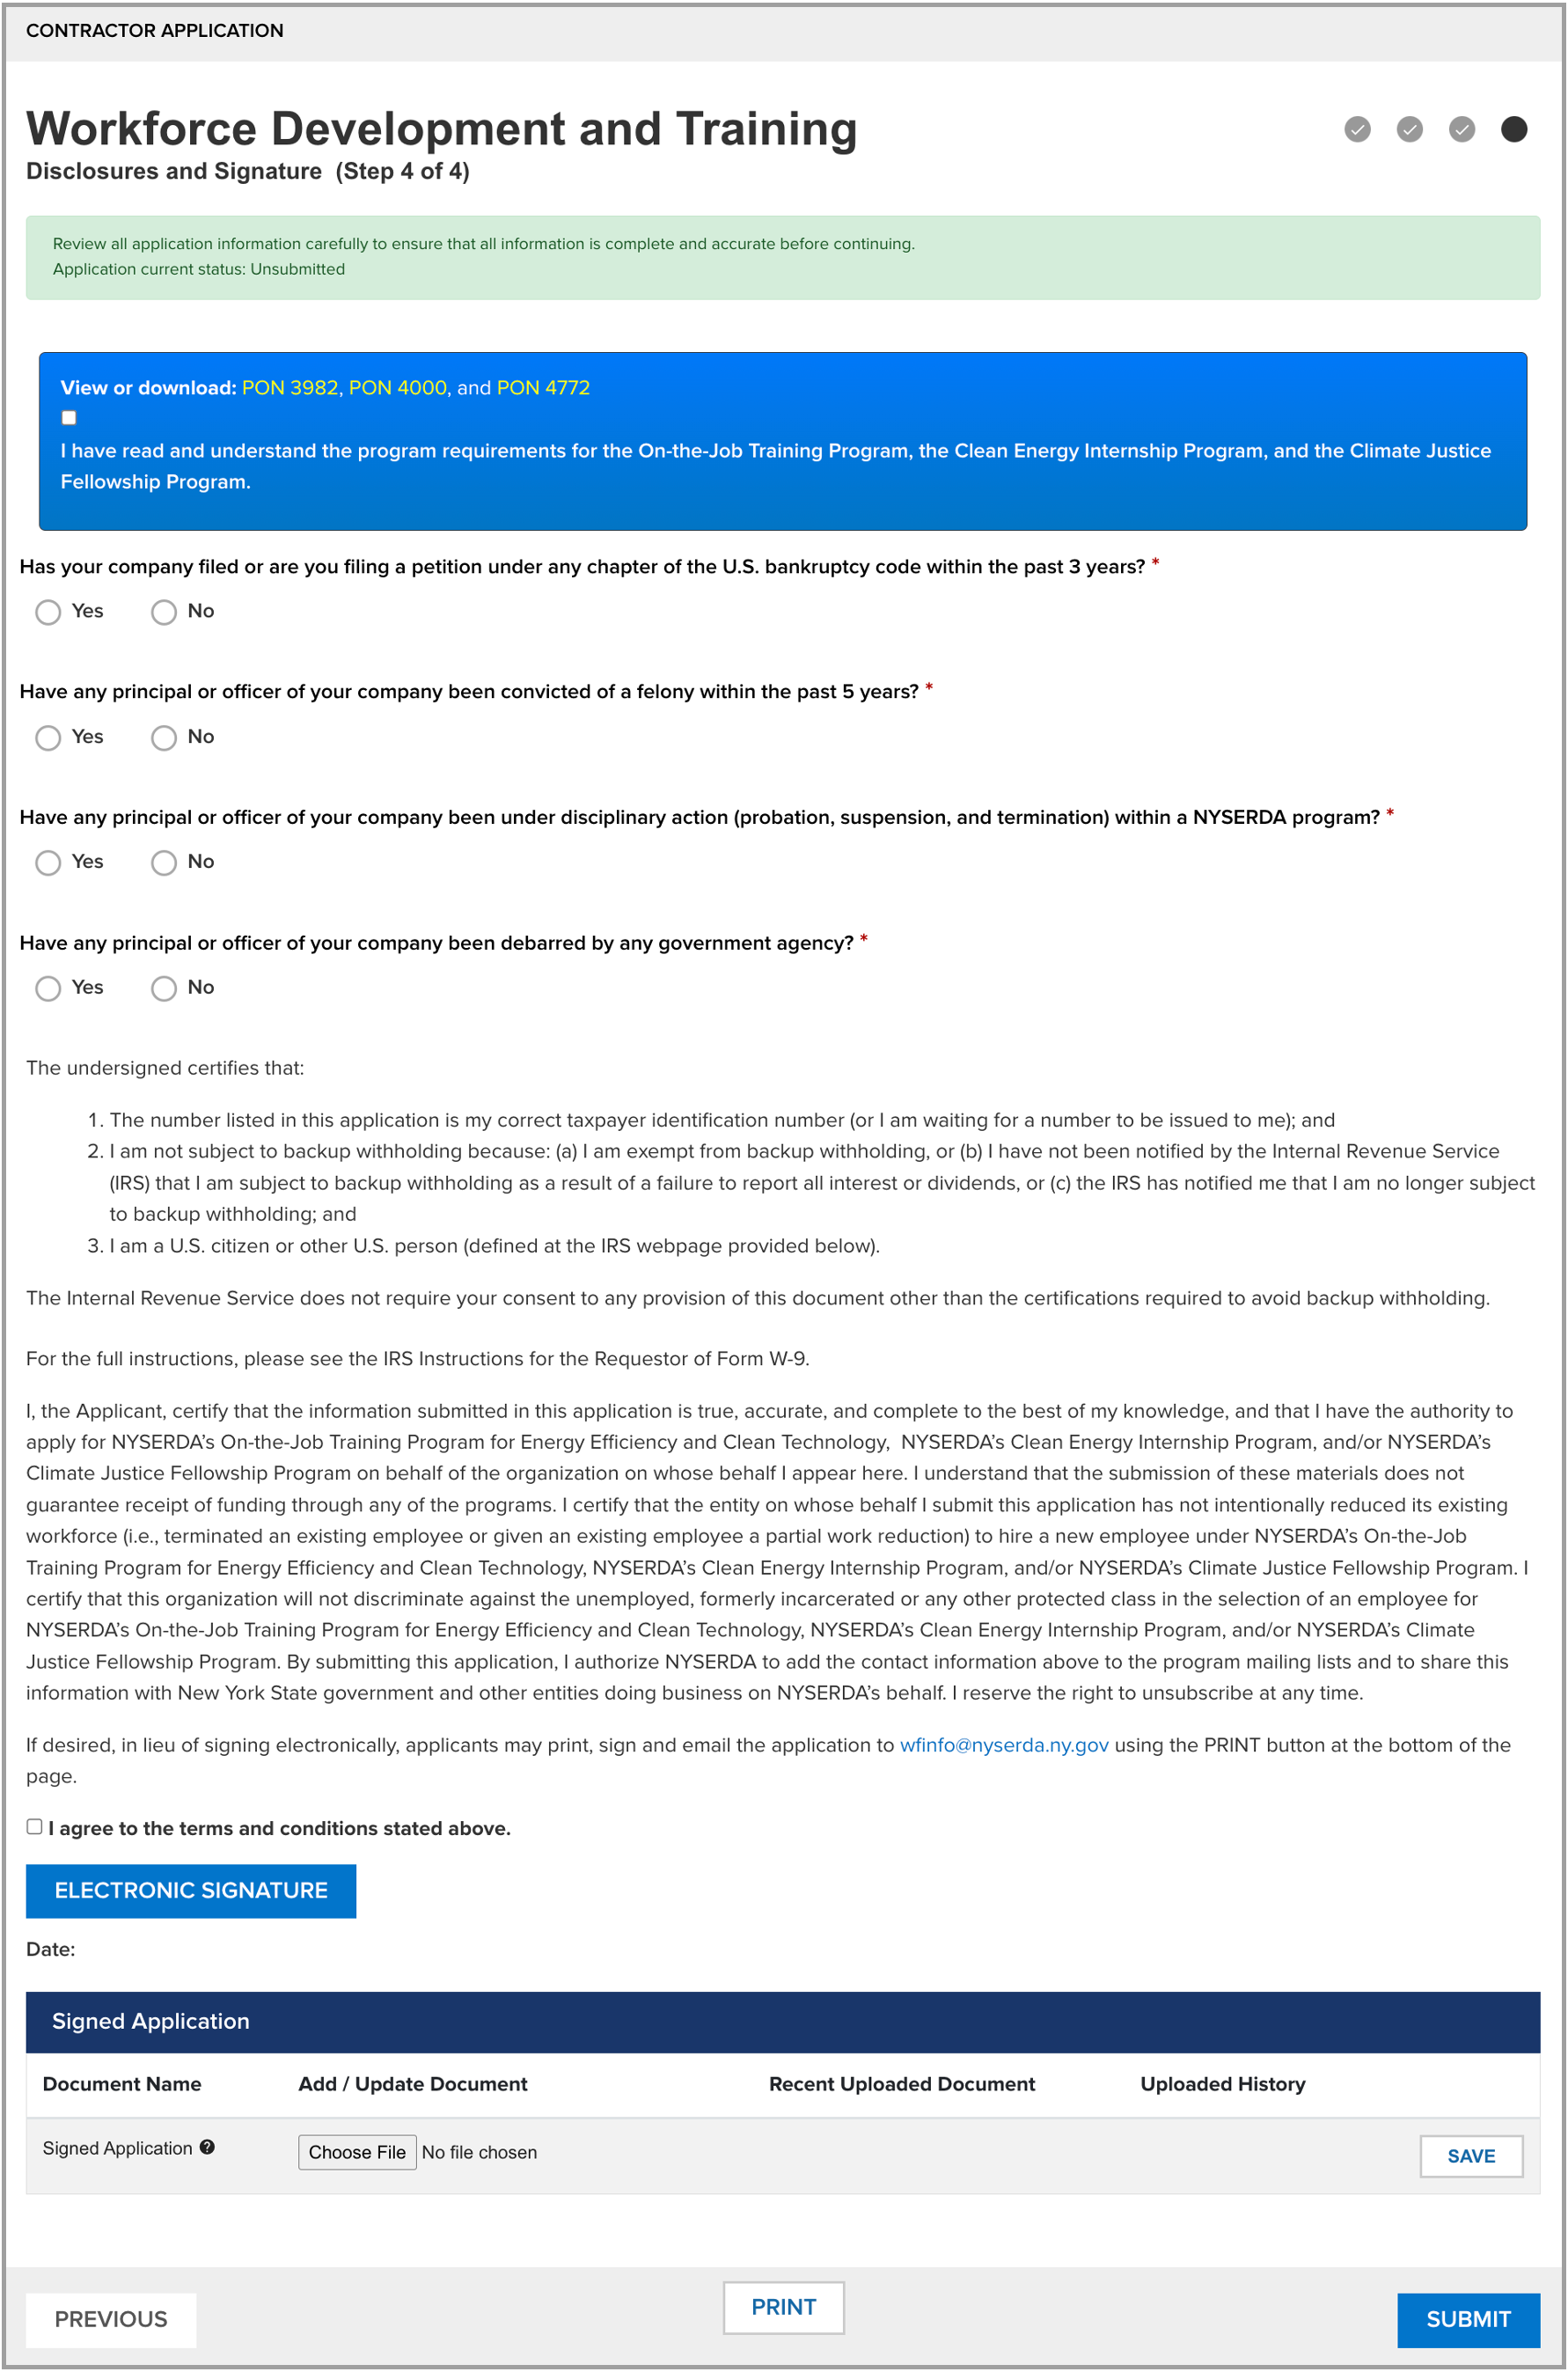
The application is comprised of four pages, or steps. Your progress throughout the application can be viewed in the upper right hand corner where progress is denoted with a black circle.

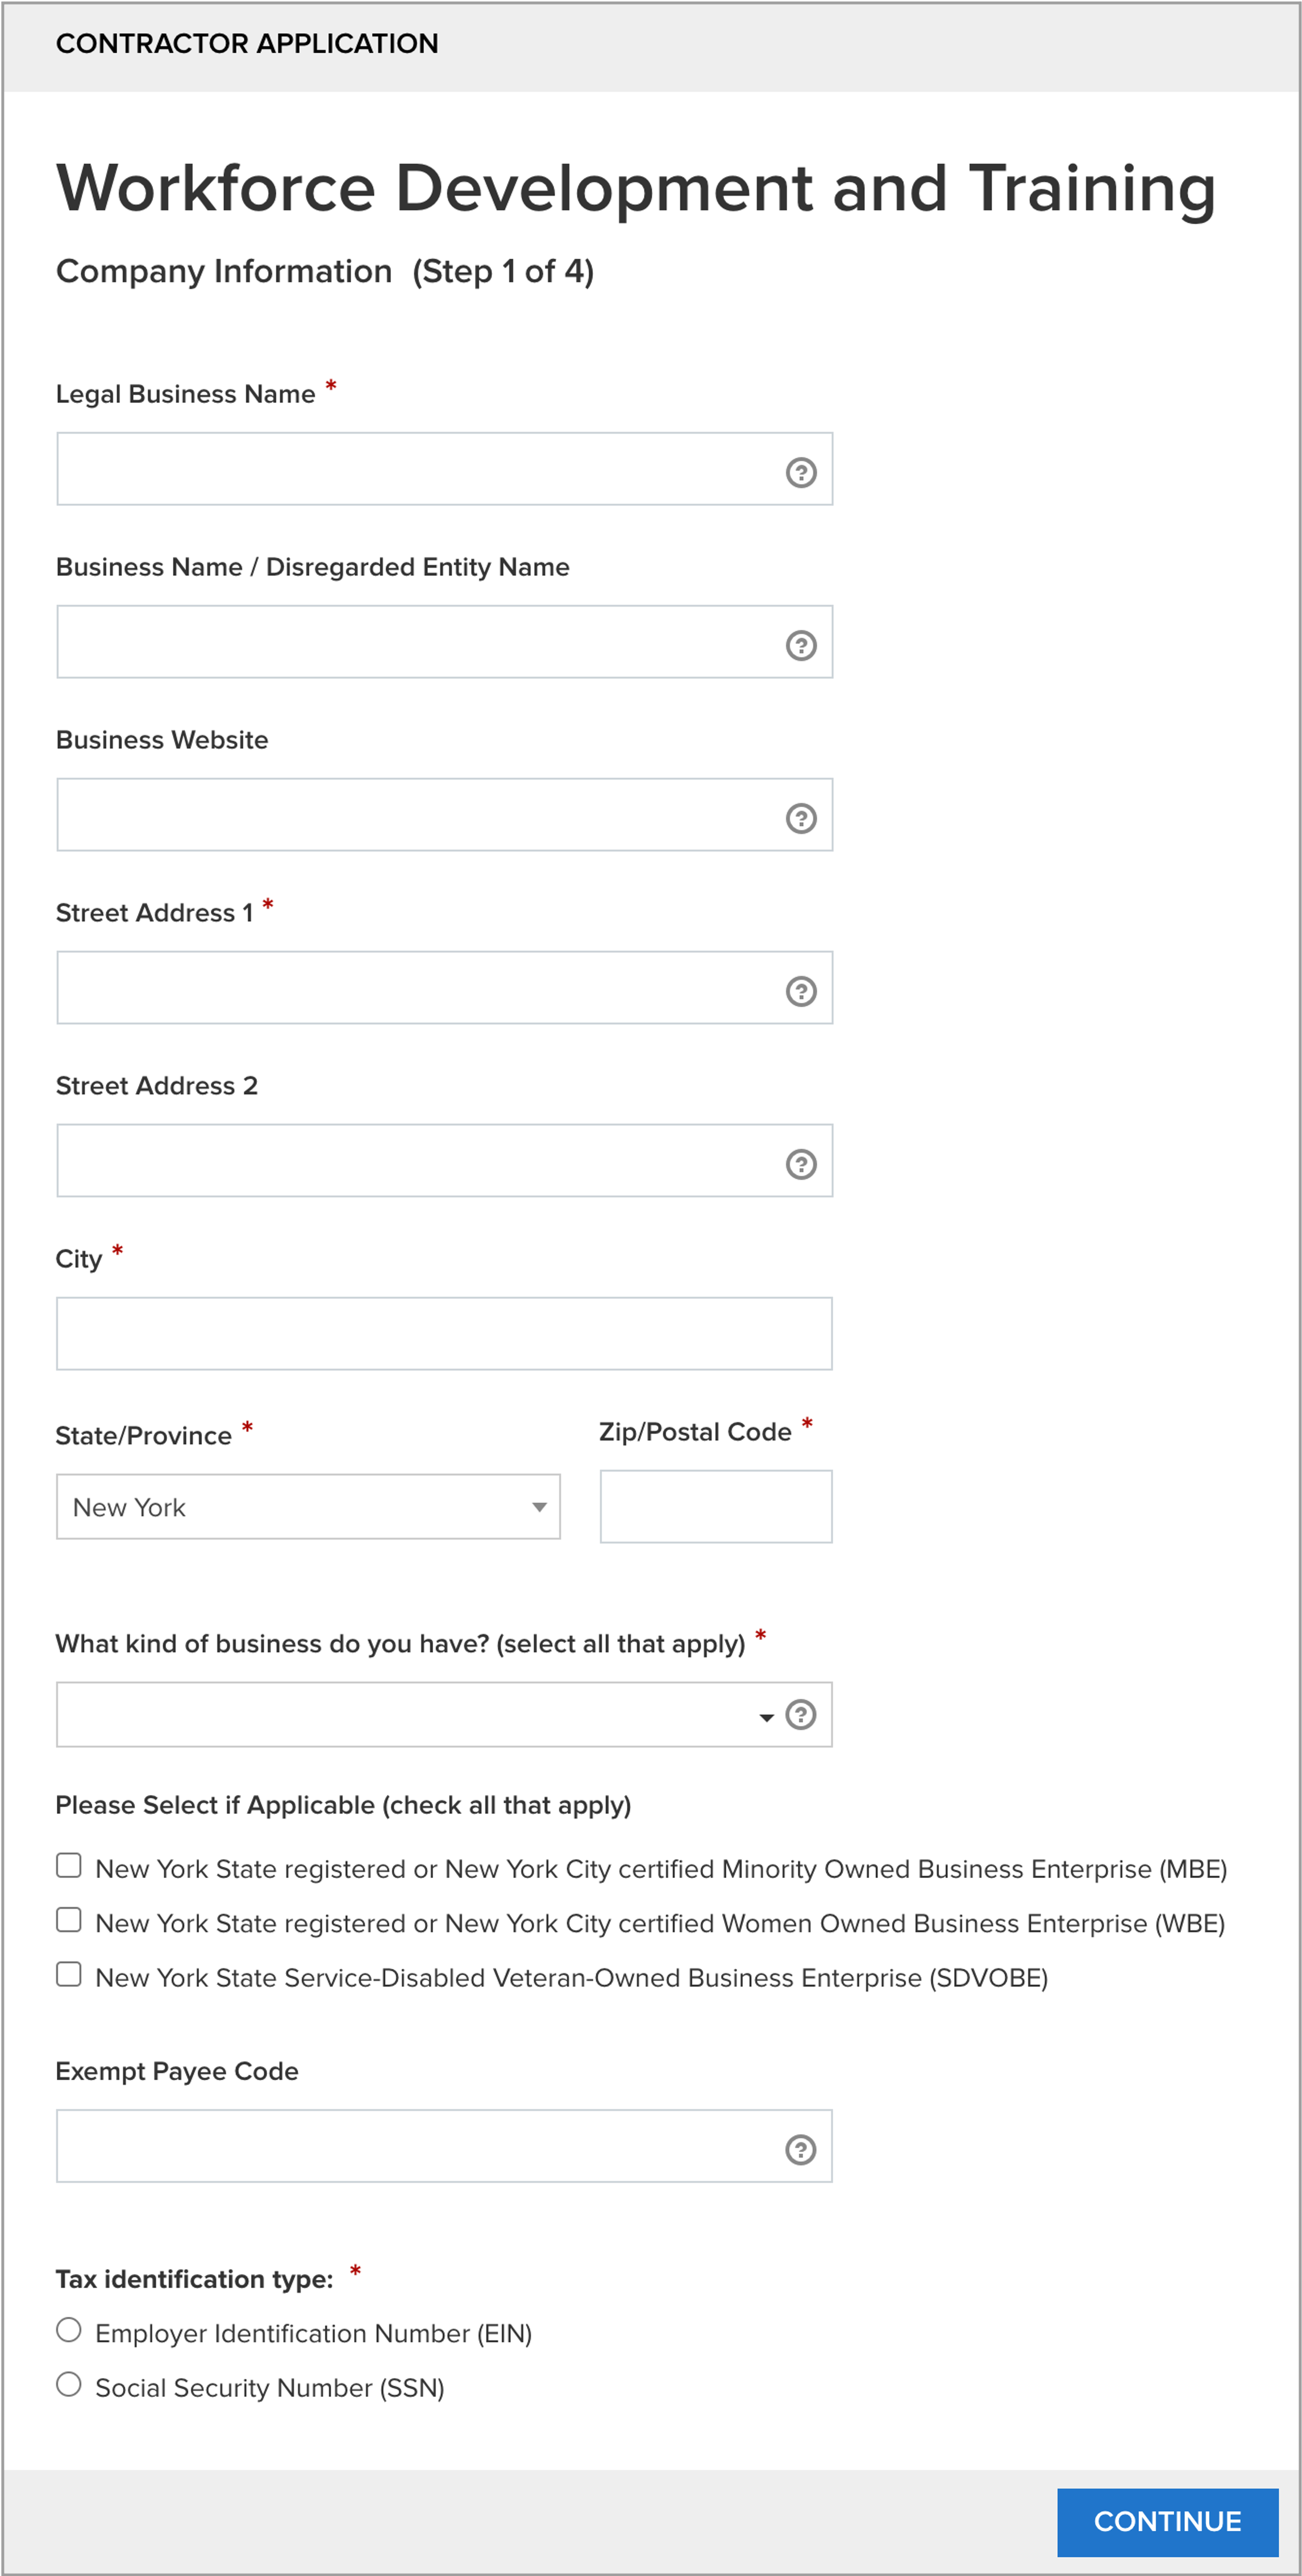
As you progress throughout the application, fields marked with a Question Mark within a circle contain tool-tips to help you understand the information required for those fields. Tool-tips within the field (such as with the Legal Business Name in the screenshot below) are activated when hovering your cursor over the field, whereas tool-tips next to the field name, such as in the Current Business Size field in the screenshot below) are active when the question mark is clicked.

Field NameRequiredDescription/Requirements
Legal Business NameYes
Business Name/ Disregarded Entity NameNo
Business WebsiteNo
Street Address 1Yes
Street Address 2No
CityYes
State/ProvinceYes
Zip/Postal CodeYes
What kind of business do you have?Yes

Multi-selector drop-down:

  • Corporation
  • Disregarded Entity
  • Federal, State, or Local Government
  • Individual / Sole Proprietor
  • Limited Lability Co.
  • Not For Profit
  • Partnership
  • Public Authority
  • Trust / Estates
Please select if applicableNoMulti-selector list
Exempt Payee CodeNo
Tax Identification TypeYes

Select either EIN (Employer Identification Number or SSN (Social Security Number)

EIN: If selecting this option, an additional field will become visible. Input the businesses Employer Identification Number

SSN: If selecting this option, a note will appear. Your Social Security Number cannot be input within the application. Instead, you should mail your W9 to NYSERDA at the address provided within the note.

Enter in the details for each contact associated with this page of the process.

Primary Contact: Acts as the primary contact for any NYSERDA communications with the business.

Accounts Receivable Contact: Acts as the business reviewer and approved of any associated Invoices.

Authorized Signatory Contact: Acts as the authorized signer when signatures are required as part of the process.

The Primary Contact can also act as either/both the Accounts Receivable and Authorized Signatory Contact. If so, be sure to check the associated checkbox for each section. If the associated checkbox is checked, the contact information fields for each section will become hidden.


NYSERDA Project Manager

There are several elements of this step that determine how/if an application moves forward in the process.

  1. Search for the business name under Accounts
  2. If they already have an account, see if they have a “Partner Account” (check box in that column)
  3. If they have a “Partner Account” see if they already have a program partnership for Internship and/or OJT.
    1. If not, proceed as usual
    2. If they are already a participant in one program but are applying for the other
      1. ****
      2. ***
    3. If they are already a program participant in both programs,
      1. Mark application status as Duplicate
      2. If More Info is Needed to review their application, check with internal PM first to see if question can be answered
  • Otherwise, proceed with review. *See if Due Diligence review is required or not.. it may be even if they are already a Partner Account
  1. Portal sends an automated email to Internship PM
  2. PM opens application
    1. PM clicks link in email or
    2. PM opens “Contractor Applications” tab in Portal
      1. PM selects “WFD – Project Manager Approval Queue” and Clicks “Go”
        1. This list displays all contractor applications in the “Under Review” status.
        2. If an application is marked as “Request for Information” then it’s waiting on the customer to respond before a review can continue
        3. Complete reviews in order of oldest creation date to newest.
      2. PM clicks on the Application Number hyperlink to open an application to review (one that is “Under Review” without the “Request for Information” button being checked
    3. PM scrolls down to the contact information and clicks “documents” then clicks the signed application to open it in PDF form
    4. PM reviews the following fields:
      1. Business address – confirm it is in NYS. If a residential address, may need to investigate.
      2. WBE/MBE/SDVOB – if they are an WBE/MBE/SDVOB then they don’t need to have 2 or more employees.
        1. Check on WBE/MBE/SDVOB websites
      3. Descriptions of jobs business plans to offer – Make sure them demonstrate the connection to clean energy
      4. Review website to verify services related to clean energy


Sent to PM review queue (sophie, becky, laura). Verify who will be in this queue after go-live.

  1. PM clicks “Edit” at top of application
  2. PM checks the “Request for More info” box under the “Review” section
  3. Enter the Request for Information Date
  4. Click Save
  5. PM sends More Information Needed Email
    1. Scroll down to “Activity History”
    2. Click “Send an Email”
    3. Click “Select Template”
    4. Select “NYSERDA WFD Templates”
    5. Select “WFD CONAPP Request for Additional Information”
    6. Select “From” Address = either [email protected] or [email protected]
    7. Edit Template to describe the additional information needed to complete the review
    8. Click “Send”
  6. Applicant responds to PM via email
  7. PM clicks “Edit” at top of Application”
  8. PM unchecks the “Request for Information” box under “Review” and adds in Request for Information date
  9. PM completes review of additional information and proceeds with Approval/Rejection/More Info Needed sequence as applicable.
  1. To approve an application, the PM scrolls down to “Approval History” section
    1. PM clicks “Approve / Reject”
    2. PM clicks “Approve”
    3. Application Proceeds to DOL review stage.
  1. To reject an ineligible application, the PM scrolls down to “Approval History” section
    1. PM clicks “Approve / Reject”
    2. PM enters comments about ineligibility in Comments box
    3. PM clicks “Reject”
    4. PM sends Rejection Email
      1. Scroll down to “Activity History”
      2. Click “Send an Email”
      3. Click “Select Template”
      4. Select “NYSERDA WFD Templates”
      5. Select “WFD Contractor Rejection Notification”
      6. Select “From” Address = [email protected]
      7. Edit Template to list reasons why applicant is not eligible
      8. Click “Send”
      9. System automatically sets Application Status to “Rejected”
      10. Process Complete.

NYS Department of Labor

There are several elements of this step that determine how/if an application moves forward in the process.

  1. Portal sends an automated email to DOL reviewer
  2. DOL reviewer opens up “Contractor Applications” tab in Portal
  3. DOL reviewer selects “WFD – DOL Approval Queue” and clicks “Go”
  4. DOL reviewer clicks on the Application Number hyperlink to open an application to review
  5. DOL obtains business information necessary for Due Diligence Review under the Company Information Section:
  6. Any additional detail they may need can be found under the Documents section with the DocuSign version of the application (e.g., contact info)
  1. To indicate that more information is needed to complete the Due Diligence Review, DOL reviewer clicks “Edit” at top of application
  2. Under the “Review” section, DOL reviewer checks the “Request for Information” box and enters in the date that the initial RFI was made.
  3. DOL reviewer adds in Comments in Notes field about subsequent check-ins after the initial RFI
  4. PM monitors Business Application Review Queue.
    1. For applications that have been in RFI status from a DOL request for more than 30 days, PM emails DOL asking about activity/responsiveness of applicants
    2. Businesses that are past 30 days are given one final request with a 1-week deadline to resolve the Due Diligence issues.
    3. If issues are resolved, DOL reviewer proceeds with Business Application approval process.
    4. If issues are not resolved, DOL reviewer confirms to the NYSERDA PM that the business is not actively addressing the Due Diligence Issue.
      1. PM scrolls down to “Approval History” section
      2. PM reviewer clicks “Approve / Reject"
      3. PM reviewer clicks “Reject” and enters “Did not pass Due Diligence Review in given timeframe” in comments box
      4. PM sends Rejection Email
        1. Scroll down to “Activity History”
        2. Click “Send an Email”
        3. Click “Select Template”
        4. Select “NYSERDA WFD Templates”
        5. Select “WFD Contractor Rejection Notification”
        6. Select “From” Address = [email protected]
        7. CC DOL Contact
        8. Edit Template to list reasons why applicant is not eligible
        9. Click “Send”
        10. System automatically sets Application Status to “Cancelled”
        11. Process Complete.
  1. To approve an application, the DOL reviewer scrolls down to “Approval History” section
    1. DOL reviewer clicks “Approve / Reject”
    2. DOL reviewer clicks “Approve”

NYSERDA Project Coordinator

  1. Portal sends an automated email to PC
  2. PC opens application
    1. PC clicks link in email or
    2. PC opens up “Contractor Applications” tab in Portal
      1. PC selects “WFD – Project Coordinator Approval Queue” and Clicks “Go”
      2. PC clicks on the Application Number hyperlink to open an application to review
  3. PC checks if application is a duplicate
  4. PC checks NEIS to see if contractor is already a NYSERDA supplier
    1. If so, continue
    2. If not, PC emails the applicant the New Supplier Creation Uploader with a request for the business to complete and return it. Use template
      1. Checks “RFI button” and adds date email sent
      2. When business provides New Supplier Creation Uploader, Kelli unchecks the RFI button and submits form to [email protected].
      3. Once business has a new supplier number, continue with process
  5. The PC scrolls down to “Approval History” section
    1. PC clicks “Approve / Reject”
    2. PC clicks “Approve"
  6. PC completes “Provision Contractor Login” Process
    1. Clicks “Provision Contractor Login” button at the top of the application
    2. PC clicks “Create Account”
    3. PC Clicks “Create Contact and Community User”
    4. If a contractor already has a portal account from another program, when you go to provision a log-in, you will get a message saying a portal log in has already been created.
    5. To Provision Contractor Log-in for both programs
      1. ?
    6. To Provision Contractor Log-in for just one program
      1. Open up Account under “Portal User Details” (click on hyperlink of business name)
      2. Scroll down to Program Partnerships
      3. Delete the Program Partnership that they are not approved for or perhaps Edit the program partnership and change the status to “none” – Beth to confirm
  7. PC sends application Approval email
    1. Scroll down to “Activity History”
    2. Click “Send an Email”
    3. Click “Select Template”
    4. Select “NYSERDA WFD Templates”
    5. Select “WFD Contractor Approval Notification”
    6. Select “From” Address = [email protected]
    7. Edit Template to indicate if they are approved for one or both programs
    8. Click “Send”
  8. Portal automatically sends an email to Contractor after Provision Log in Step
  9. Process Complete
  • No labels