Introduction
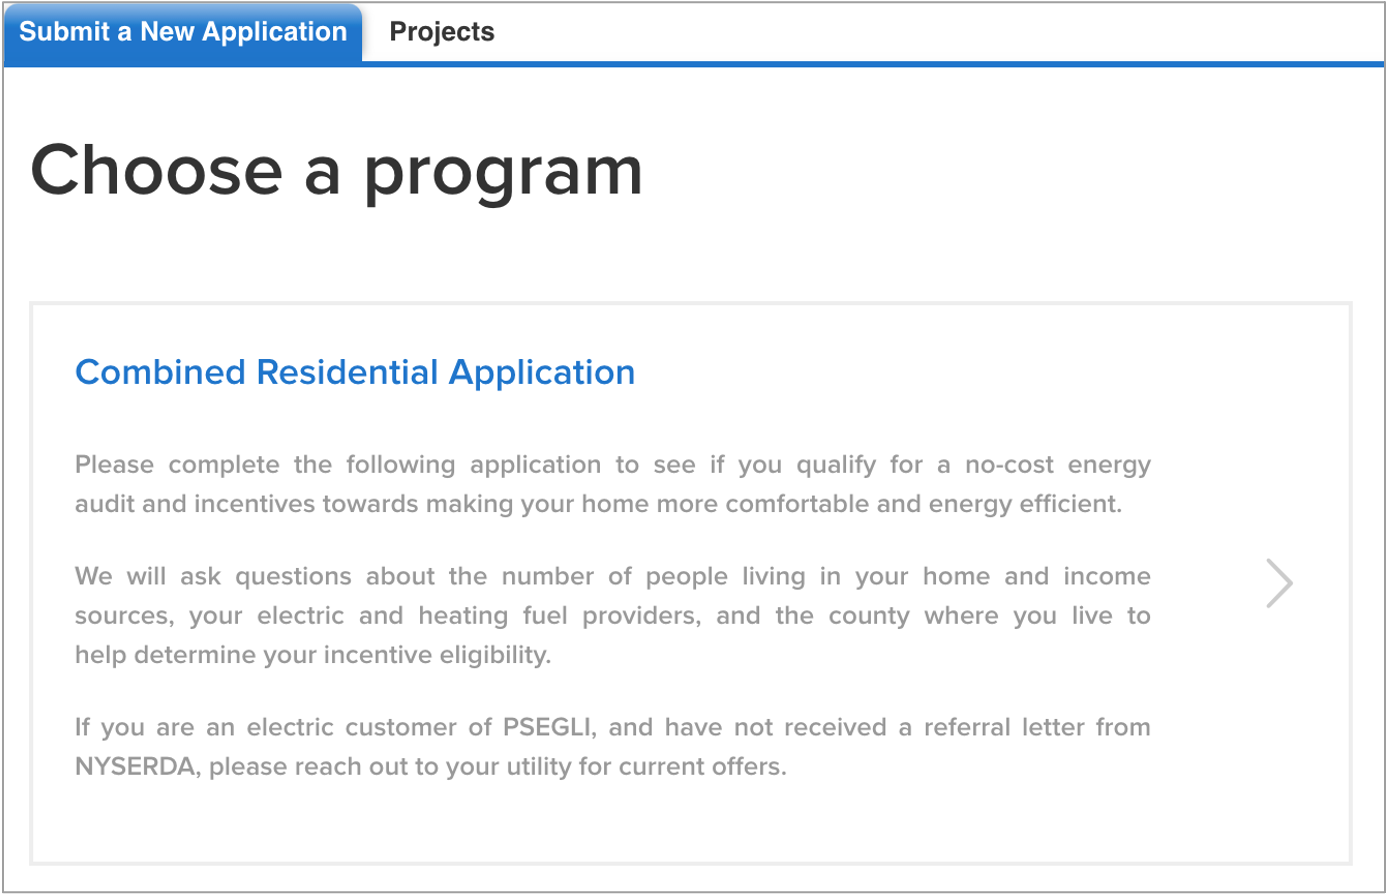
The Combined Residential Application is intended to streamline the application process while broadening the scope of services approved Applicants are eligible for. The application can be accessed by navigating to https://www.nyserda.ny.gov/All-Programs/EmPower-New-York-Program/EmPower-Application. Applicants can access and complete the application online (an Application Portal Account is required) or print, sign and mail in a paper application.
Applicants can receive assistance from Participating Contractors and/or Community Organizations when completing an application.
The materials below provide additional resources and materials to help CLEAResults Shared Services who are assisting Applicants when completing and submitting a Combined Residential EmPower+ Application. Additionally, applicants can be provided the following link which will allow them to access related material specific to their needs: COPY EmPower+ Applicants
Process Overview
Applicants are required to create a Salesforce Application Portal account to use the Online Application. A Salesforce Application Portal account provides multiple methods of communication through the use of Notes and Attachments that allows Applicants to:
- Communicate with the NYSERDA program (even after application submission).
- Update information or documents in their application.
The instructional materials below are intended to provide guidance for:
- Applicants when creating a Salesforce Application Portal, or
- Shared Services, Community Organizations, NYSERDA Energy Advisors, Participating Contractors, and Participating Utilities when assisting Applicants through the online application process.
Access the Portal Registration website for the EmPower+ Application.
On the Portal Registration page, review the introductory text to familiarize yourself with the registration requirements.
On the same page, complete all three fields in the Contact Information section. This includes First Name, Last Name, and Email Address. All fields are required.
Click Create.
The page will reload with instructions that outline next steps. Salesforce generates an email to the email address provided in Step 3 above to continue the Salesforce Portal account creation process.
Access the email account entered into Step 3 above and locate the email sent by Salesforce. This email contains a link to continue with your Salesforce Portal account creation as well as your Username (the email address entered in Step 3 above with .nyserda appended to the end).
Click the link within the email.
On the page you are directed to, create, and confirm, a password for your Salesforce Portal account, being sure to consider the password rules listed on the page. Then, click Change Password.
Once you click Change Password, you will be directed to your new Salesforce Portal account.
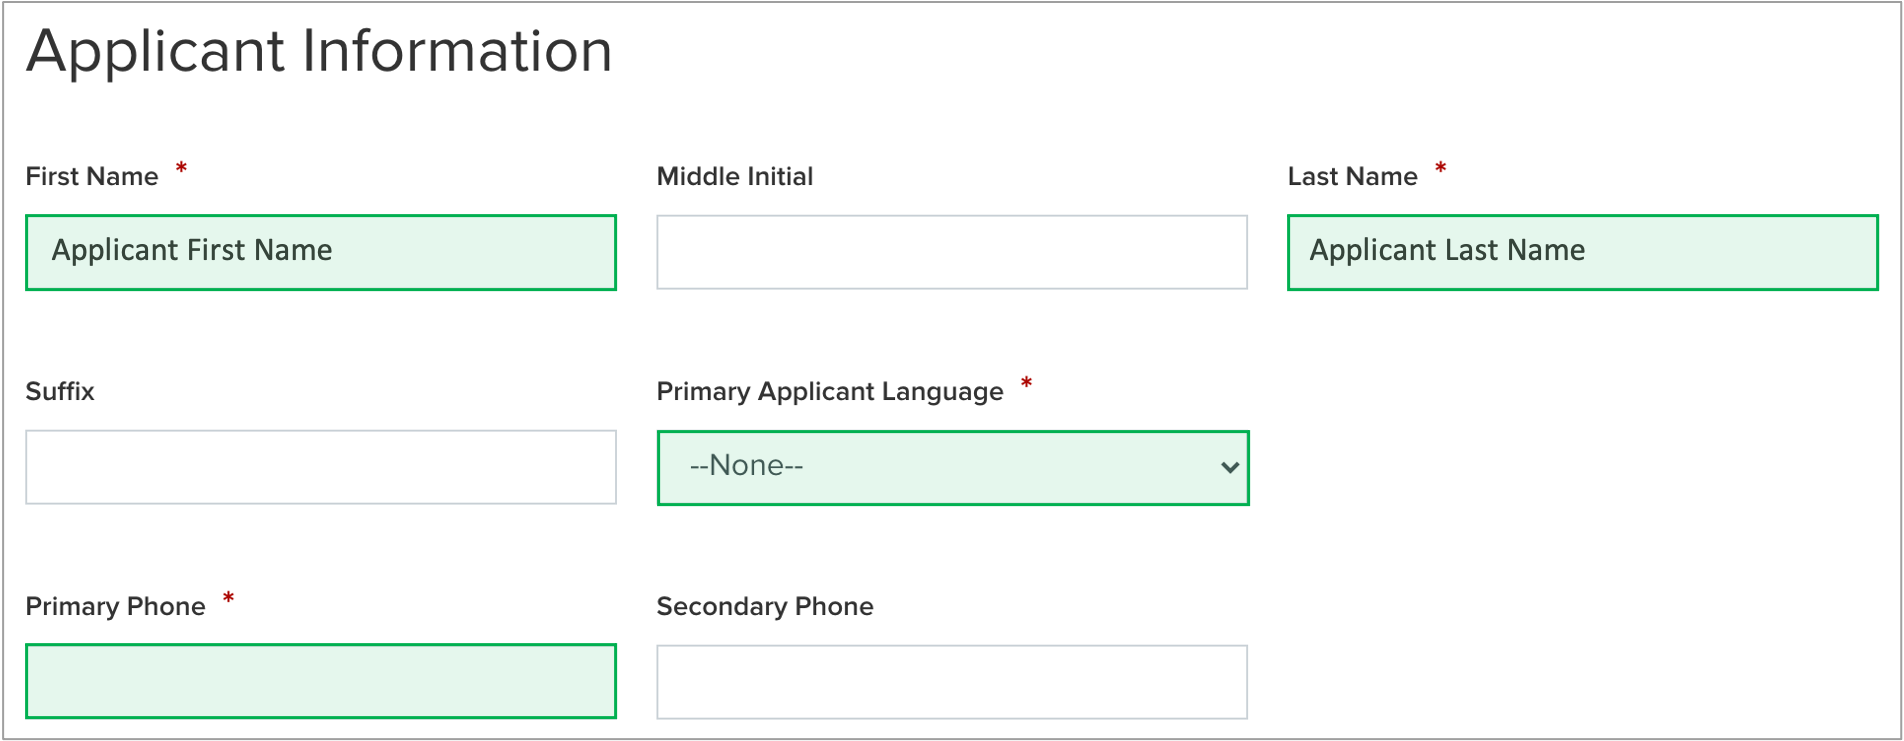
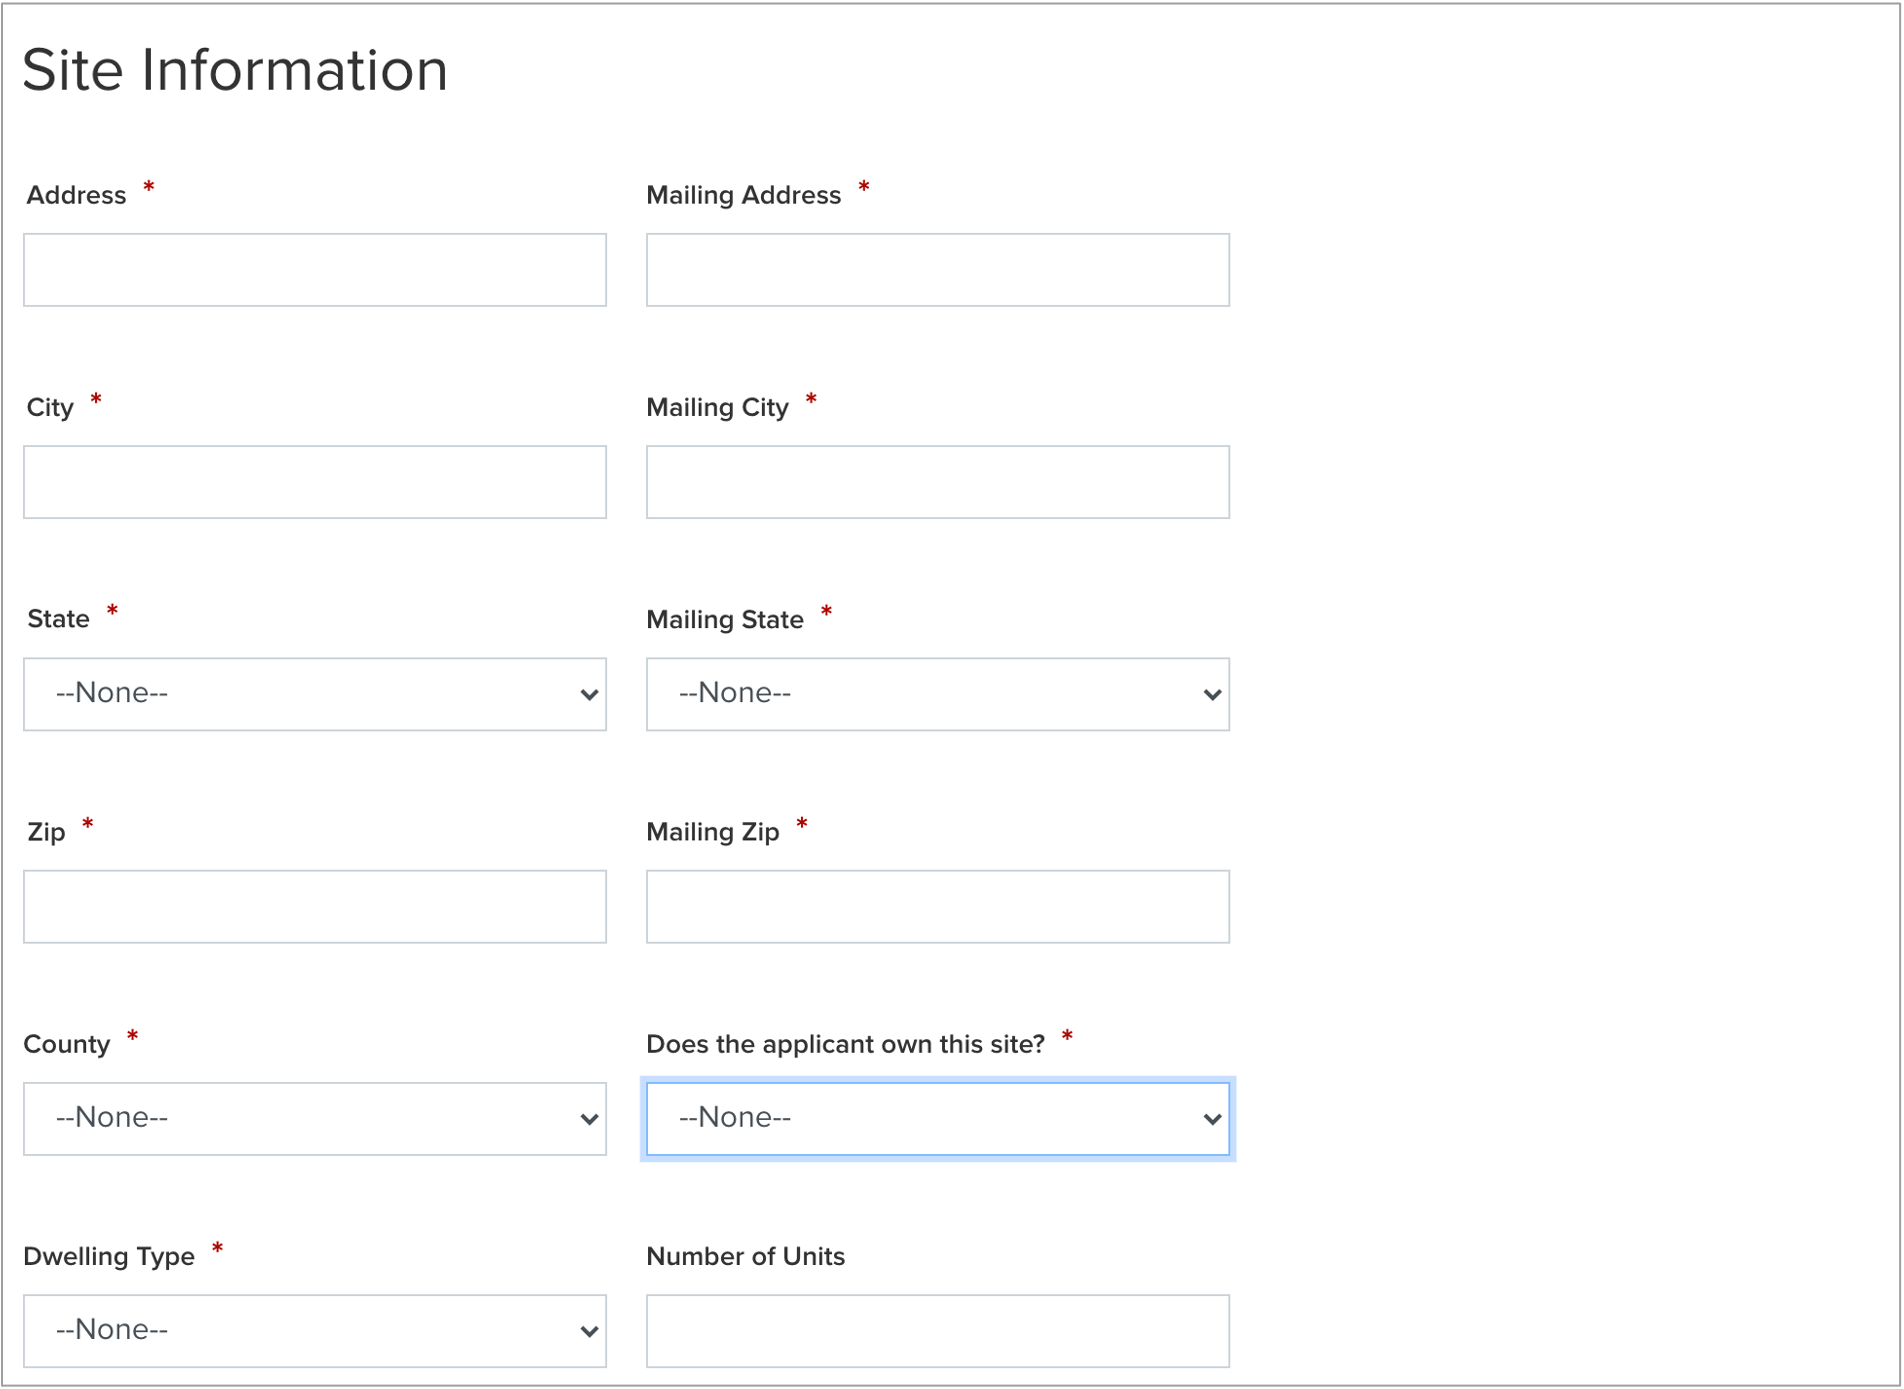
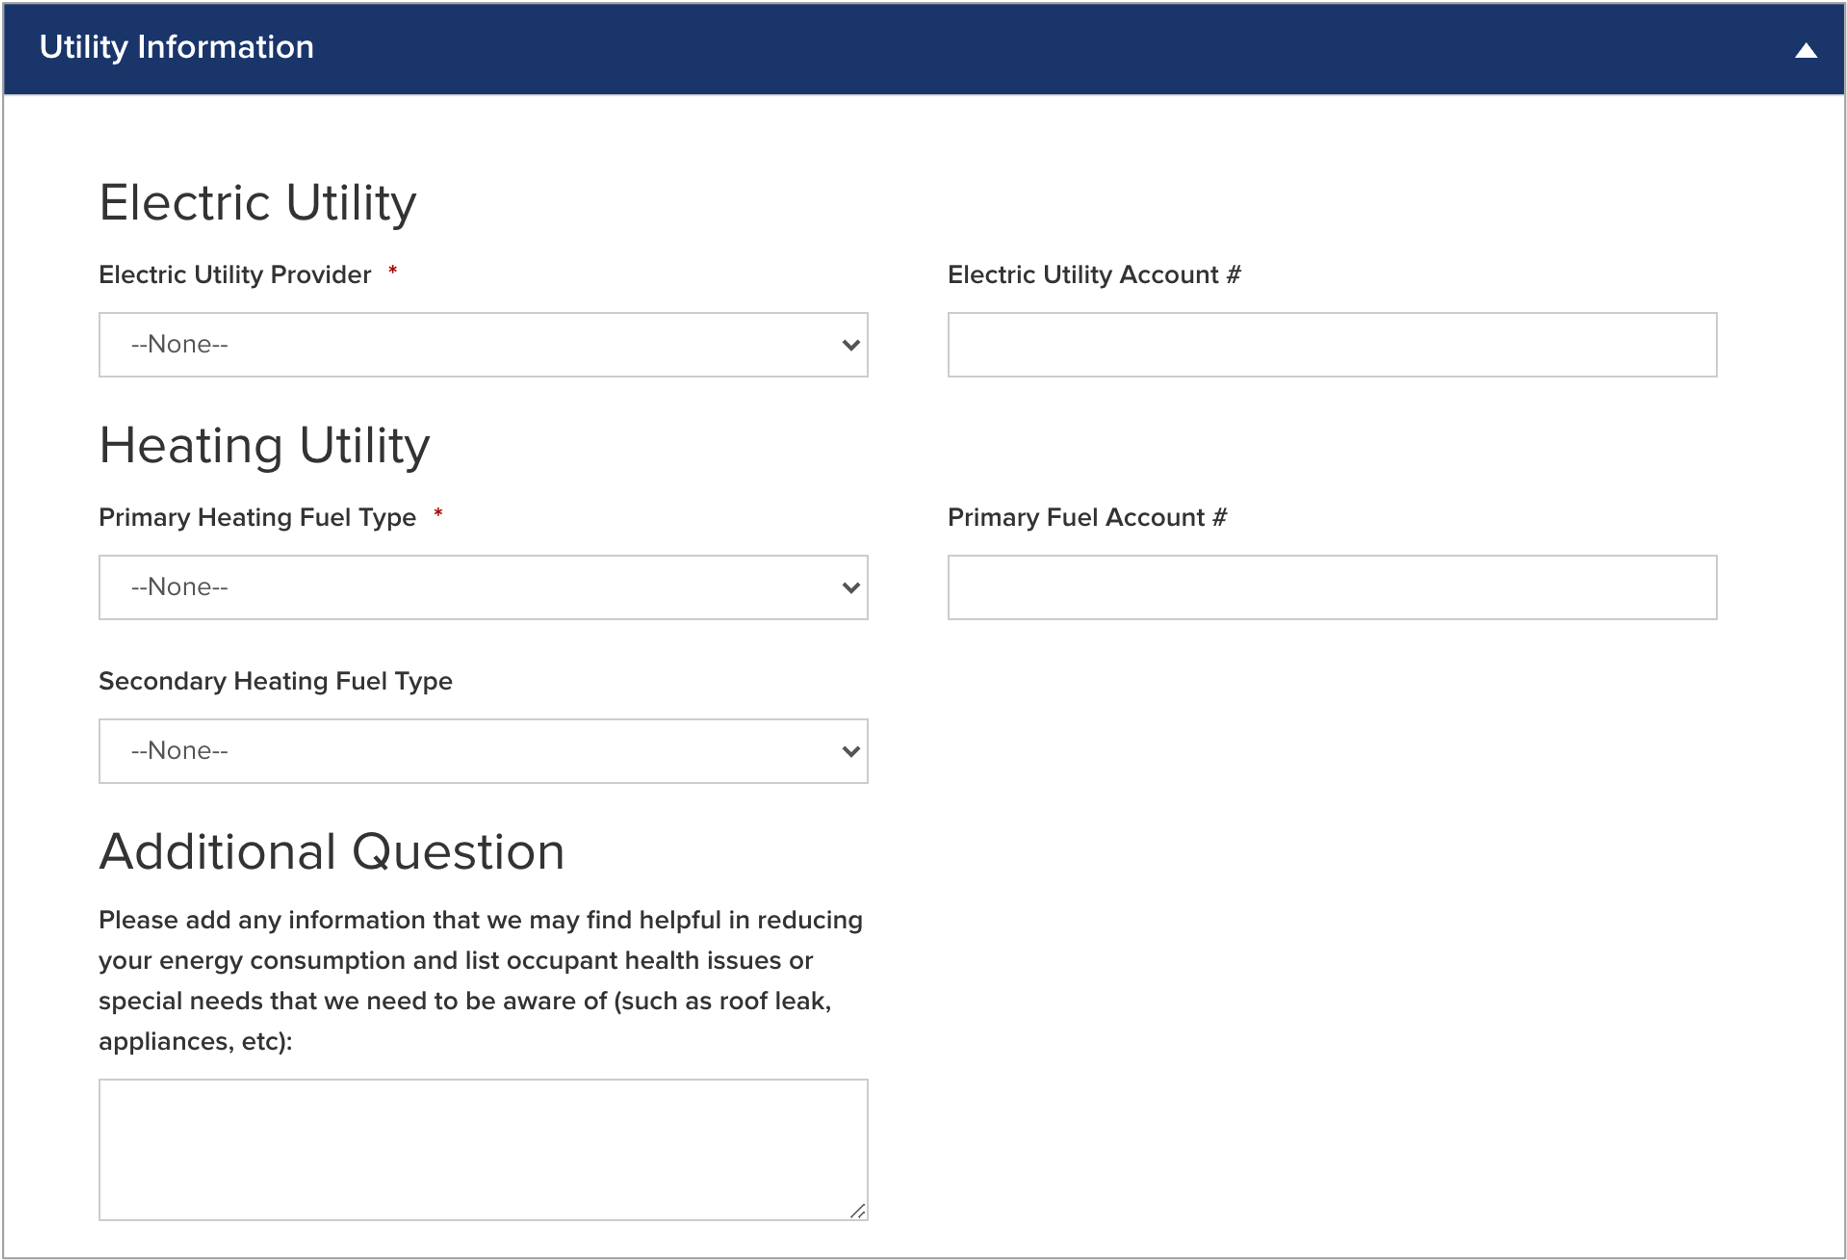
The Combined Residential Application allows Applicants to access and submit either online or paper applications to the program. Applicants can receive assistance from Community Organizations and/or Participant Contractors when submitting an application. Applicants who would like to submit an Online Application must create an Application Portal account first. The instructions below provide guidance on how to access, complete and submit a Combined Residential Application. To access instructions specific to each step below, click the learn more... link to expand the section and review the related materials.
The instructional materials below are intended to provide guidance for Participating Utilities.
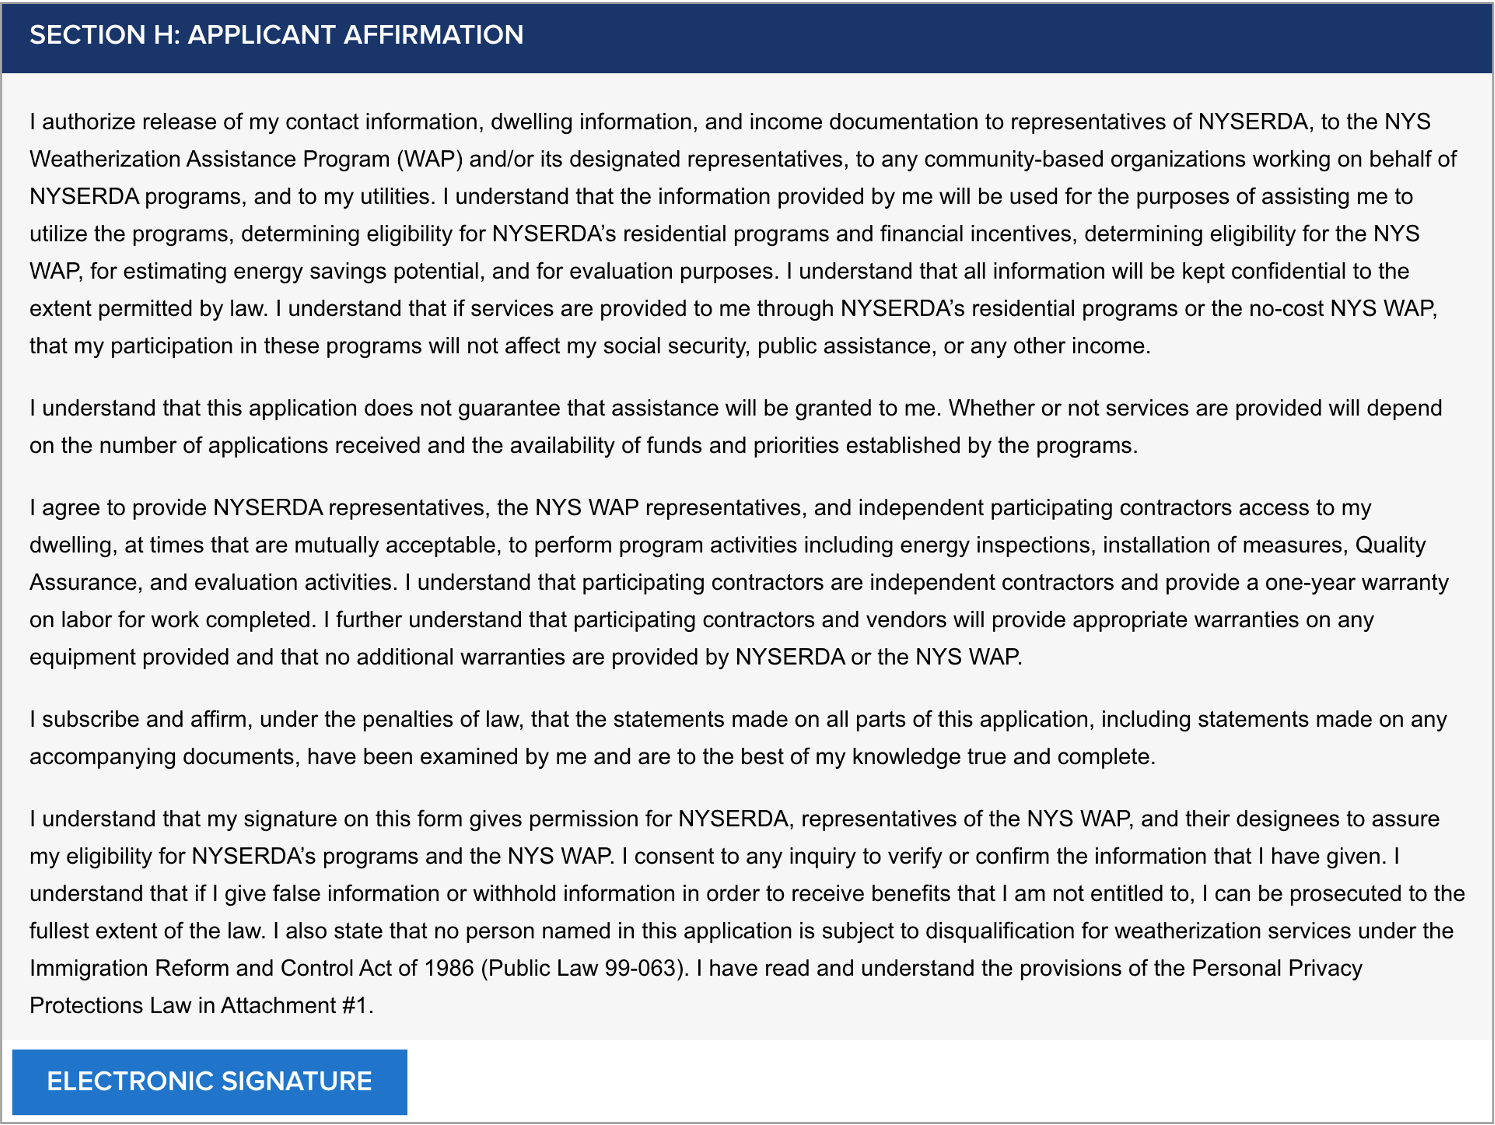
Review the following information prior to Step 5 Section H: Applicant Information during the Electronic Signature Process:
- If complete the application on behalf of the customer, customer signatures can be obtained in one of the following ways:
- Print out the application at the Electronic Signature step and have the customer sign the physical copy. Once returned to the Utility, the signed application must be uploaded to the online application tool.
- Print out the application and leverage the internal Utilities process to capture electronic signatures from customers. Once signed, the Utility must upload a pdf of the signed application to the online application tool.
- Additionally, instead of completing the application on behalf of the customer, Utilities can choose to help the customer complete the application themselves so that the customer can leverage the Electronic Signature process form within the online application tool.
Step 4: Eligibility Screening Application Changes for Utilities
This is only when a Utility or a WAP Agency is completing an application on behalf of a customer during Step 4 right after the Geo Eligibility Screening.
If you are a representative certifying the eligibility for EmPower New York, select Yes in response to the question, use the drop-down menu under Entity Certifying Eligibility to select if you are a Utility or a WAP Agency. Then skip to complete the Household Demographics Section below. No additional eligibility questions are required.
However, if you are not a representative certifying the eligibility for EmPower New York, select No. An additional section will appear on the application titled Referral Code Screening. Review the instructions for that section under Step 4: Complete the Referral Code Screening.
Submitted Combined Residential Applications are reviewed by CLEAResult Shared Services within Salesforce. Applications, once approved, are systematically pushed into Uplight for future project management. Note that paper applications received from Applicants must first be submitted through the Online Application process before they can be reviewed by Utility Companies. Access each step below by clicking on the learn more... link to expand the section and review the related instructions.
The instructional materials below are intended to provide guidance for Utility Companies when reviewing submitted applications in Salesforce.
Utilities can only review applications where:
- The application is in Submitted status, and
- The respective Utility was selected on Step 2: Utility Information of the Combined Residential Application, or
- The respective Utility completed the application on behalf of the Customer, or
- CLEAResult Shared Services updated the Utility information to the respective Utility on the application post-submission.
Log into Salesforce.
Access the Projects tab.
On the Projects page, select Combined Residential - All from the drop-down menu to view all applications in Submitted status. Then, click on the link in the Project Name column to open a specific Application Record.
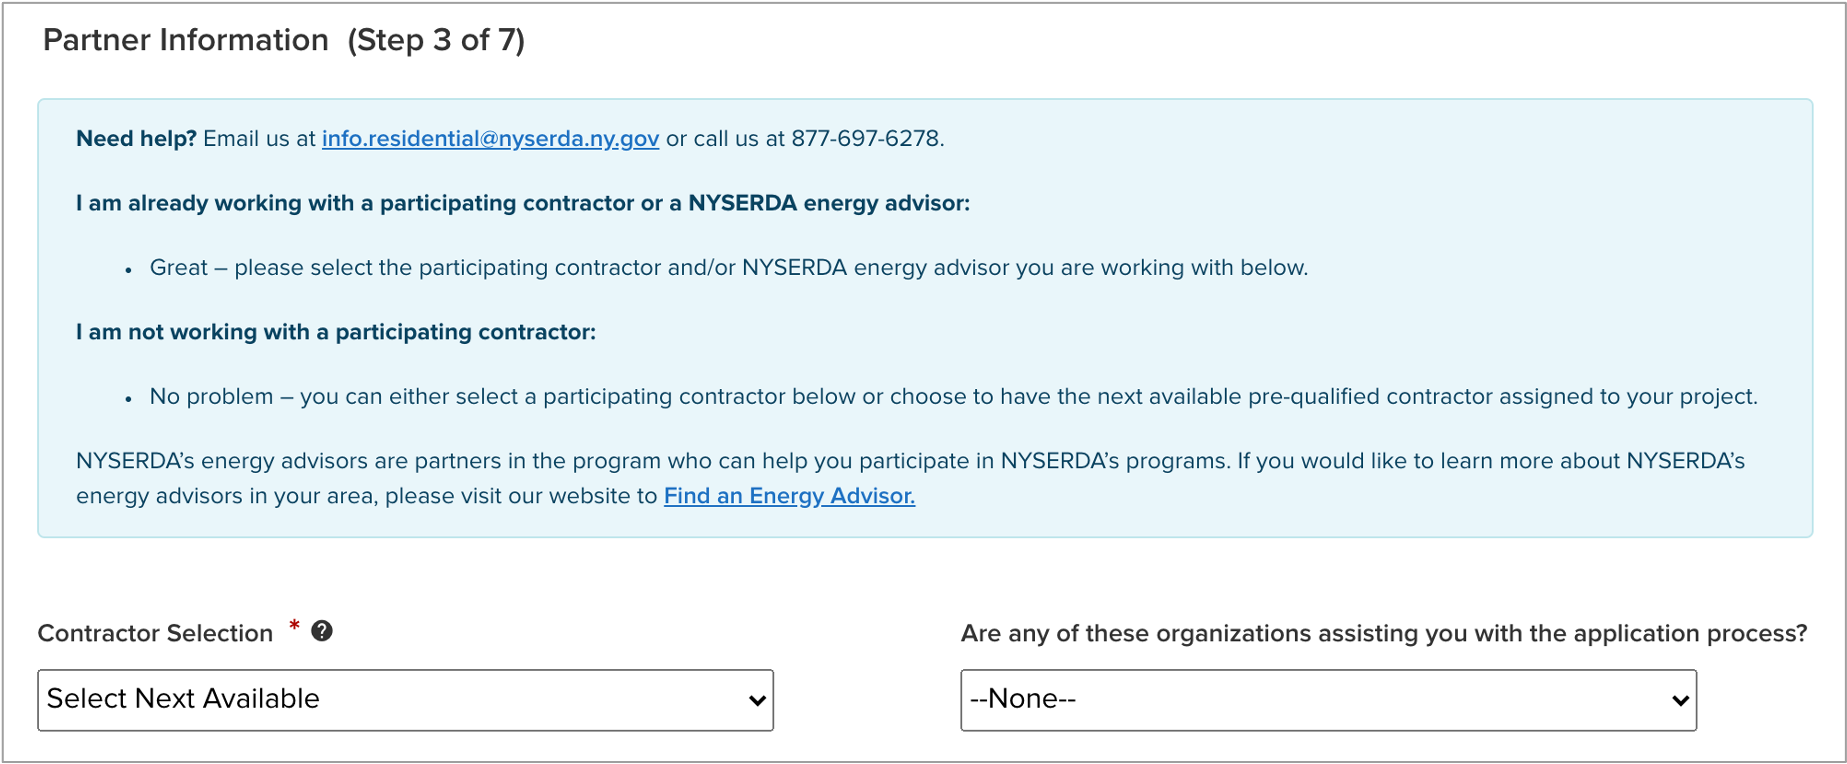
With the EmPower+ Application, Shared Services, Contractors, Participating Utilities, and Community Organizers can create Campaign Codes from their Salesforce Application Portal. Once a campaign code is created, a web link will be generated that can be posted to a website or shared with an applicant through email.
- Campaign codes generated by Contractors or Community Organizers will prepopulate the associated fields on the Partner Information page of the online EmPower+ Application when the customer initiates an application through the associated web link.
- All applications initiated by the customer through a campaign code generated web link, will be associated with that campaign code and trackable via a linked report.
- All entities with access to generate a campaign code can set up multiple campaign codes to track different marketing outreach efforts through Salesforce.
To create a Campaign Code, log into Salesforce.
Access the Generate Campaign tab.
On the Generate Campaign tab, a list of all campaigns created by the logged in user are displayed. To create a new Campaign, click Generate Campaign.
A modal window will open. Click OK to confirm the request to generate a new Campaign Code (and URL).
Back on the Generate Campaign tab, the newly generated Campaign Code will appear on the top of the list. Be sure to check that the Campaign Code status is set to Active. The Campaign URL can be copied and pasted for use in websites or shared through email.
Campaign Codes that will no longer be utilized should be switch to Inactive status.
Click the Edit link to the far right of the Campaign Code.
On the modal window that opens, click the Status drop-down and change the selection from Active to Inactive. Then click Save Changes.
The number of applications that have been received for each campaign code can be viewed on the Generate Campaign Code tab.
To view the applications associated with the campaign code, click on the View hyperlink in the Action column.
The page will then redirect to the campaign code Record.


