
NY Home Energy Portal Overview
Logging Into NYHEP
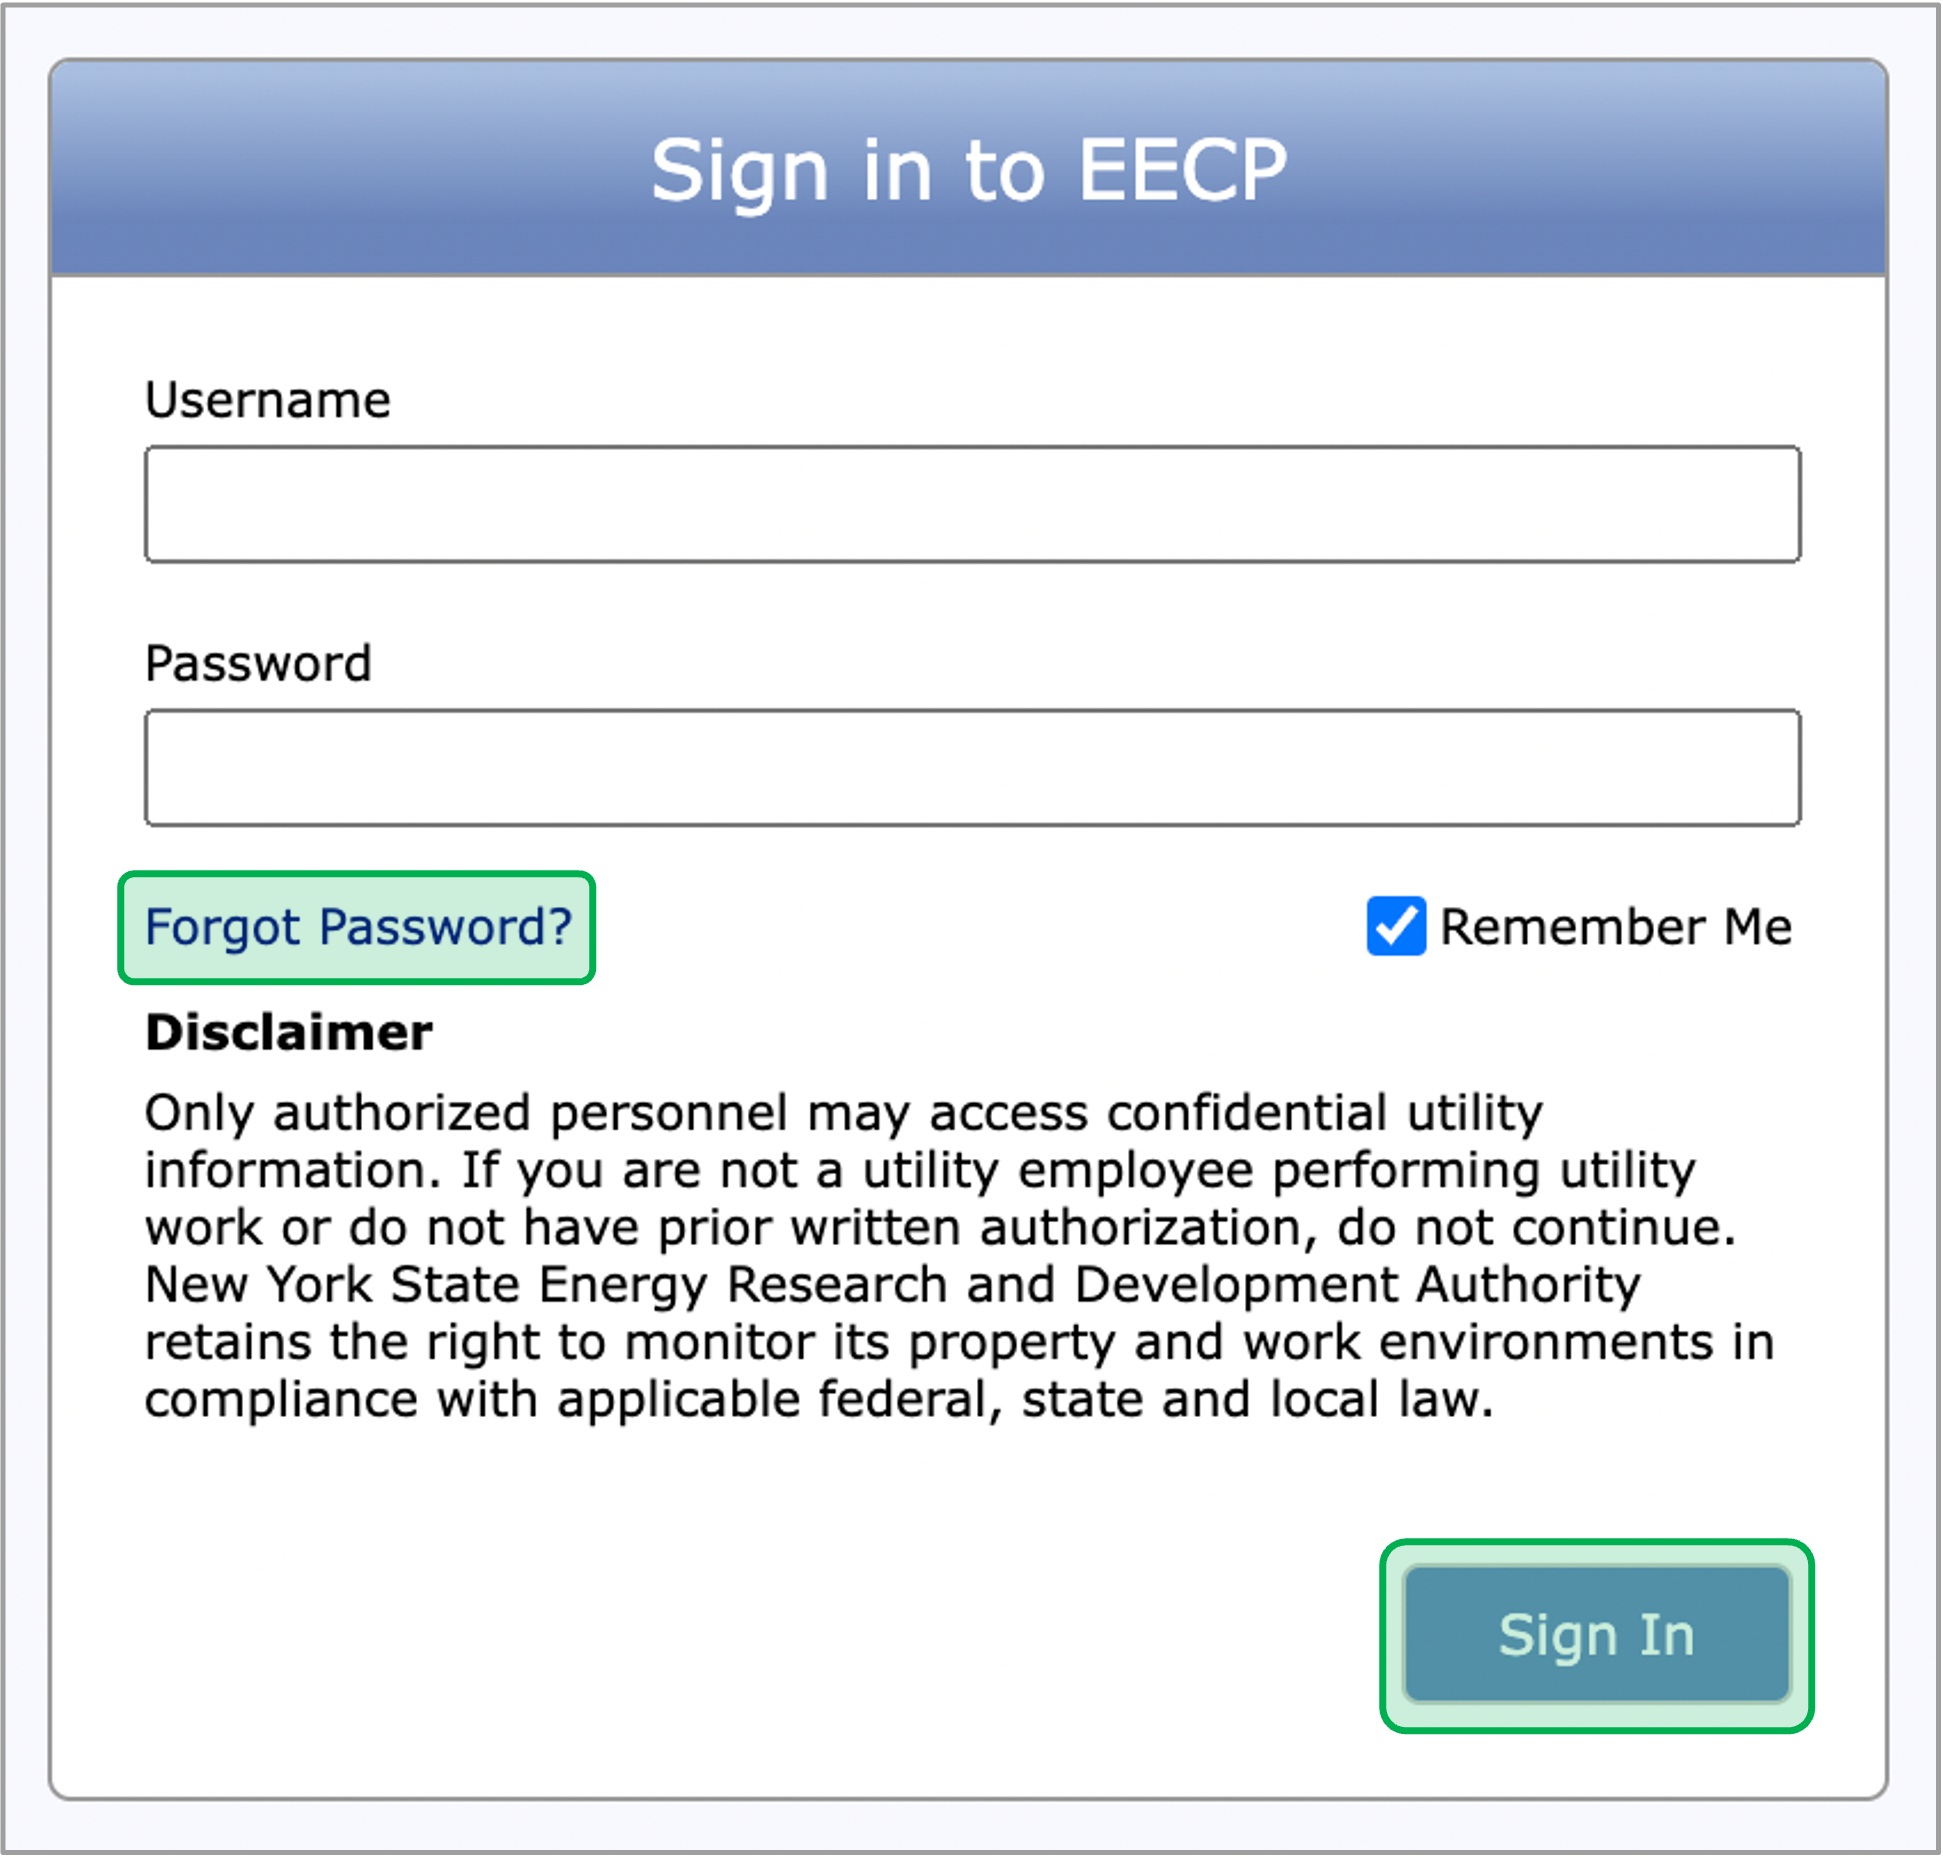
Access the NYHEP and type in your Username and Password. When finished, click the Sign In button to log in.
Forgot Password
If the contractor forget their password, click the Forgot Password? link on the login page. Type in the User ID then click the Reset It button to reset password.

The My Profile tab can be accessed under the Security tab on the top right of your New York Home Energy Portal (NYHEP).
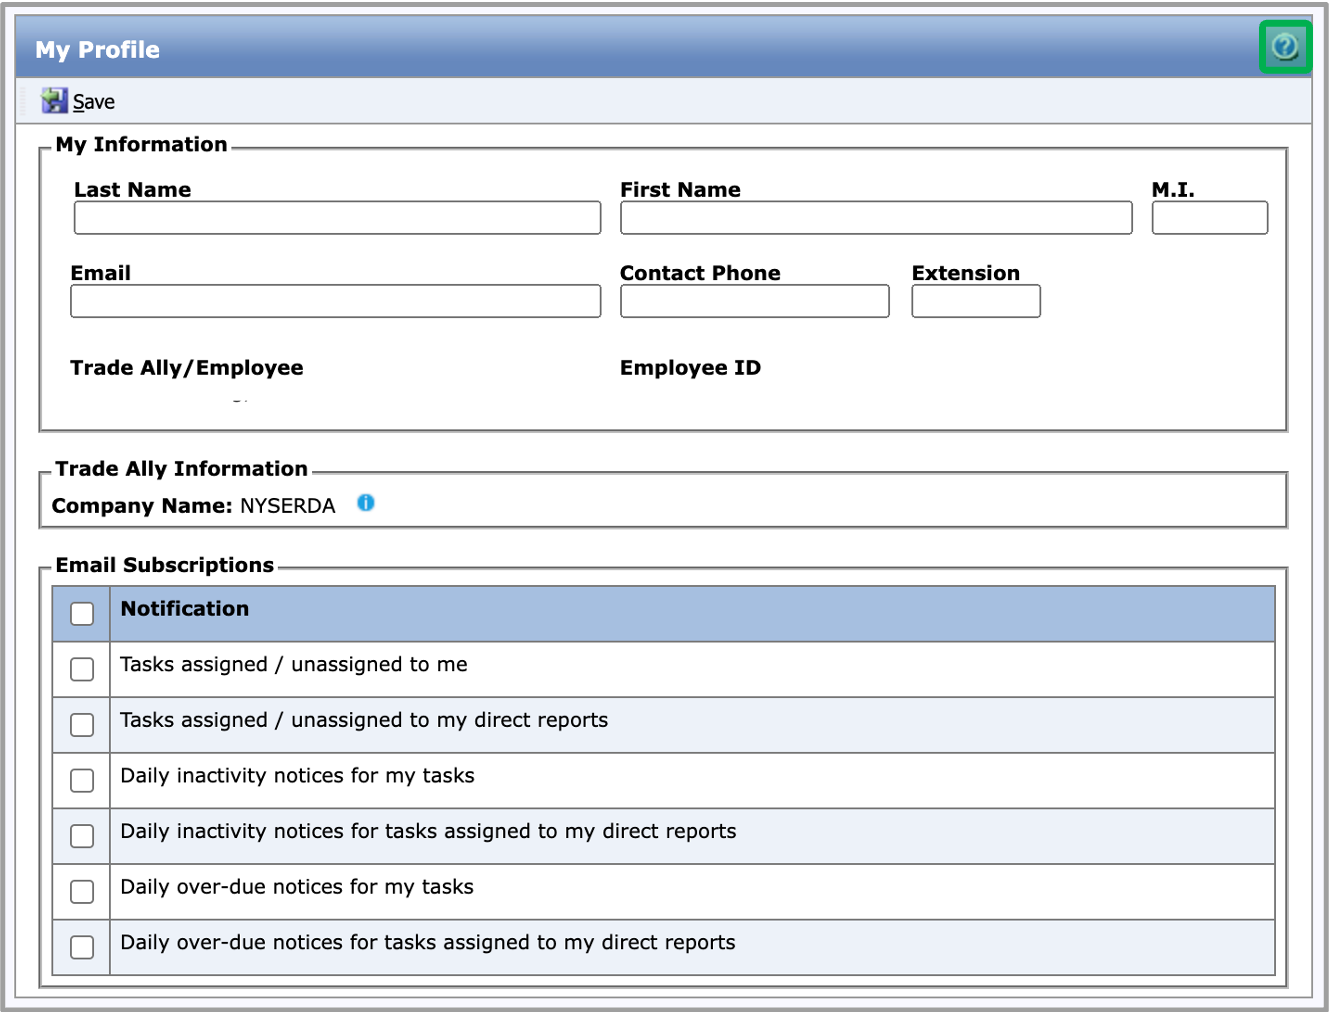
My Information
This tab allows contractors to update the following:
- Name
- Email Address
- Phone number
Email Subscription
Contractors can subscribe and un-subscribe to an email by clicking on the check box, it will automatically activate the subscribtion.
Save Changes
Click the Save button to save any changes/updates made under your profile.

The Change Password tab can be accessed under the Security tab on the top right of your New York Home Energy Portal (NYHEP).
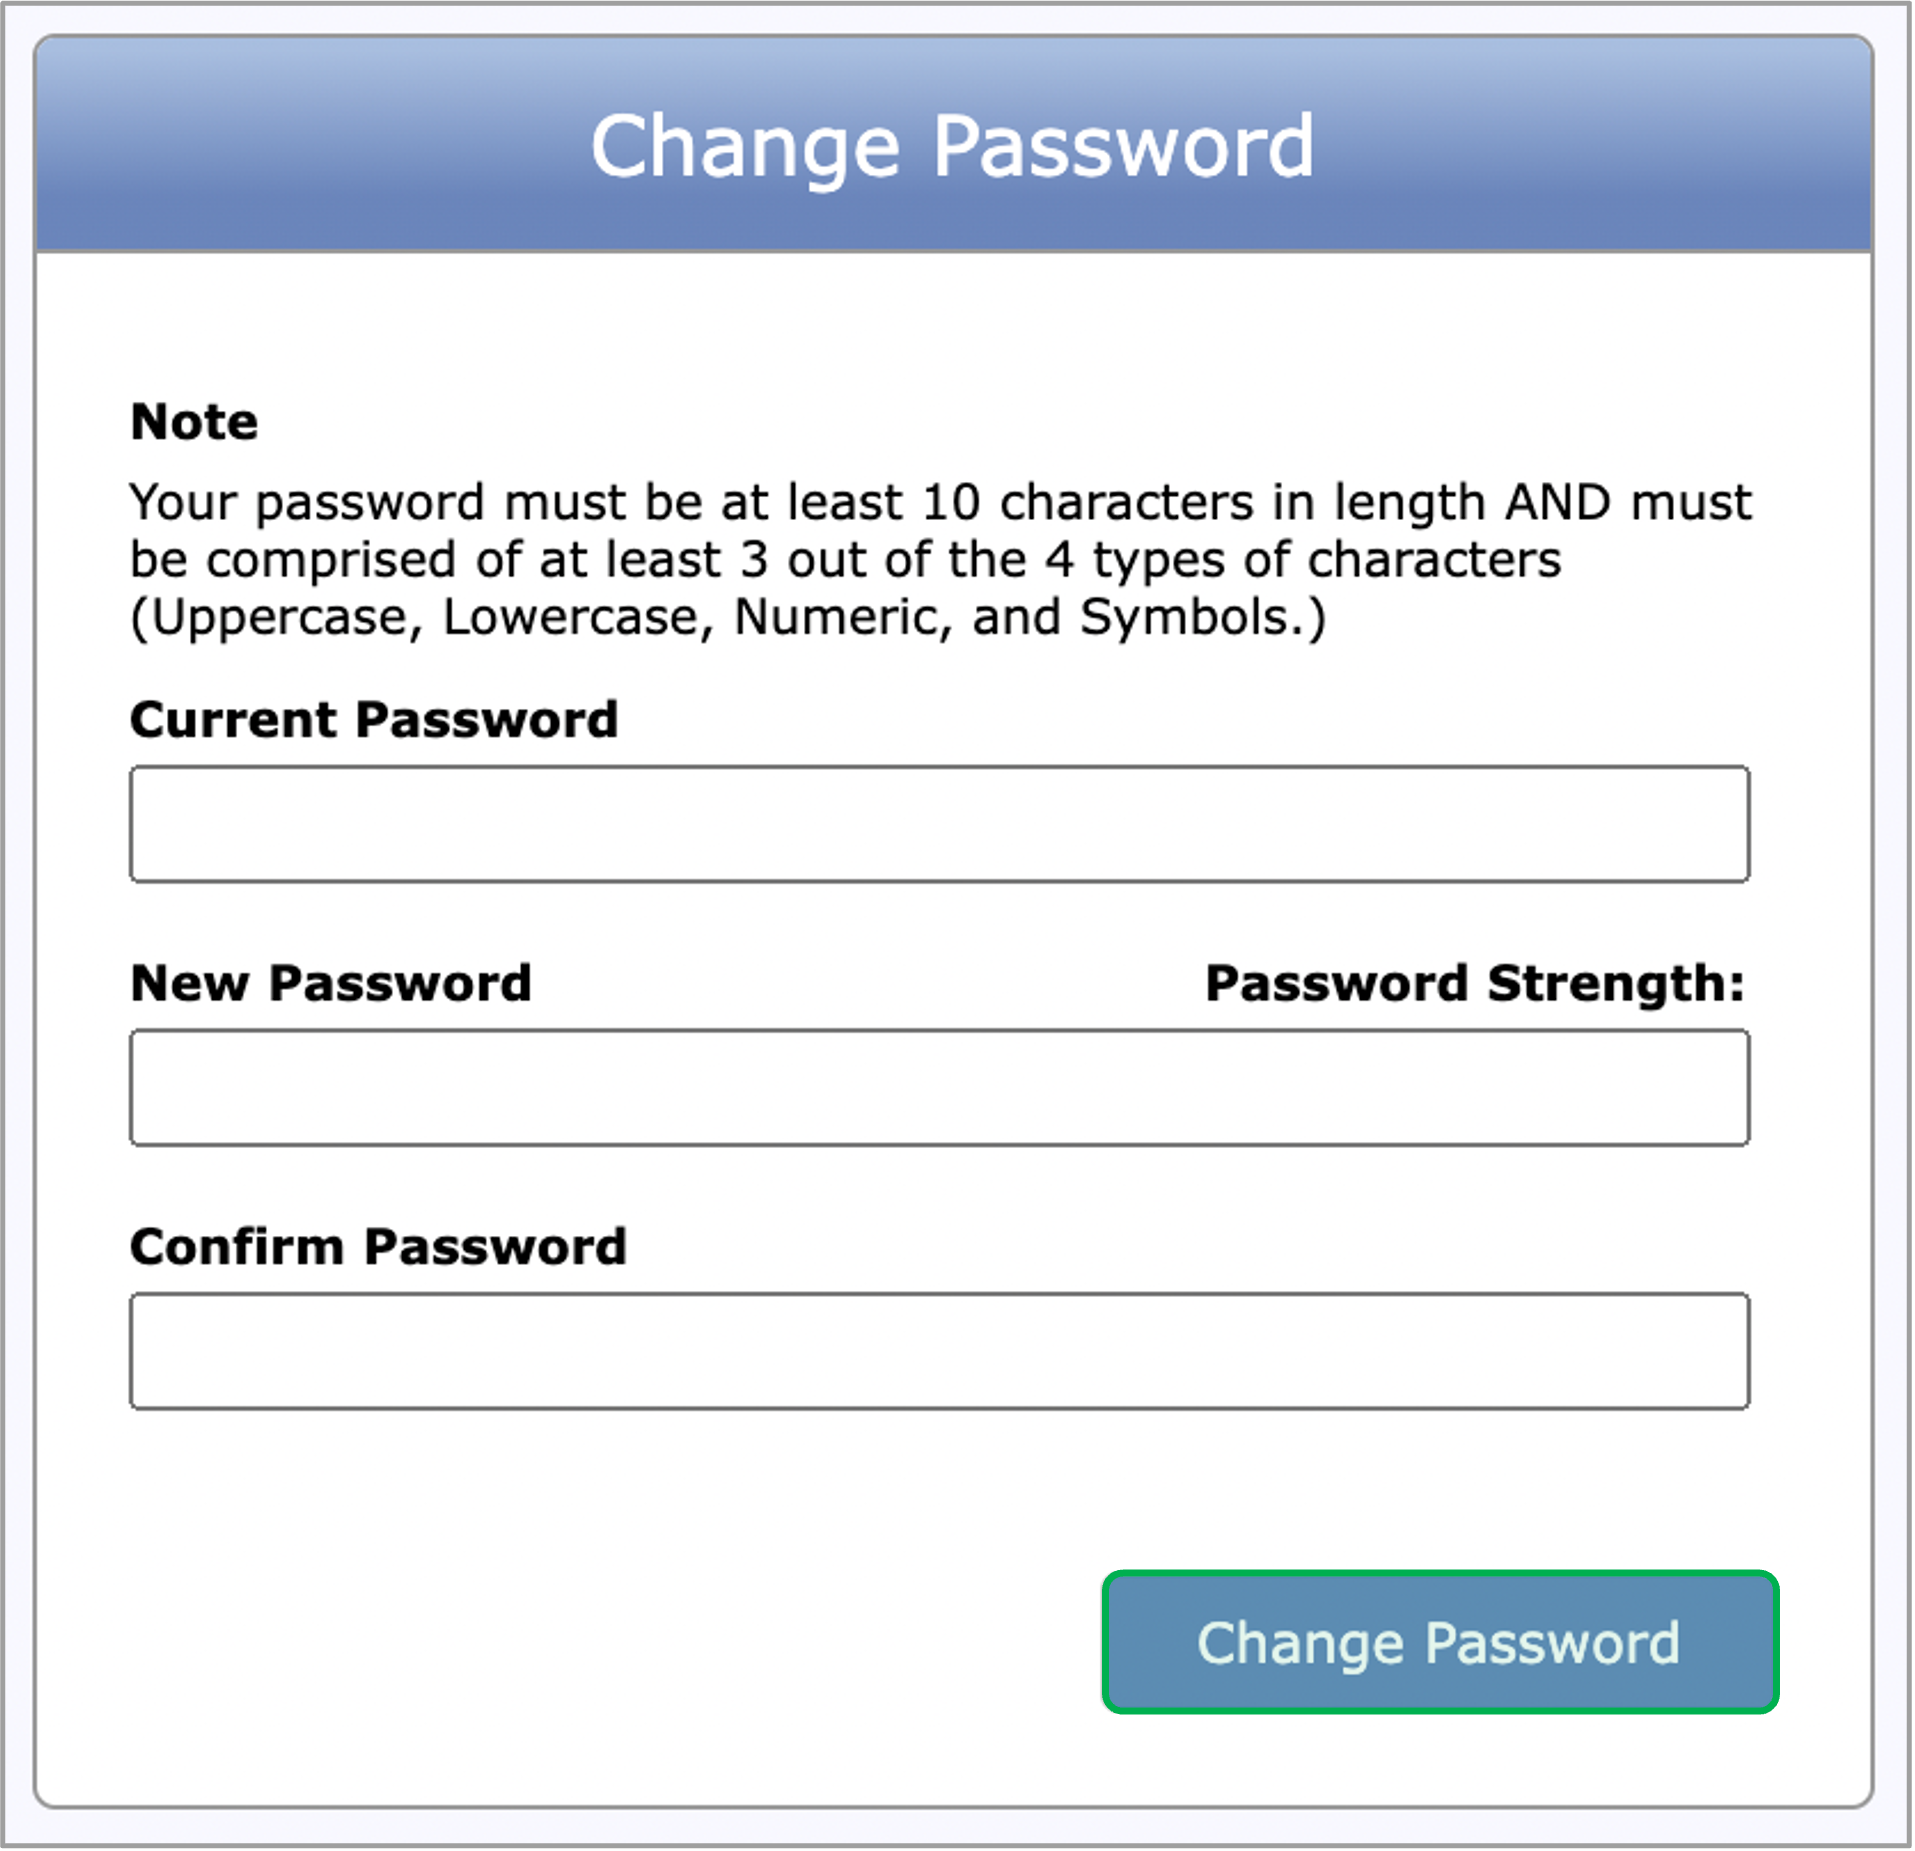
Change Password
This tab allows contractors to update their password. Enter in your previous password followed by the new password. When ready, click Change Password.
Help Icon
The Help Icon can be access on the top right side of most tabs that you are in.
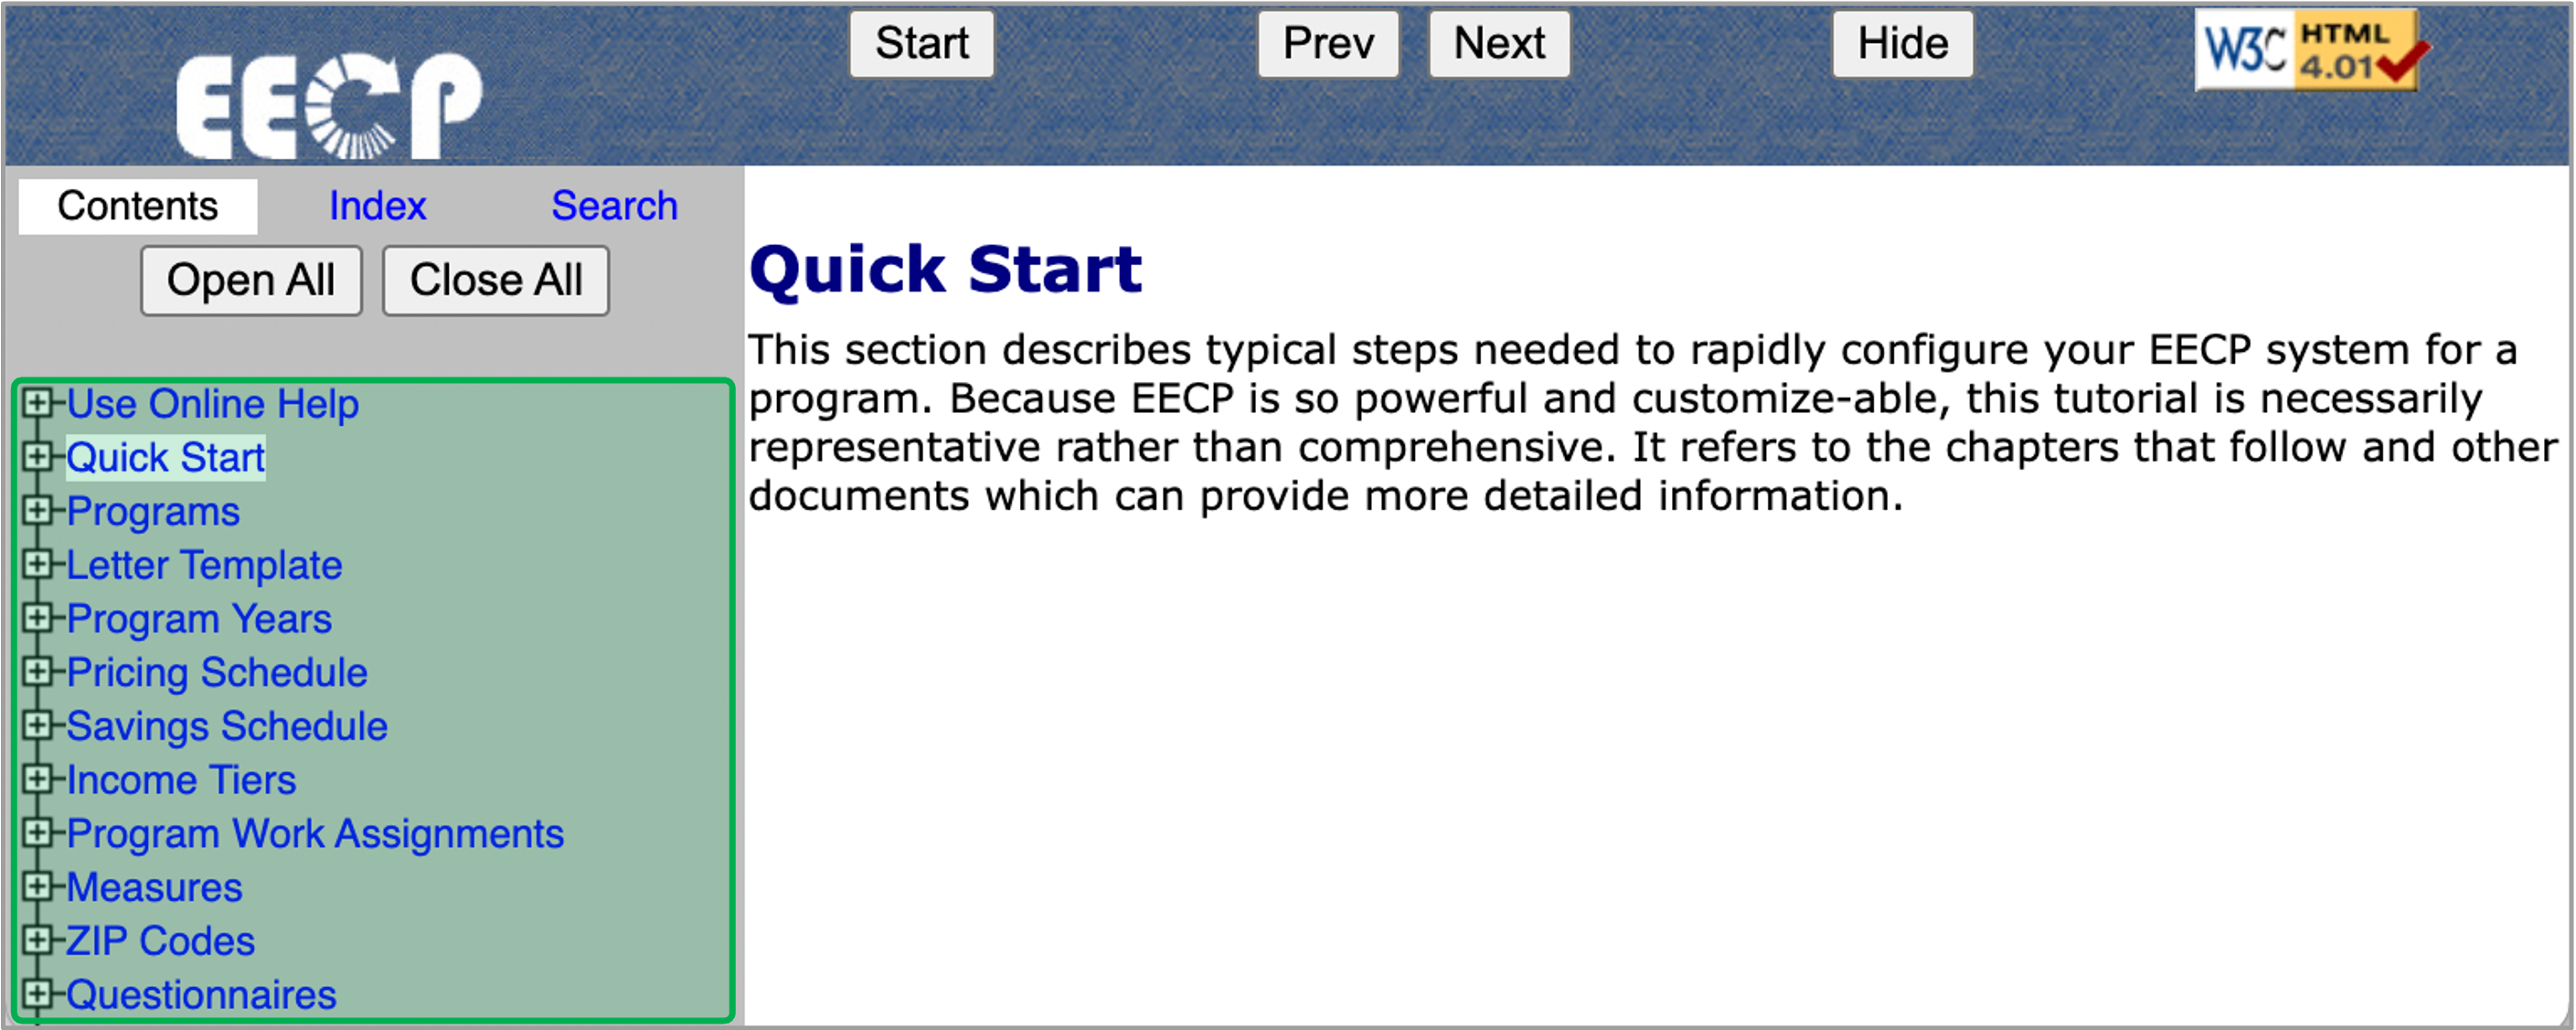
Online Help
Use the expandable tabs from the left hand page tree to locate the additional guidance you are looking for.
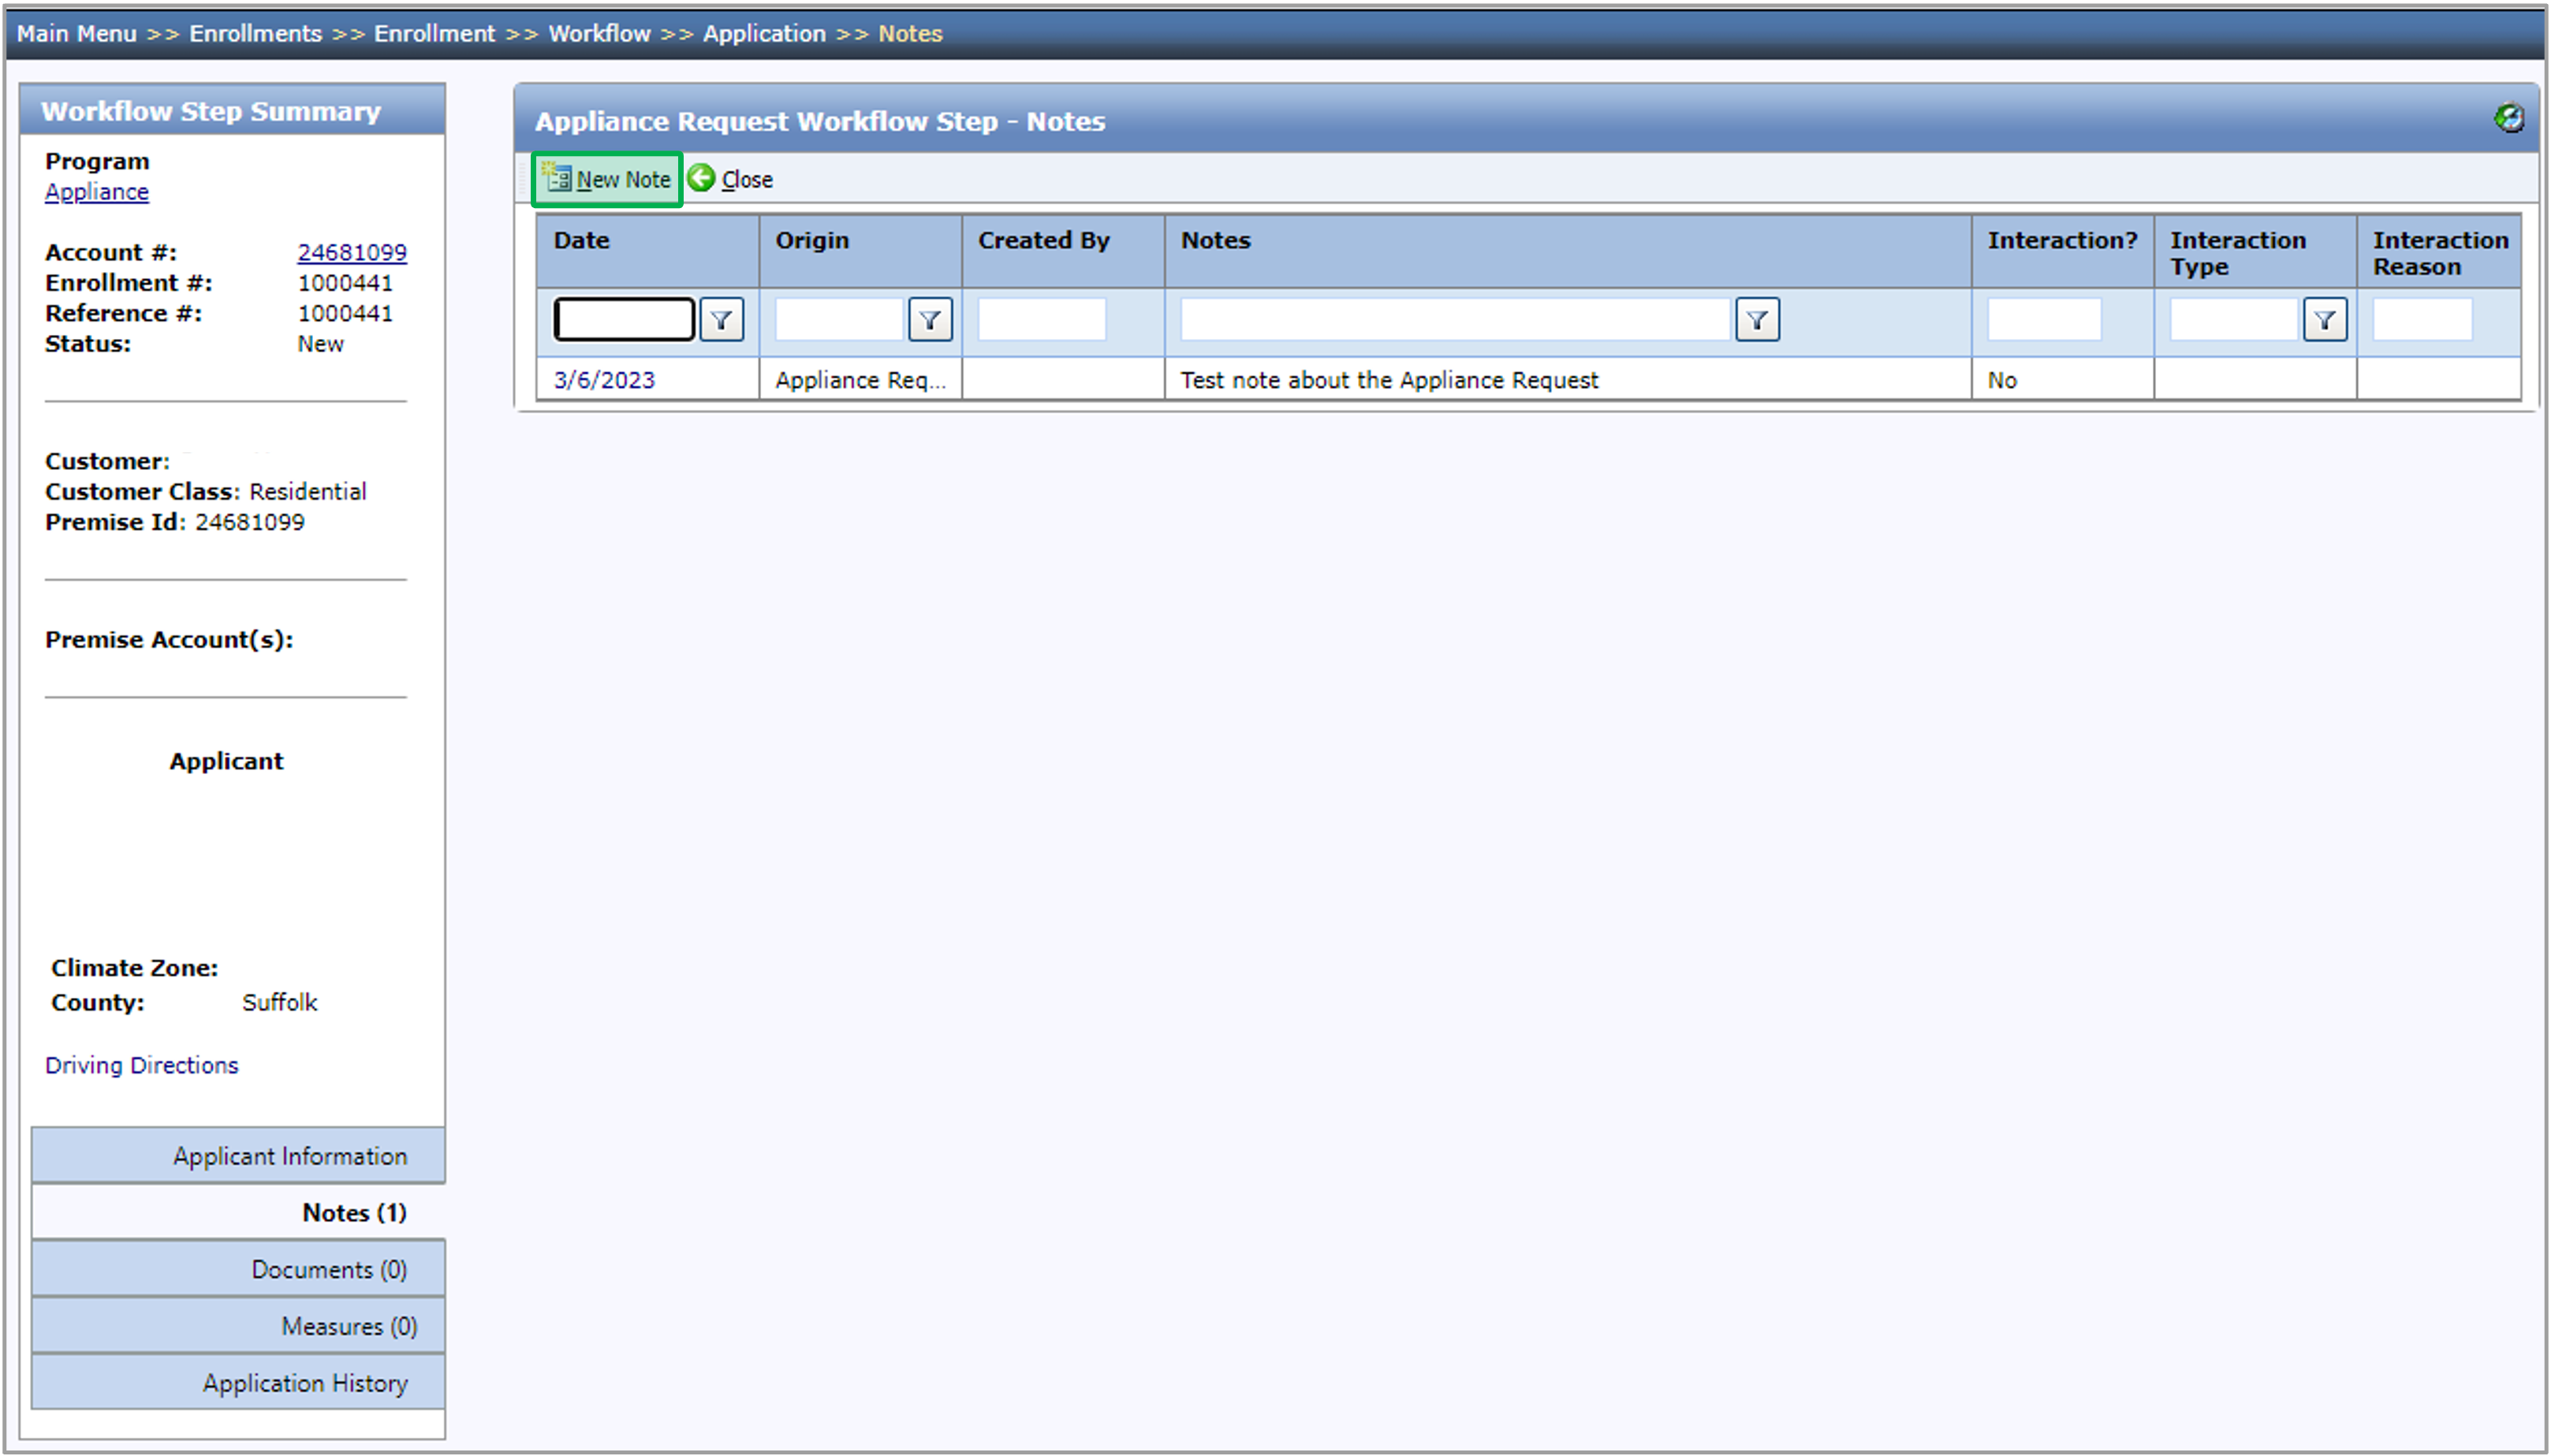
The instruction below provides guidances on how to add notes within an enrollment.
The following Notes will be displayed on the Notes tab:
- The Notes that were added to this workflow step.
- The Notes that were added to a different workflow step that the user has access to.
- The Notes that were added to a different workflow step that the user does not have access to as long as the Note’s Who can view this note? field is set to Users with access to this enrollment.
To add a new note, click the New Note button. A new Note dialog will open.
Fill in the Notes field.
The Note Date and Note Time fields will automatically populate with the date and time the user clicked New Note, but the user will have the ability to change the prepopulated values.
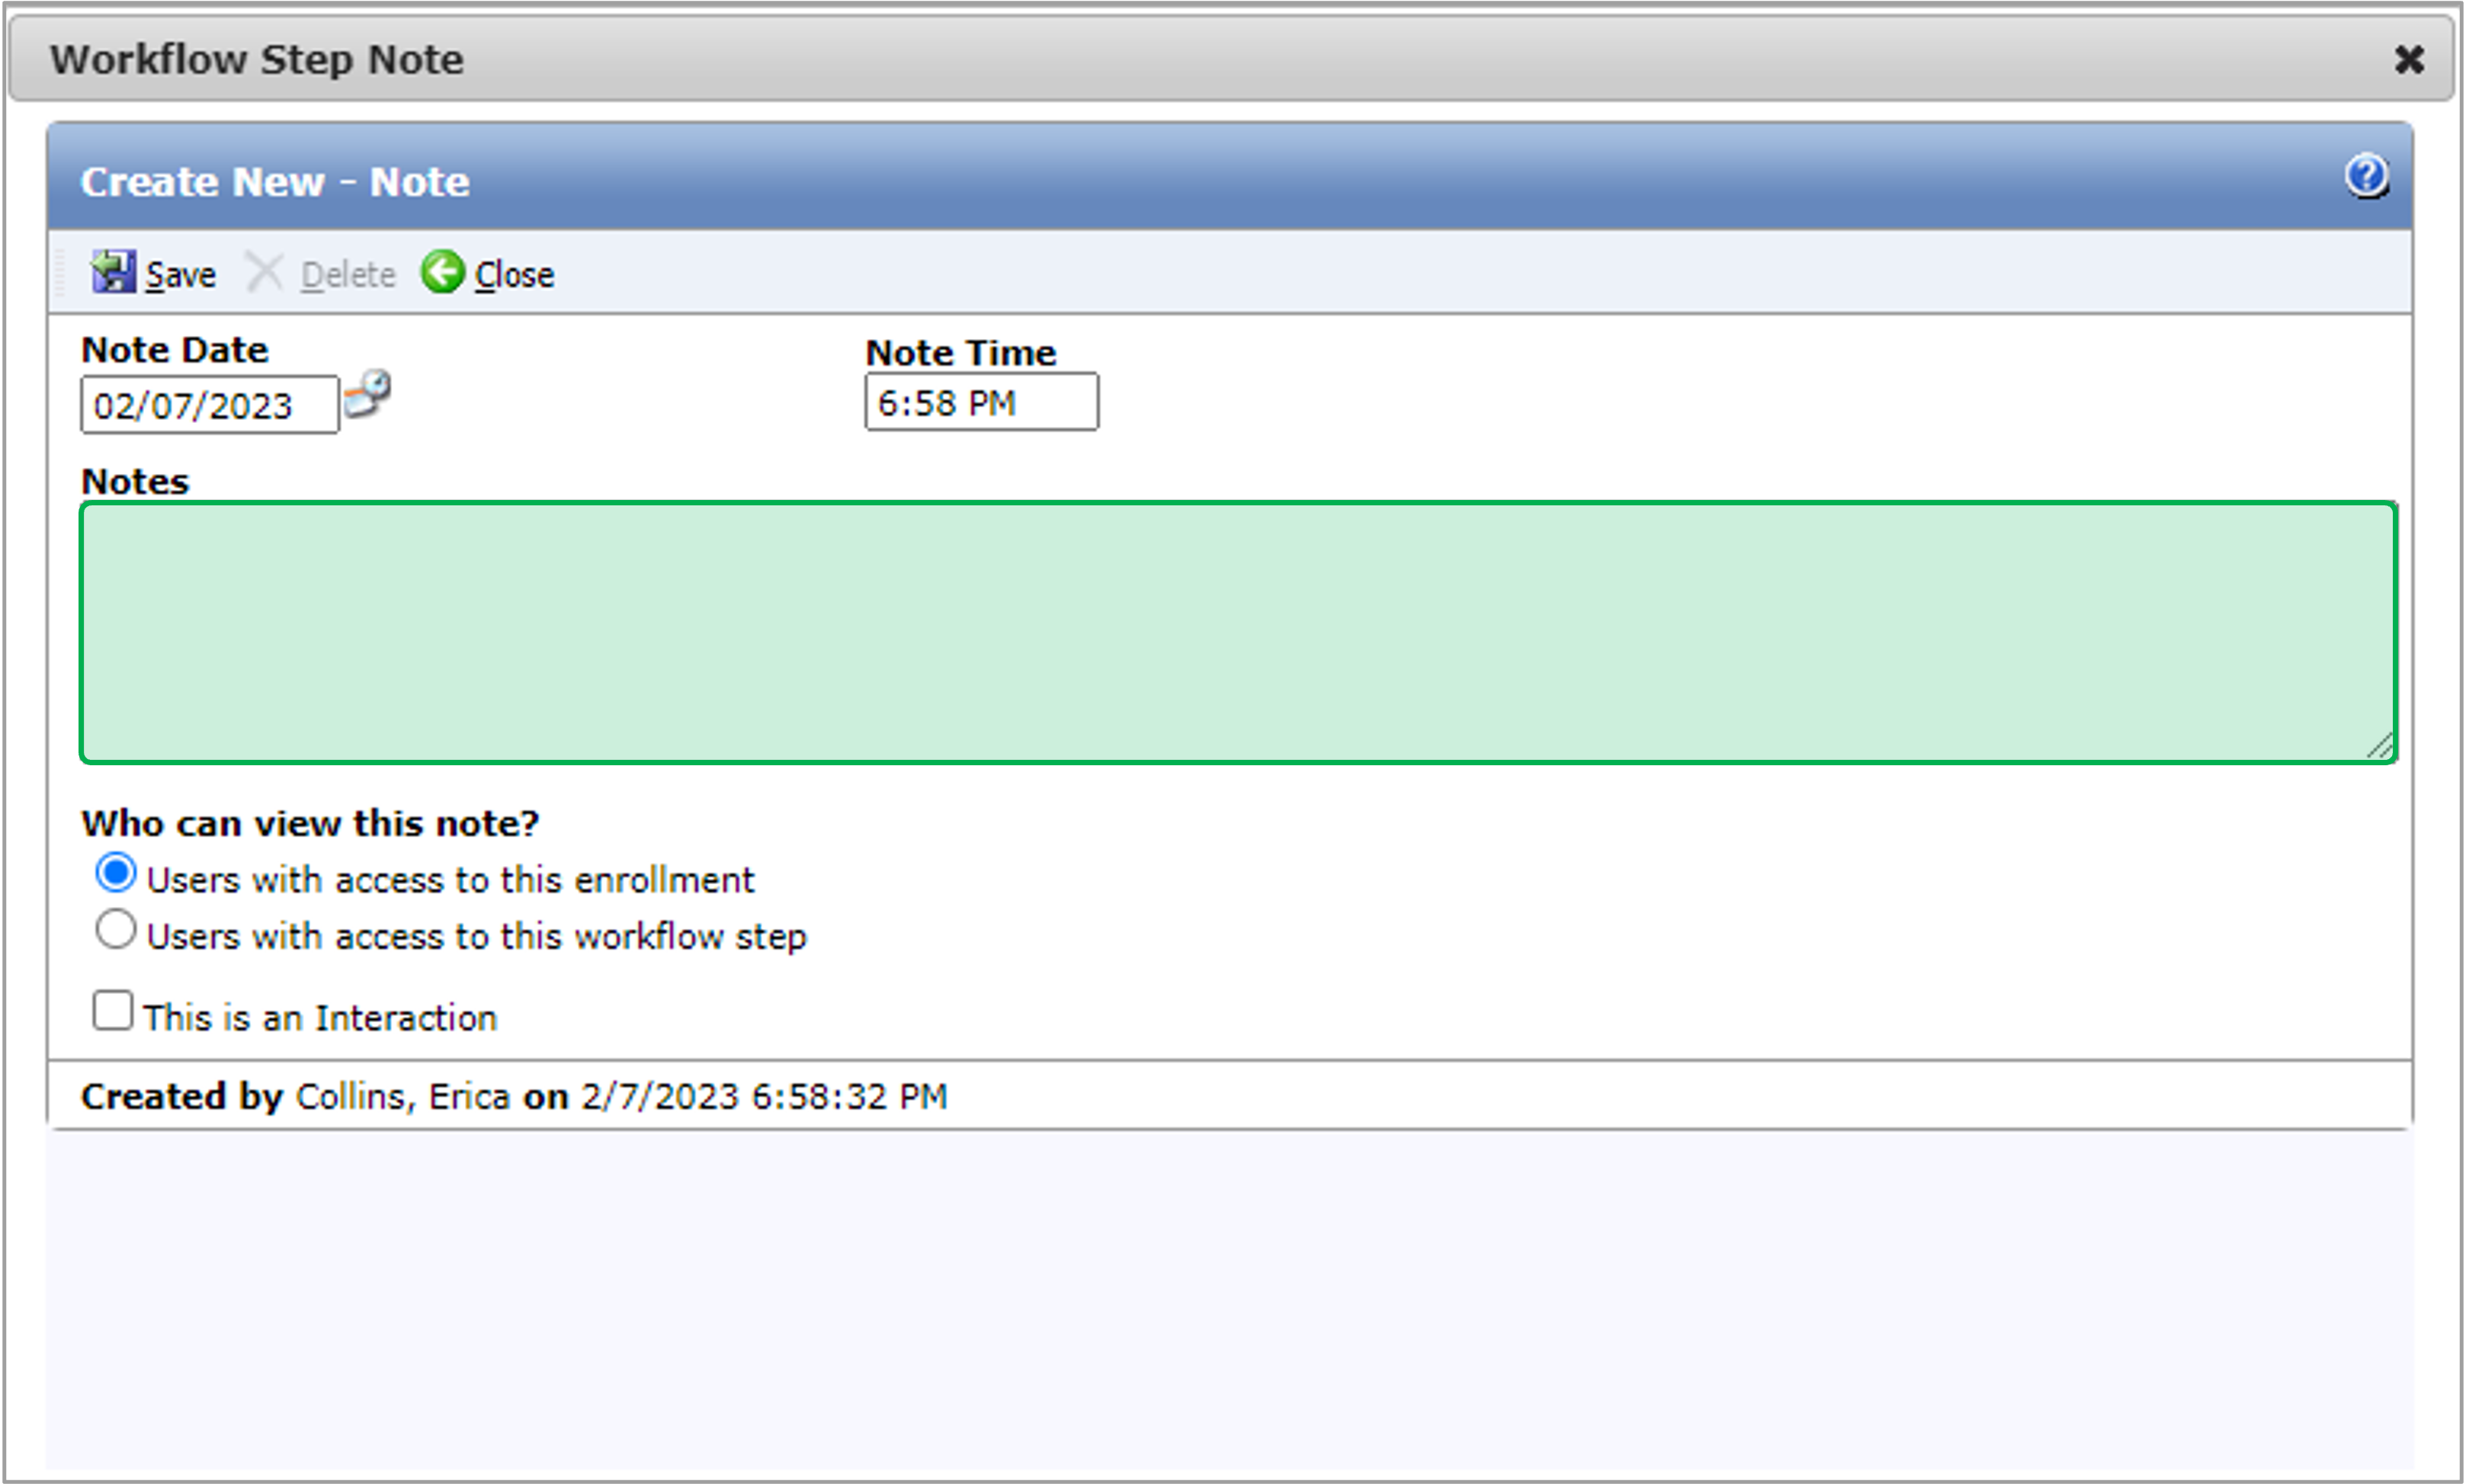
The Who can view this note? field will default to Users with access to this enrollment.
If a user changes the default value to Users with access to this workflow step, users who do not have access to the step that the Note originated from will not be able to see the Note on the steps that they can access or on the Enrollment Profile - Notes page.
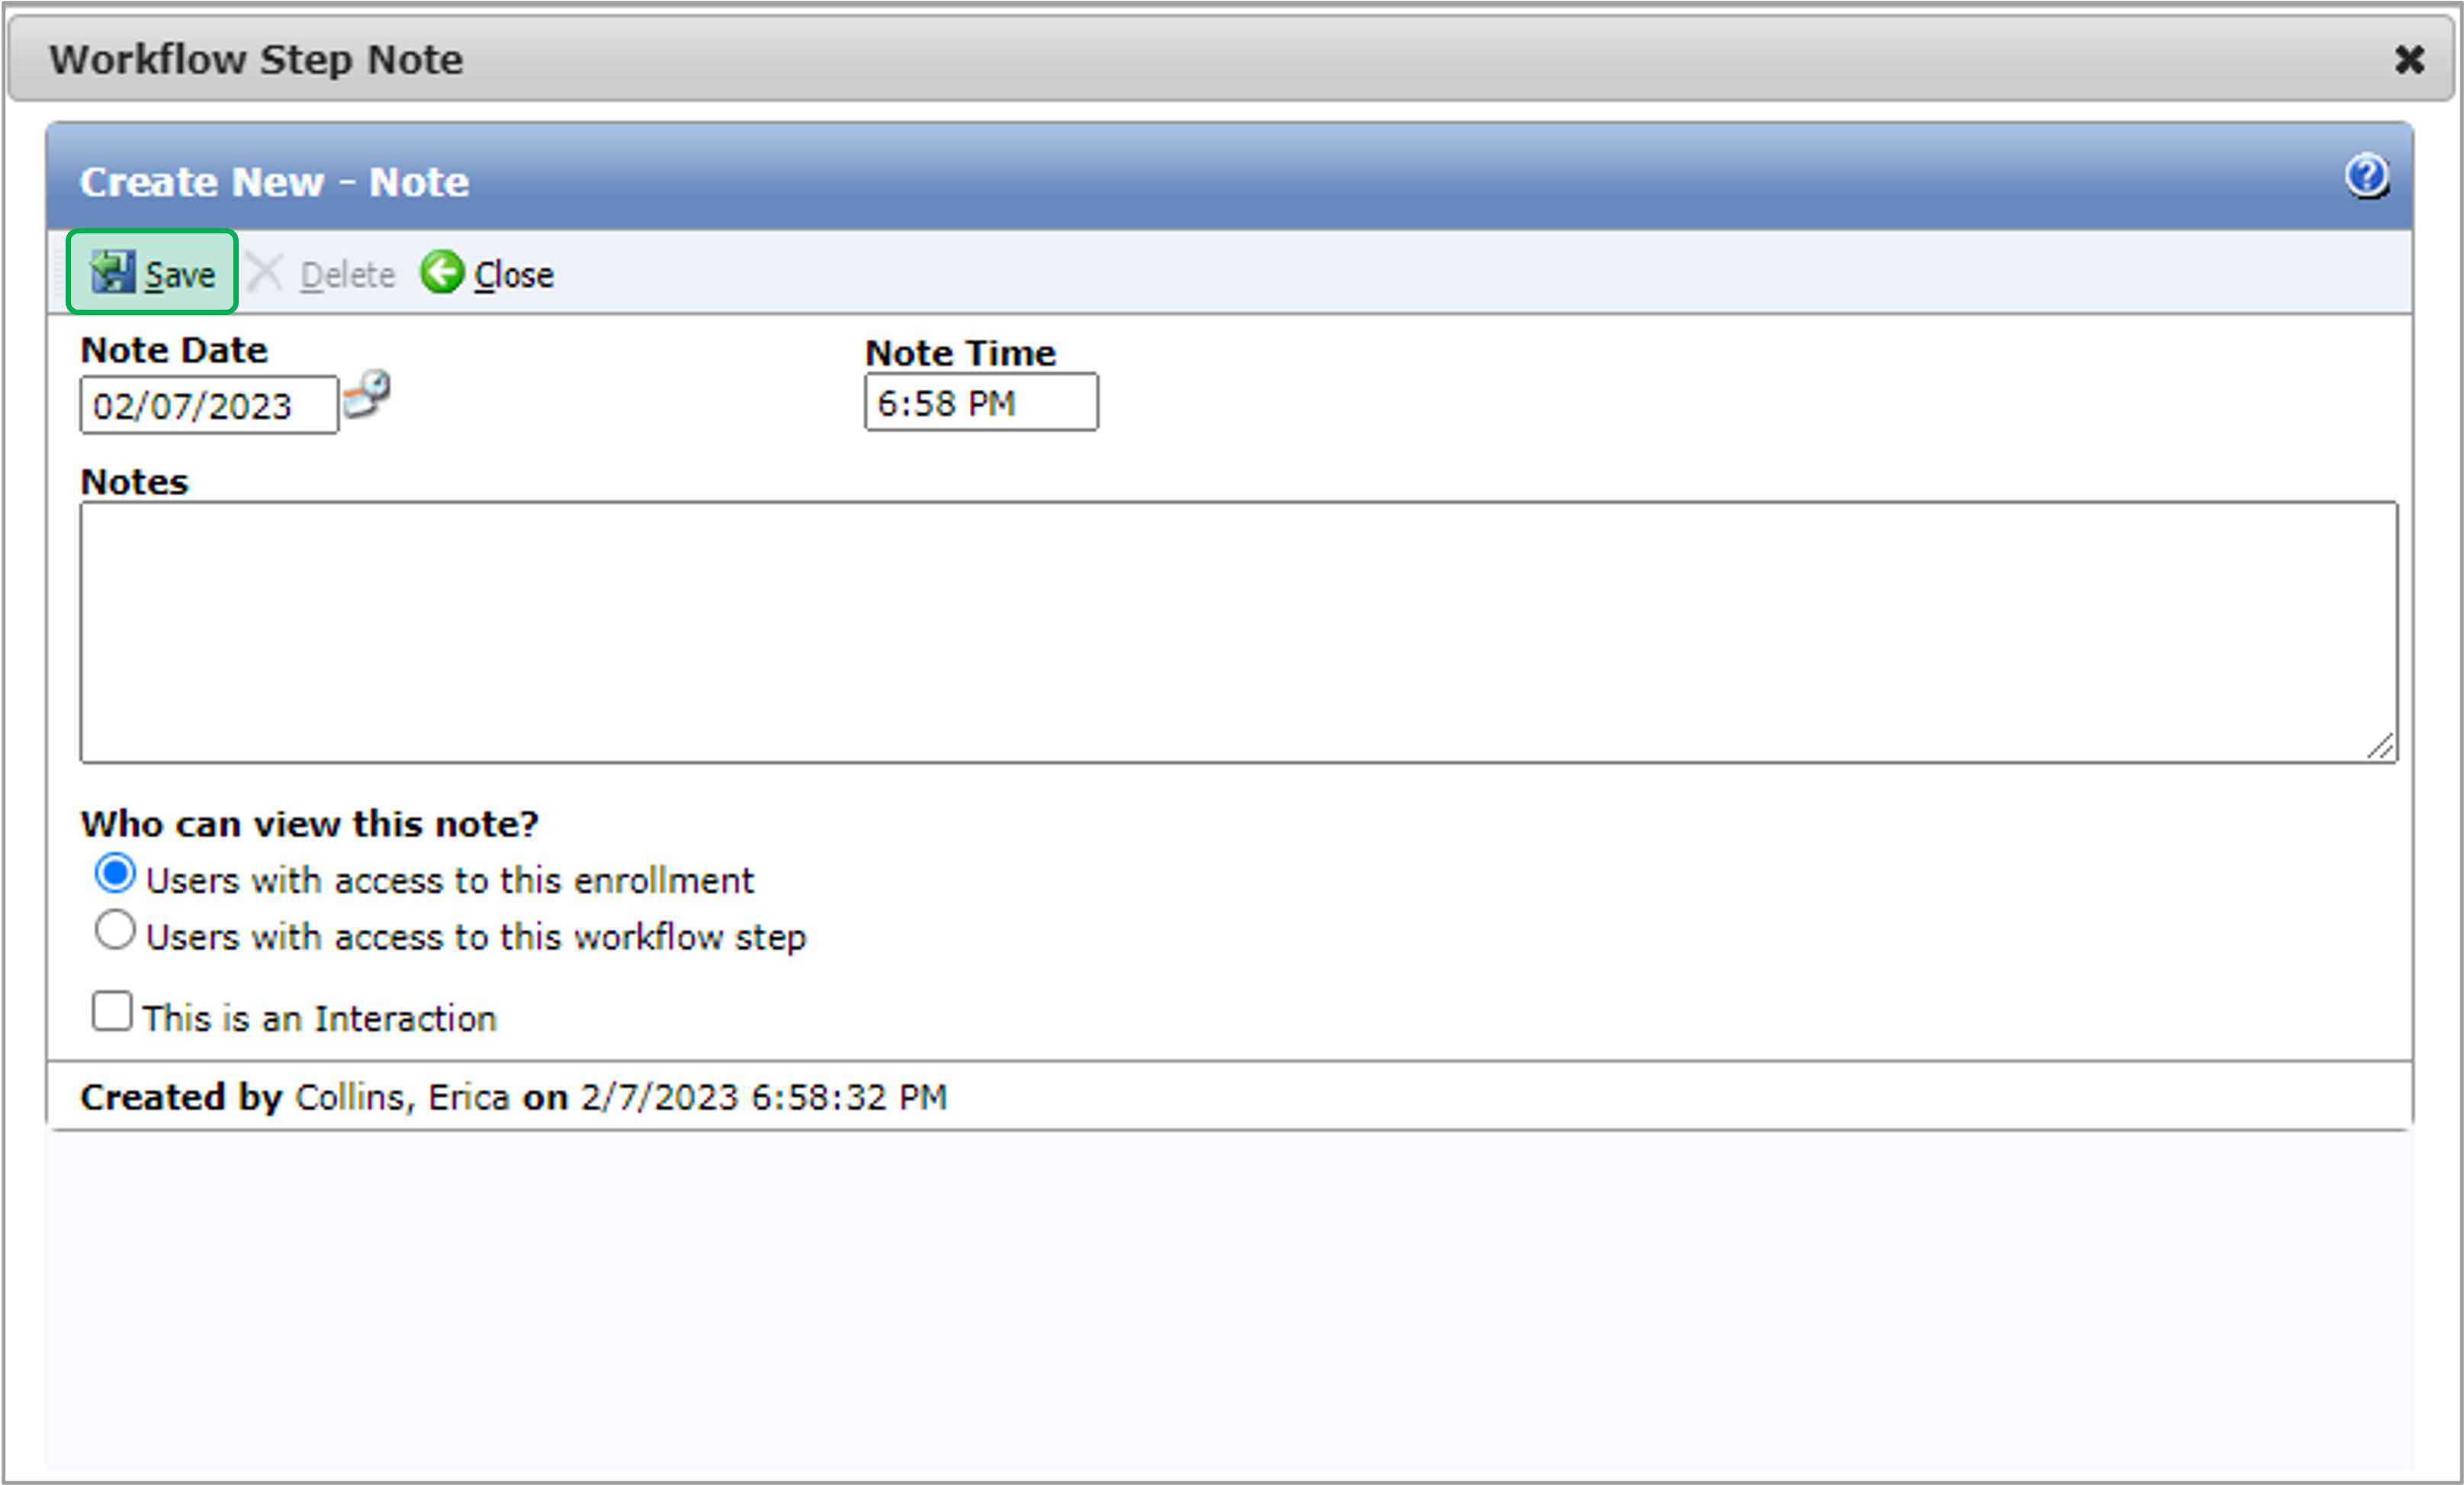
Click Save to save the new Note.
After you click Save, if your user does not belong to a group with the Workflow Step Notes - Edit role, they will not be able to edit the Note.
If your user does not belong to a group with the Workflow Step Notes - Delete role, they will not be able to delete the Note.
Contractors will not have the ability to Edit or Delete notes.
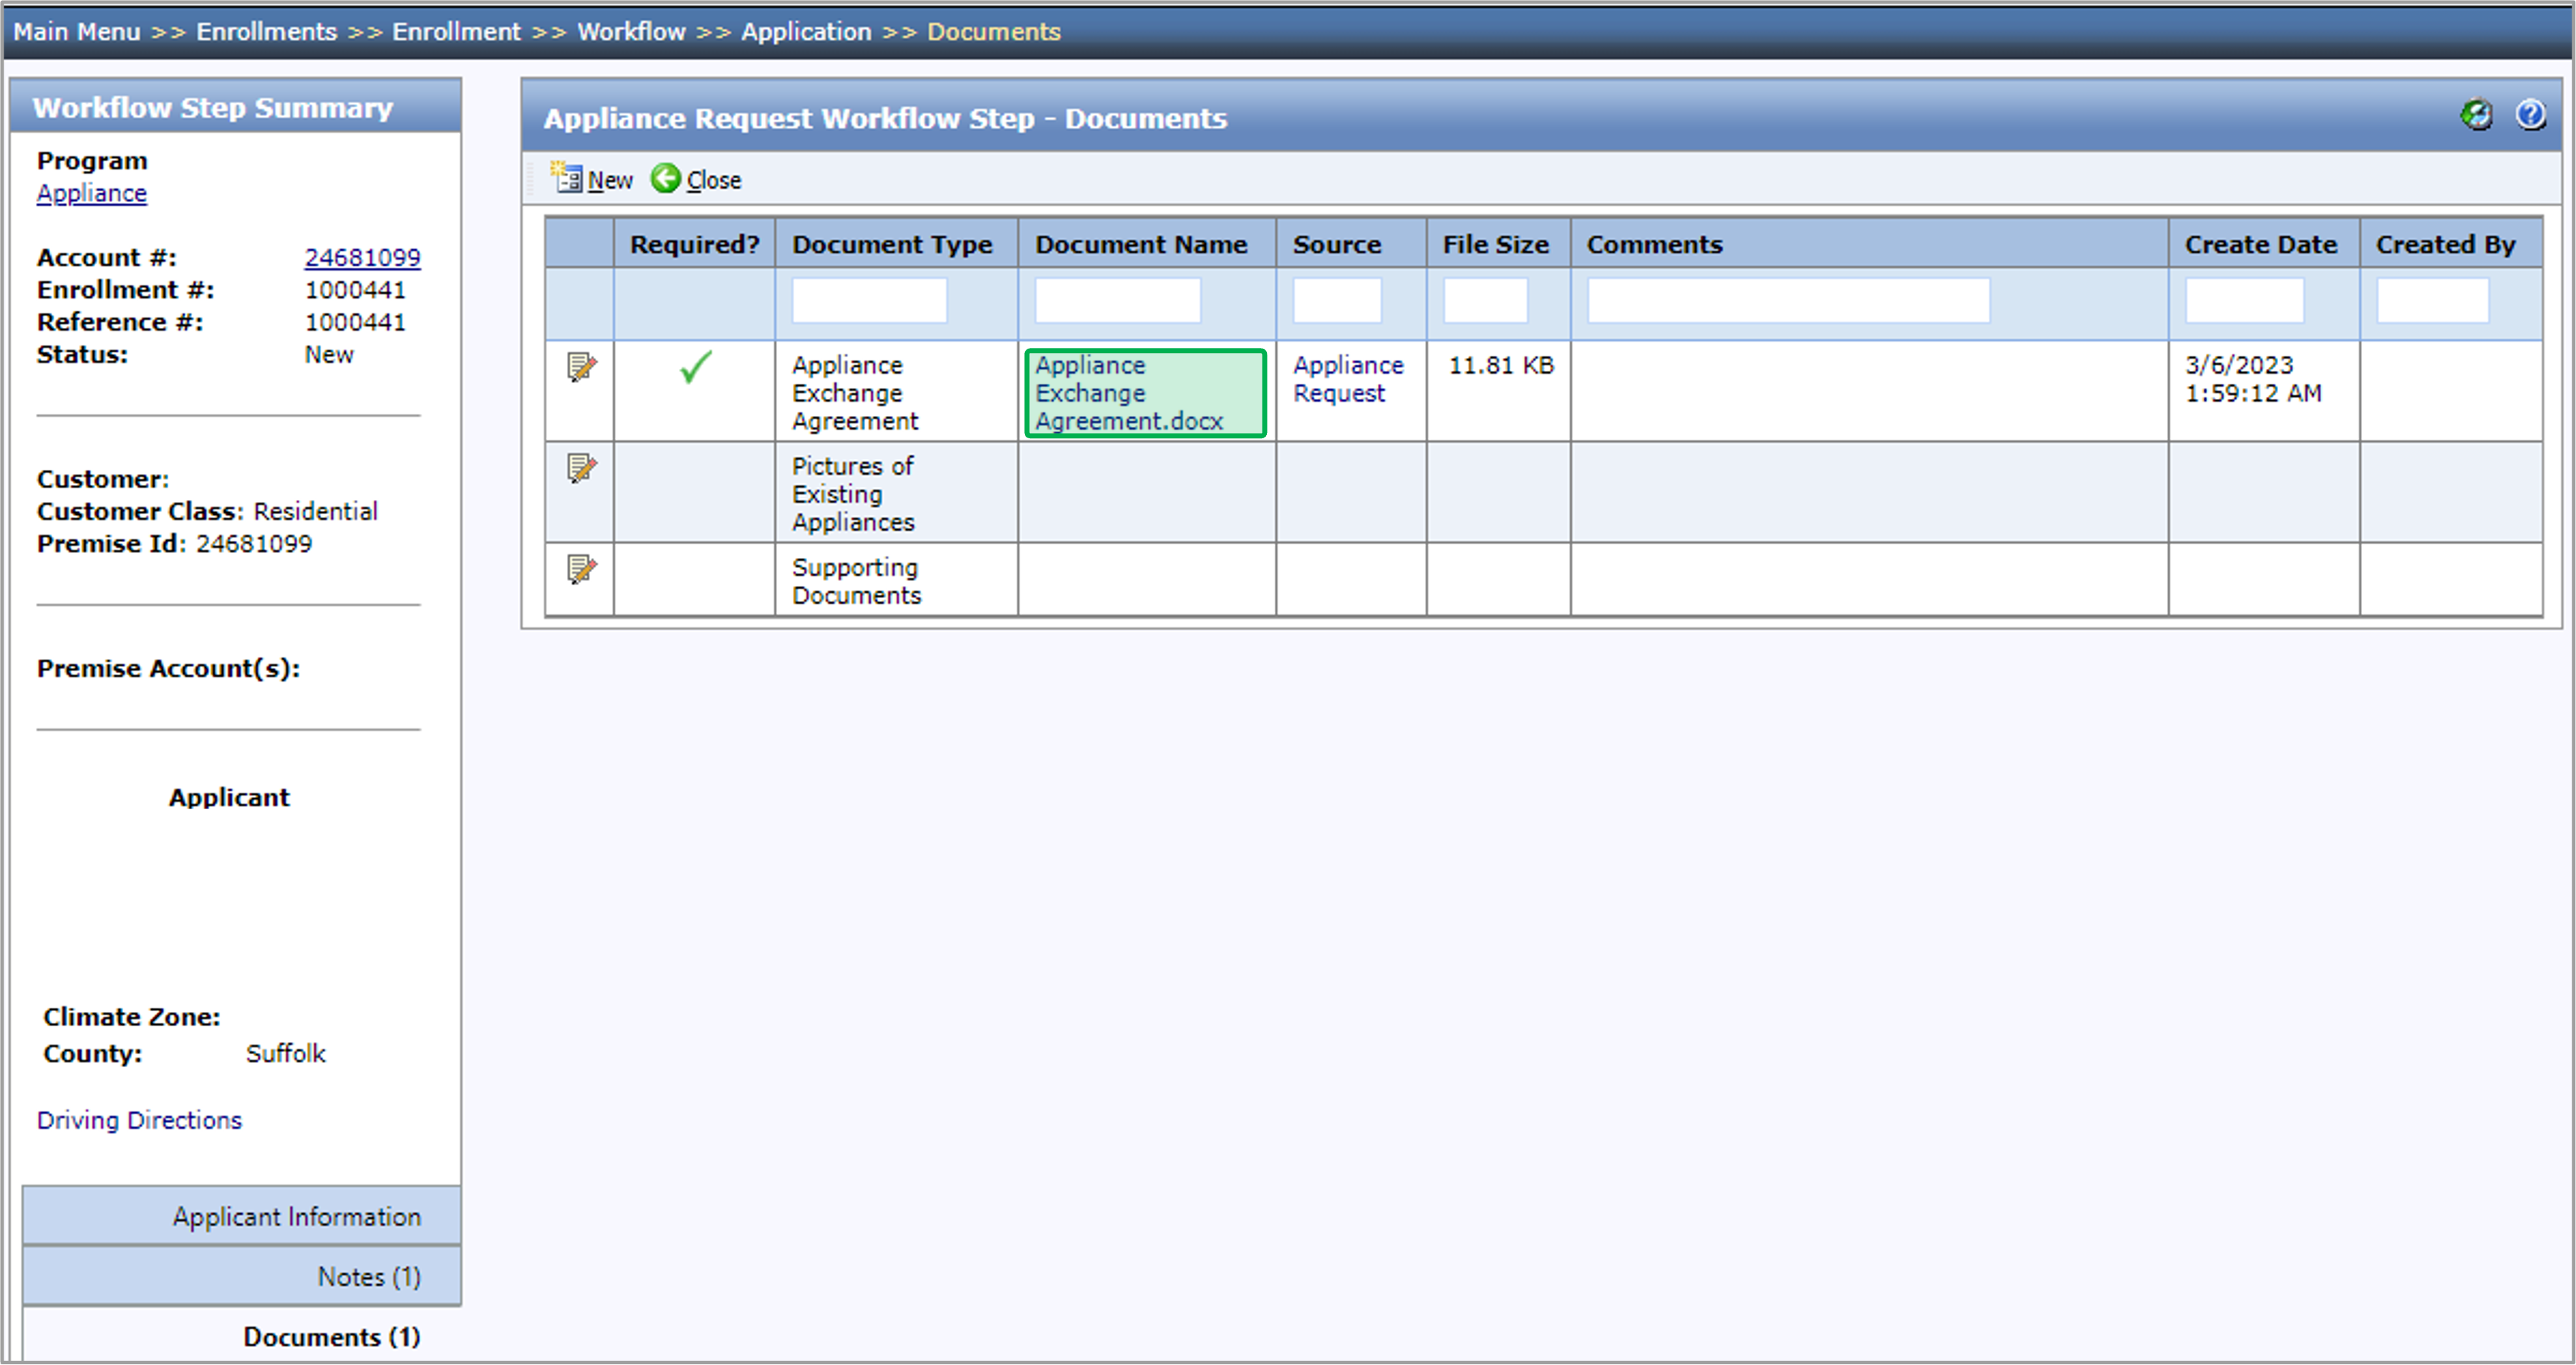
The instruction below provides guidances on how to upload document(s) within an enrollment. A red exclamation mark will be displayed under the Required column indicating the document type being a Required Document.
To upload a Document, click the Edit button icon in that Document Type’s row, the Document dialog will open.

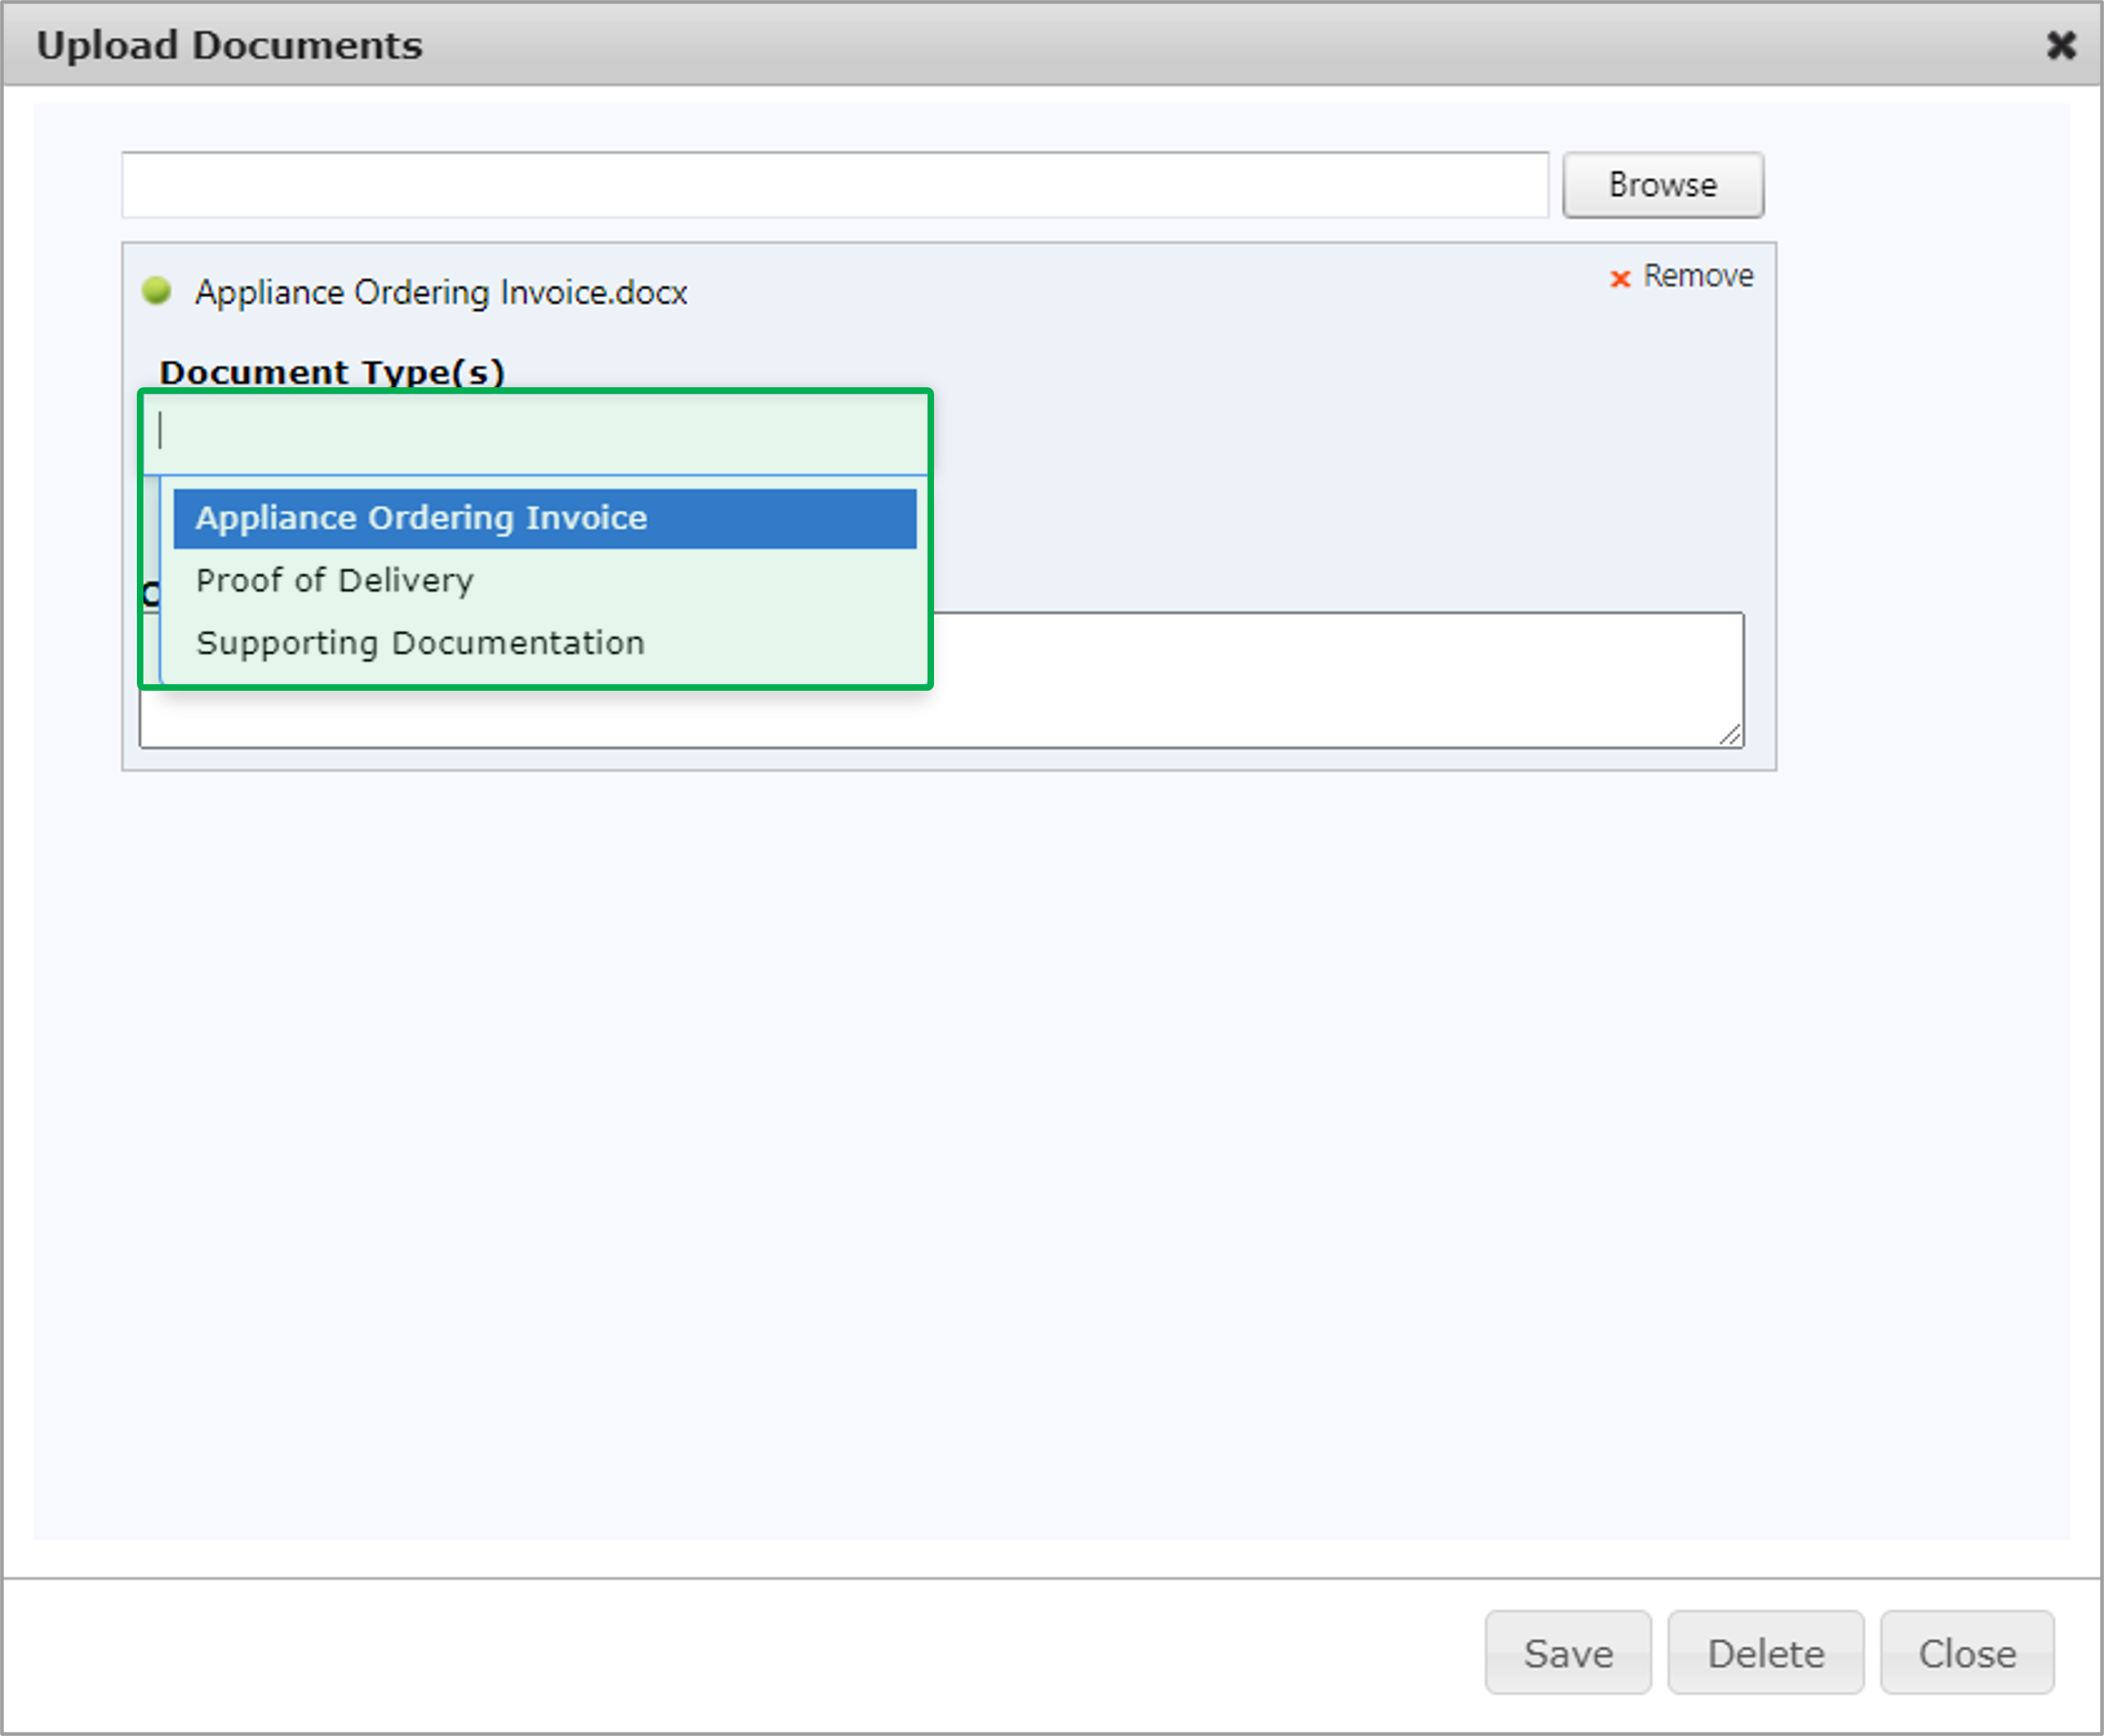
Click Browse to select a file to upload.
After you’ve selected a file, you can remove it by clicking the x Remove button.
After the file is uploaded for the Document Type, click Save and then click Close to upload the file and close the dialog.

To view an uploaded document, click the Document Name Hyperlink.
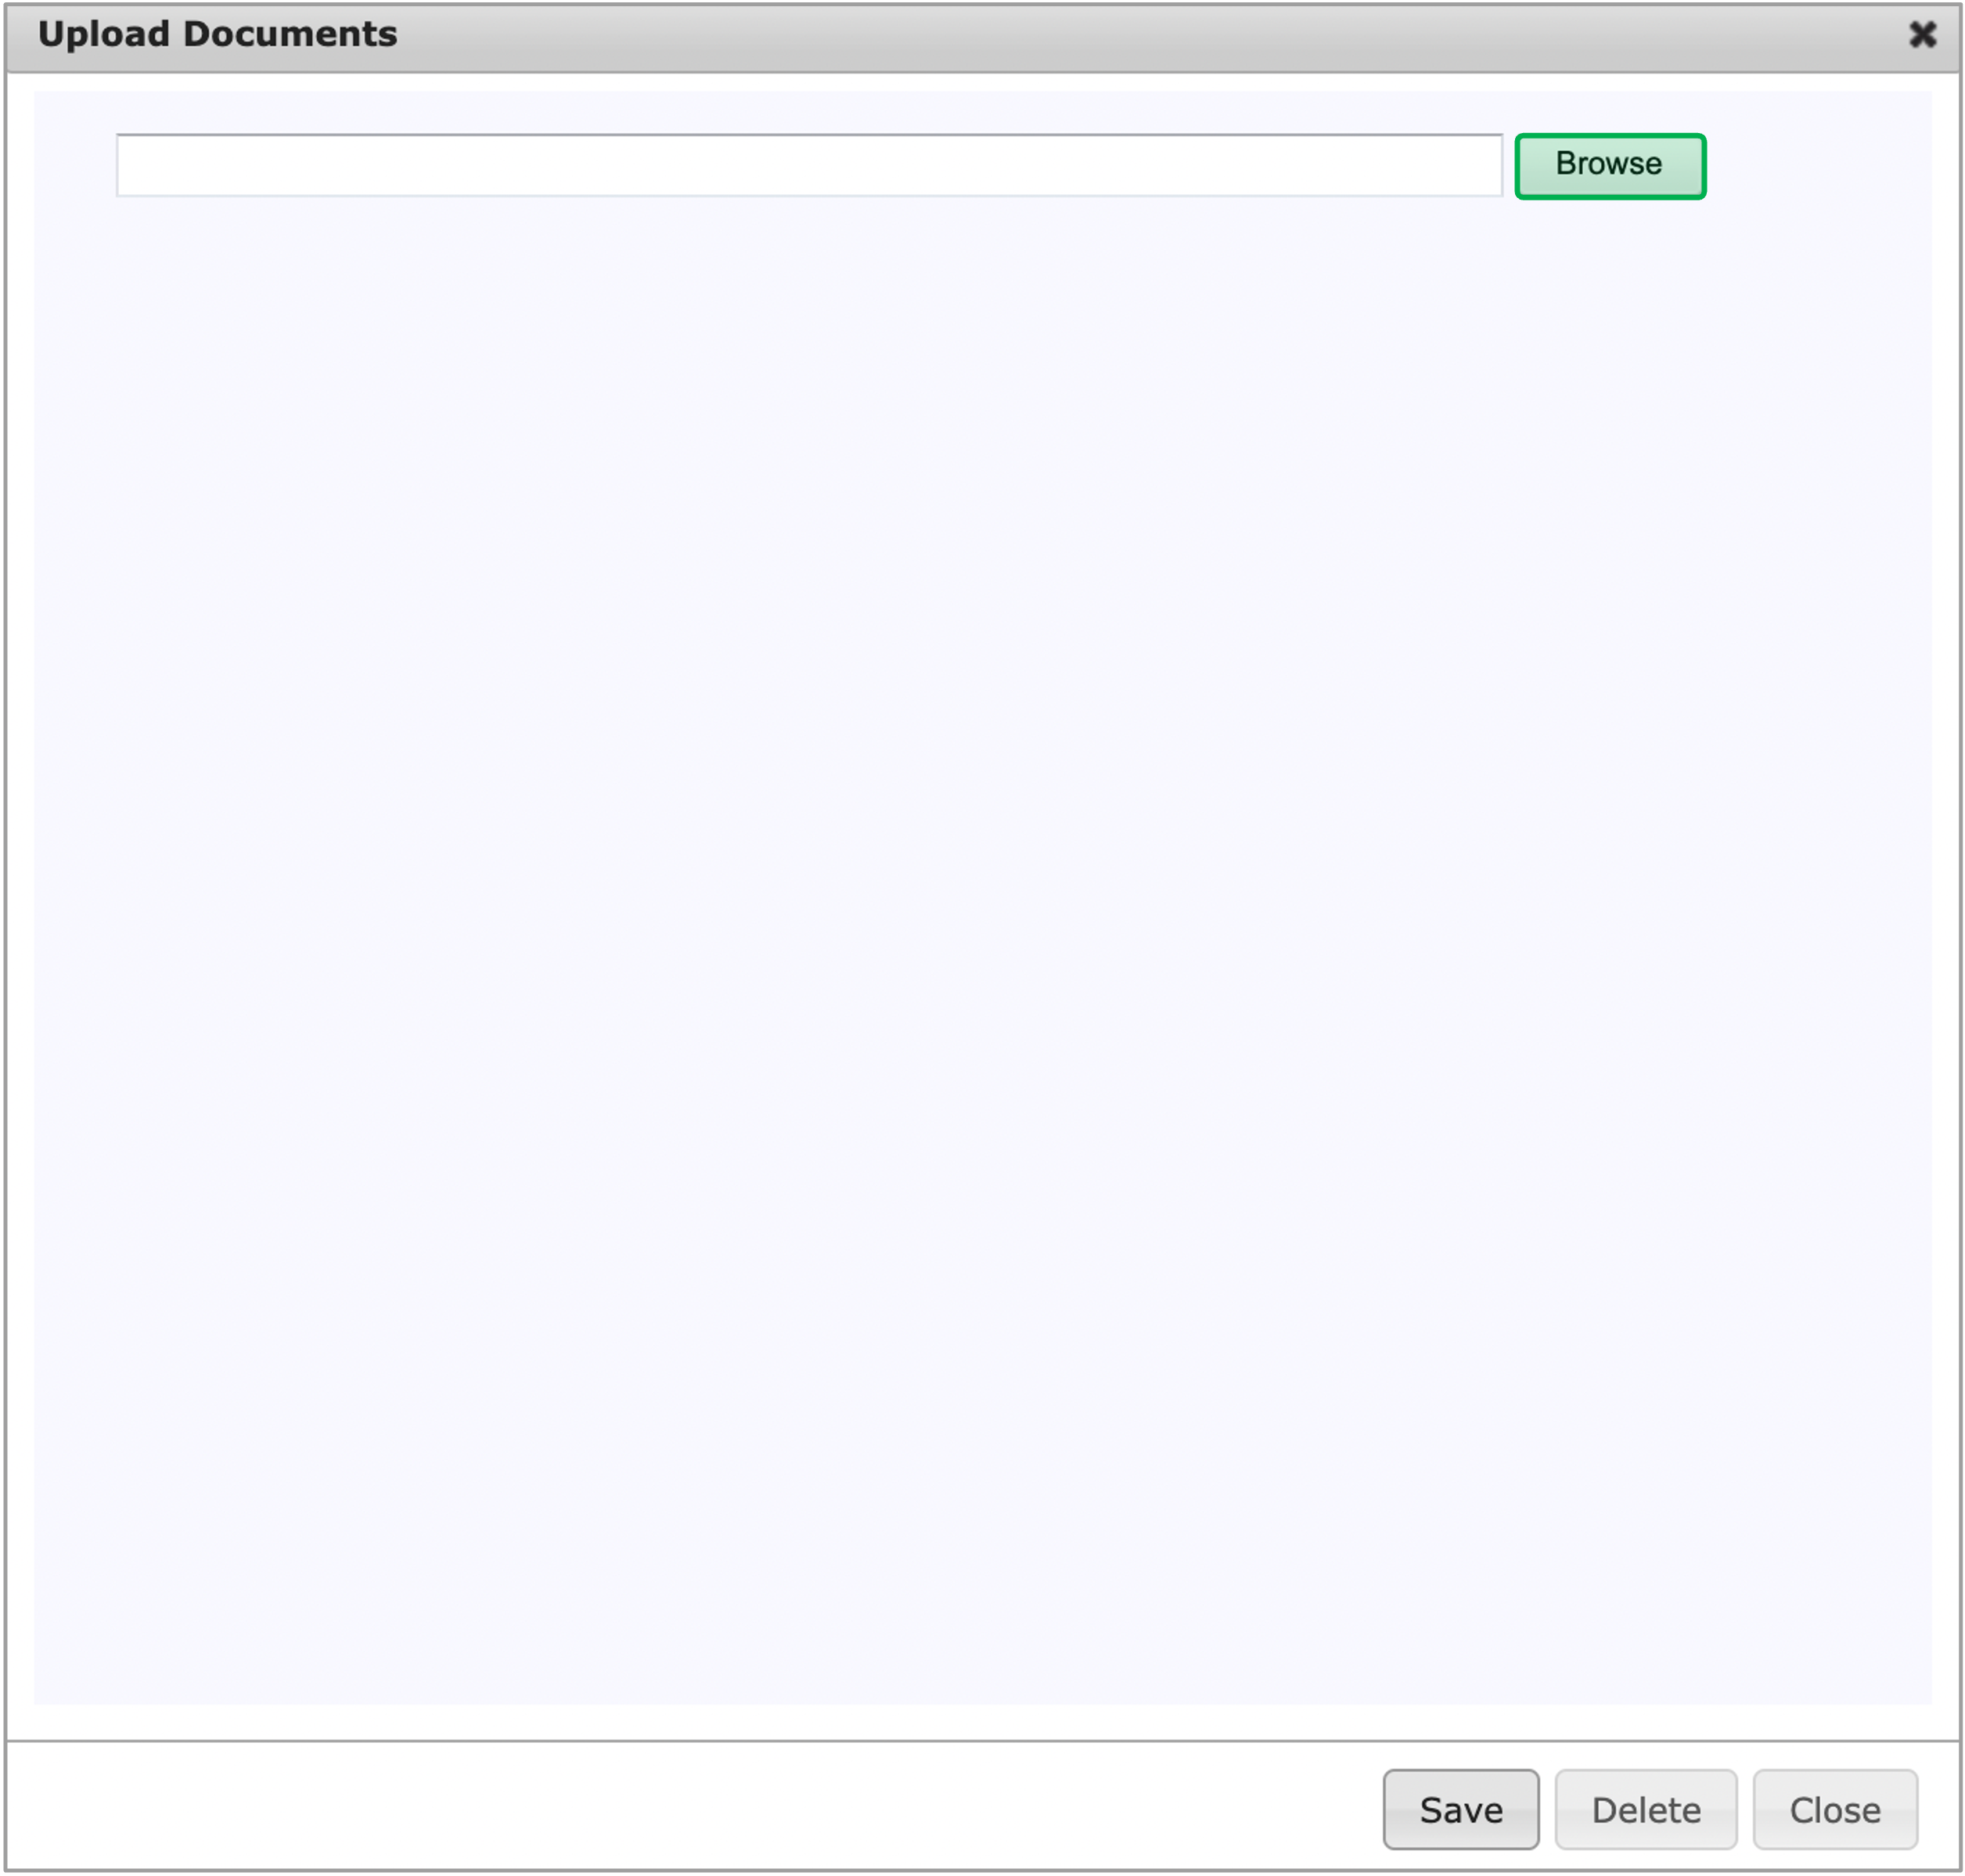
If you want to upload more than one Document Type at the same time, click the New button at the top of the Documents tab.

The Upload Documents dialog will open. You will need to select the Document Type for every file you choose in the Upload Documents dialog. When finished, click Save.
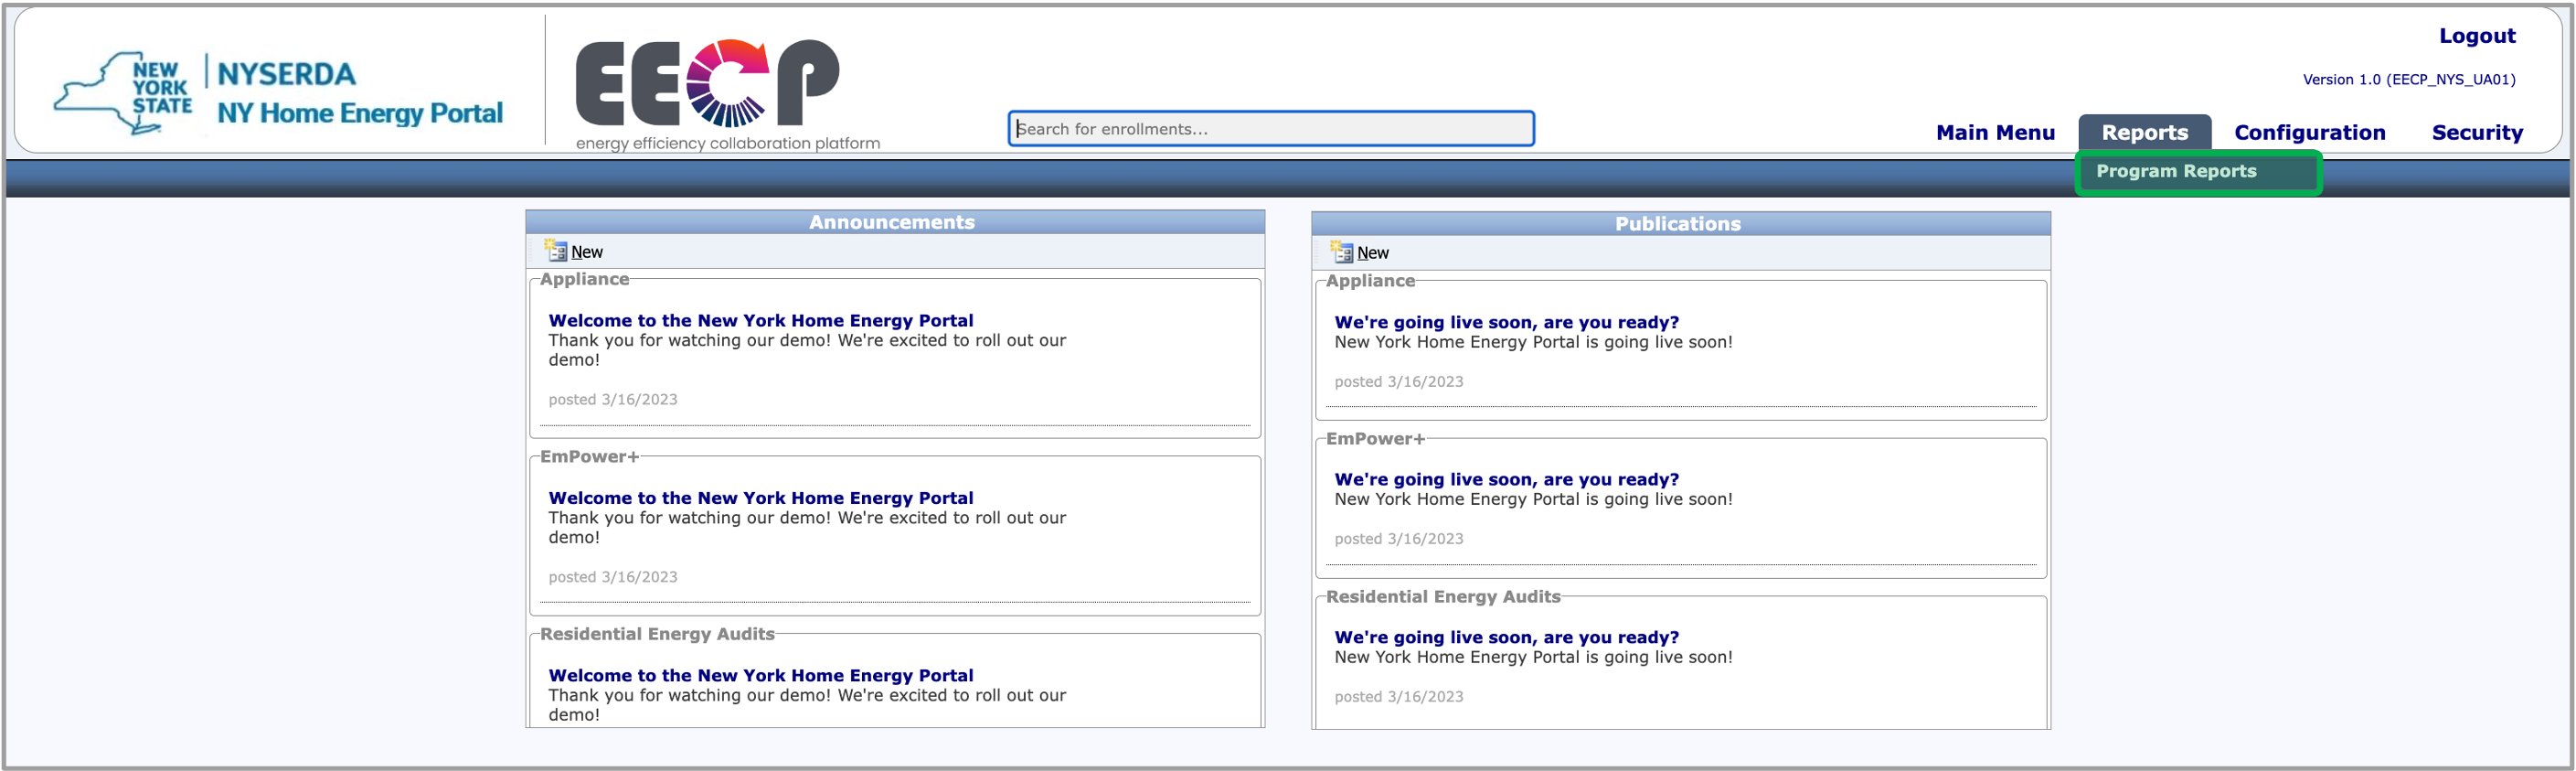
On the portal homepage, click the Program Reports under the Reports tab. A new window will pop-up directing you to the Reporting Services page
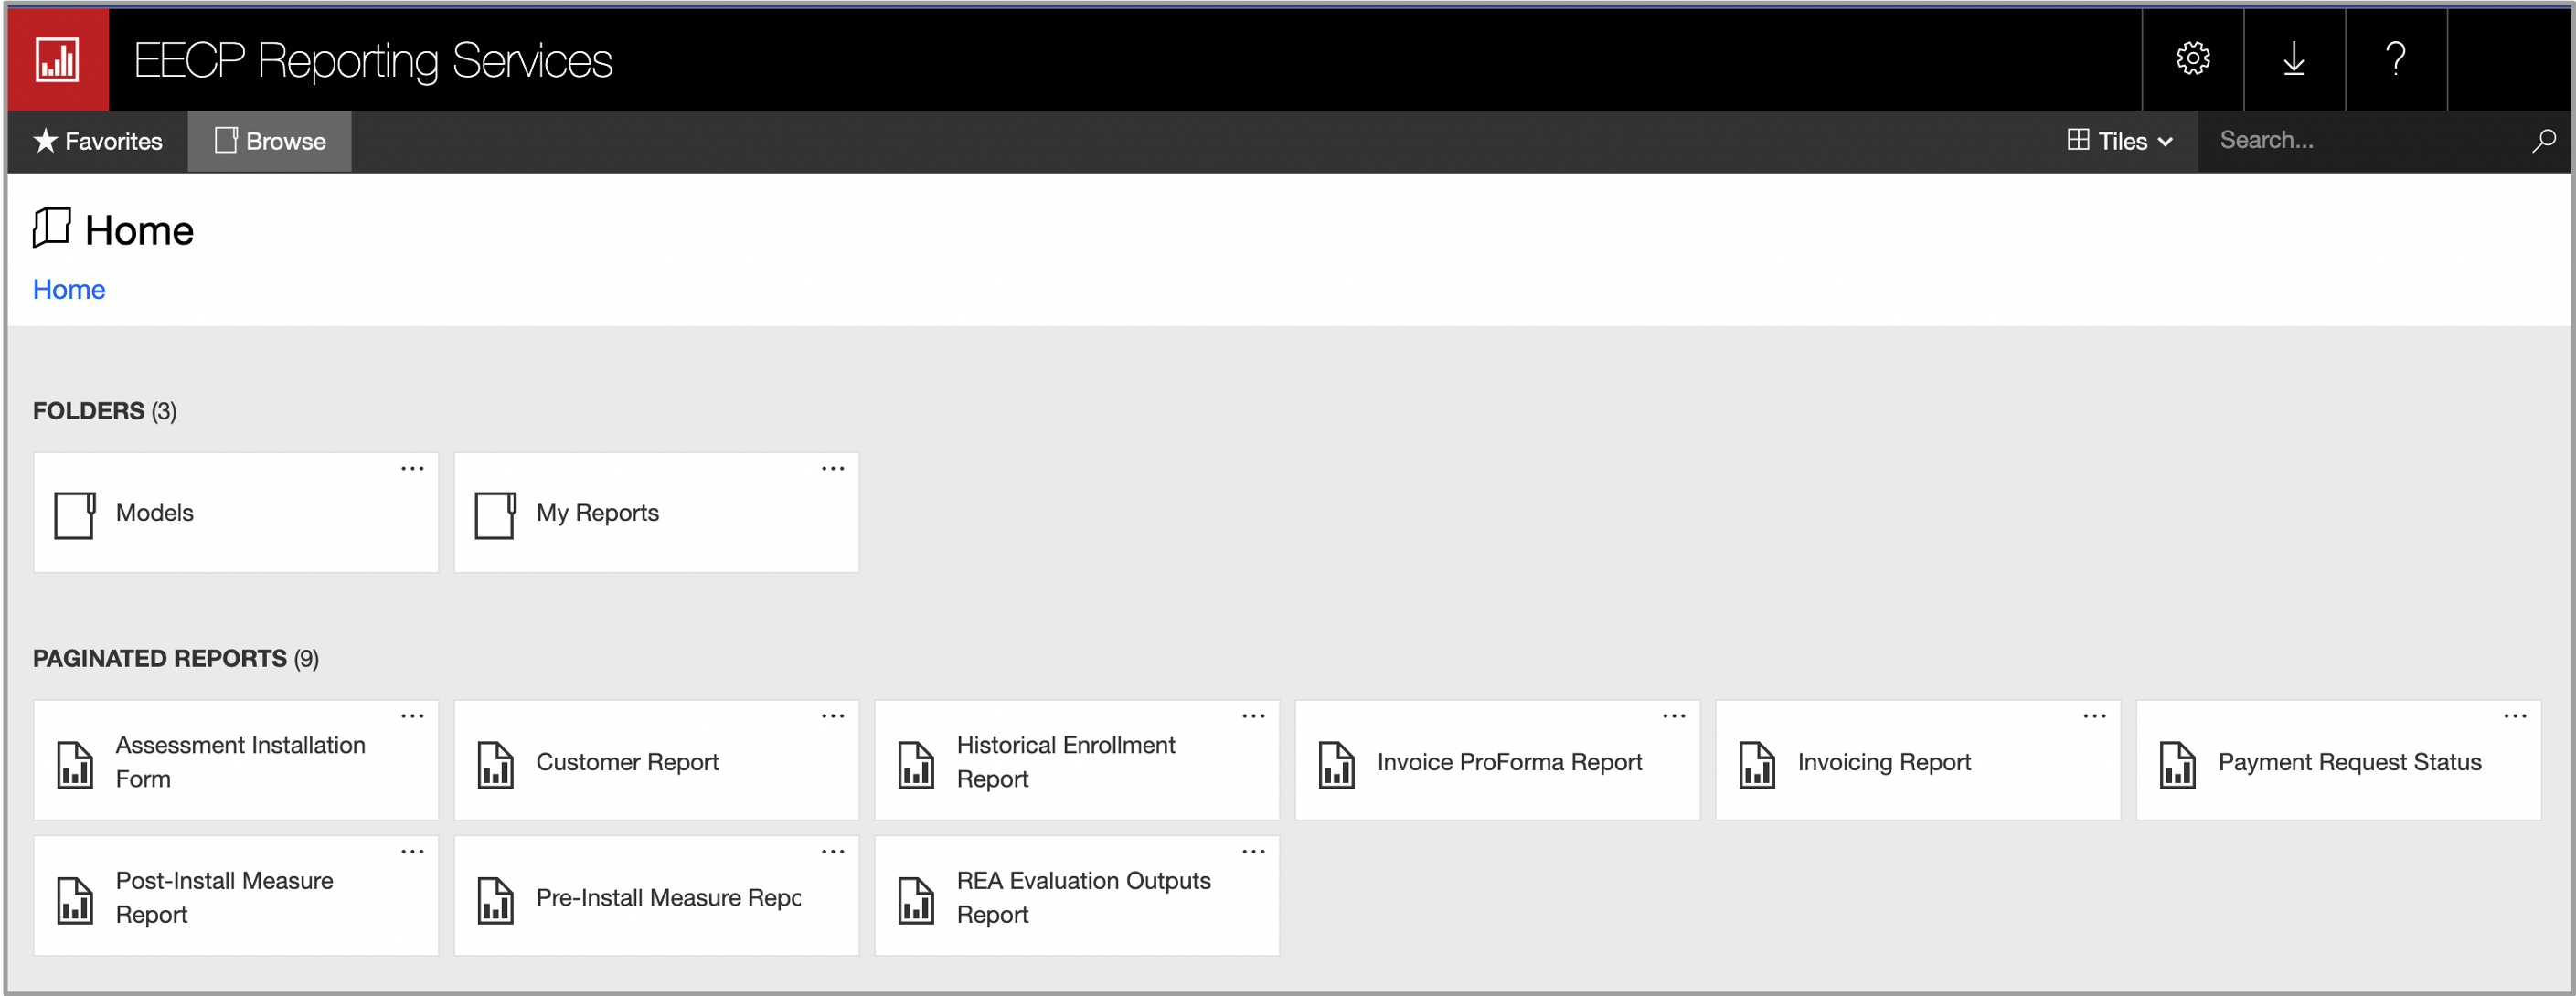
On the Reporting Services page, locate and click on the Invoice Report.
The only report of significance to Contractors is the Invoice report.
On the Invoice Report page, click on the Calendar Icon to select the date range.

Once the date range is selected, click on the View Report button to view your Invoice Reports.
