Page History
| Aura - Title | ||||||||||||||
|---|---|---|---|---|---|---|---|---|---|---|---|---|---|---|
| ||||||||||||||
Webex: Download Saved Recordings to OneDrive |
| Aura - Panel | ||||||
|---|---|---|---|---|---|---|
| ||||||
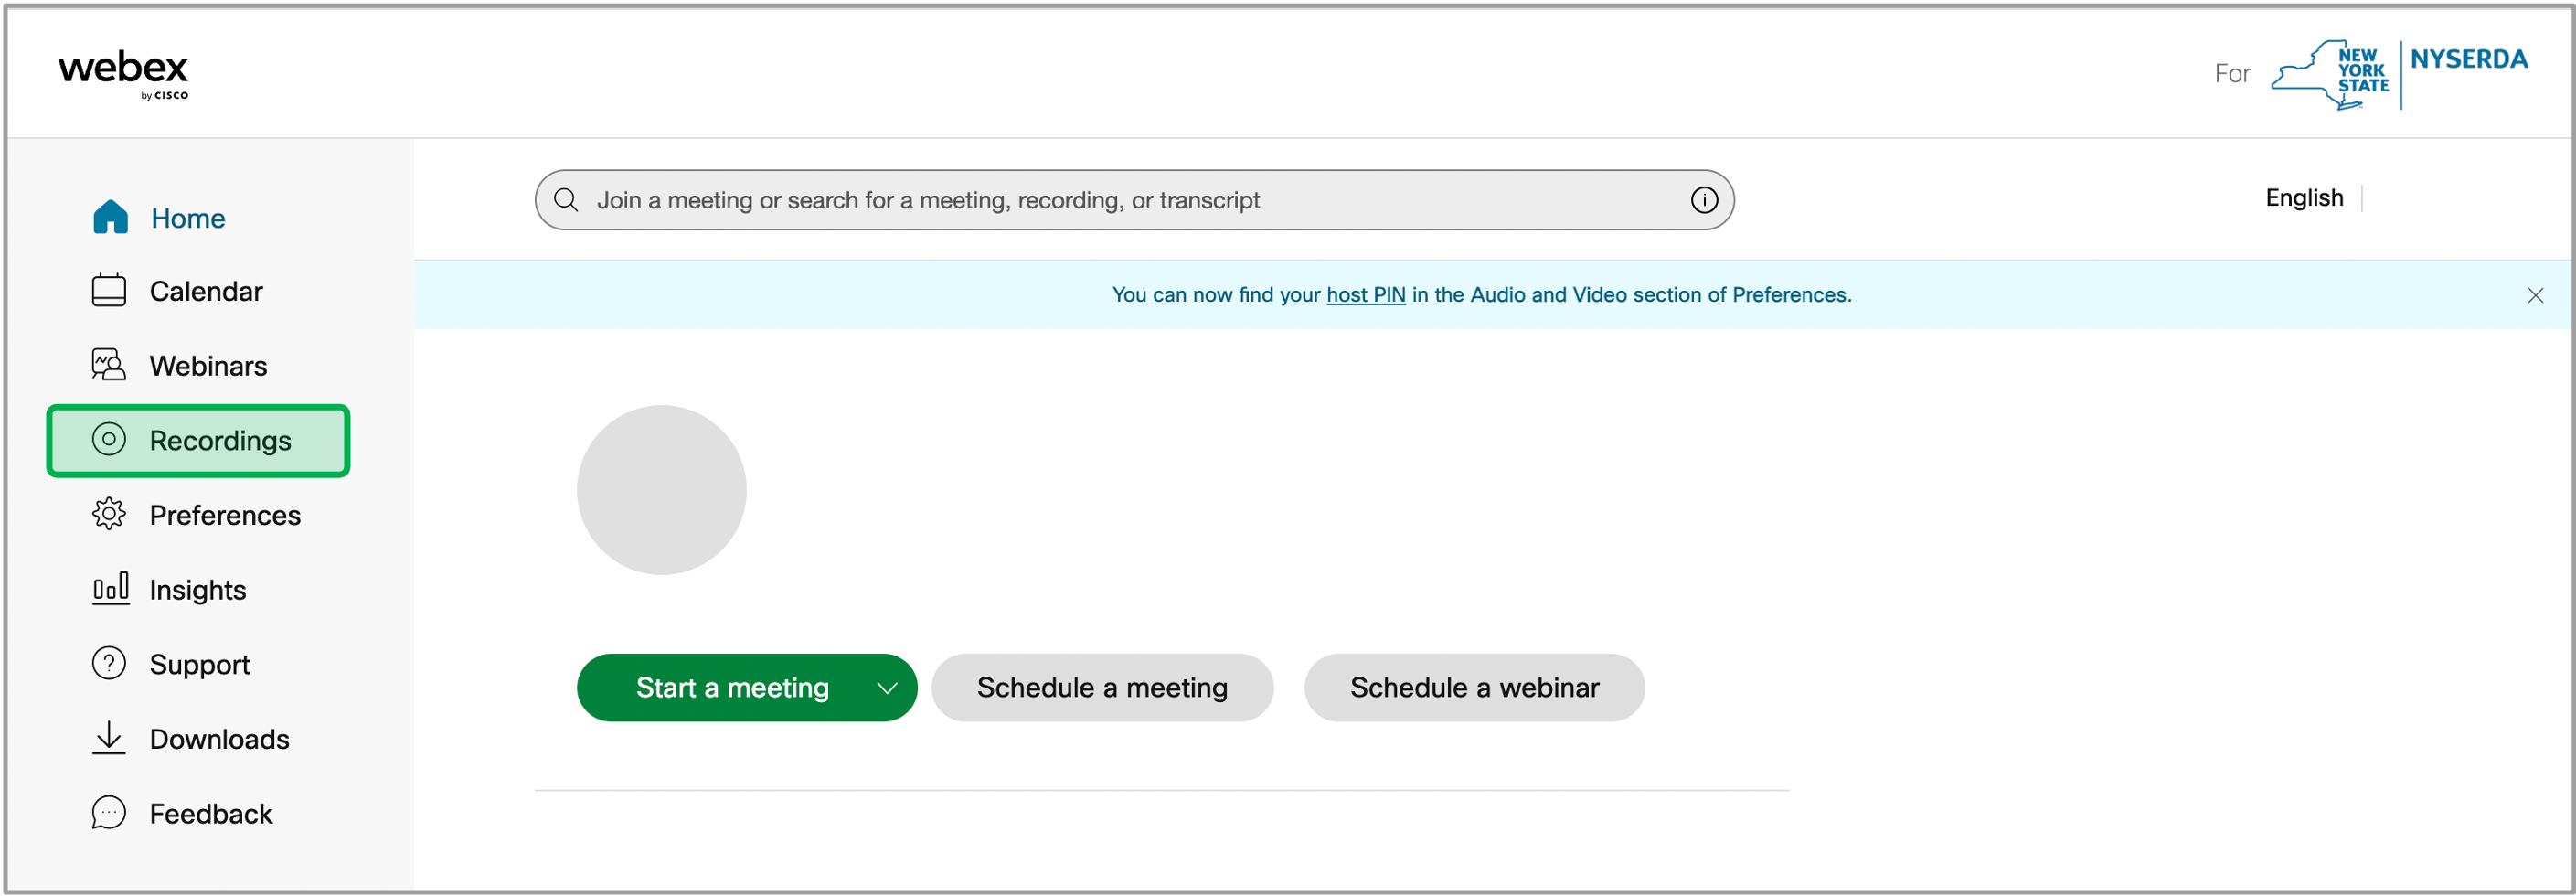
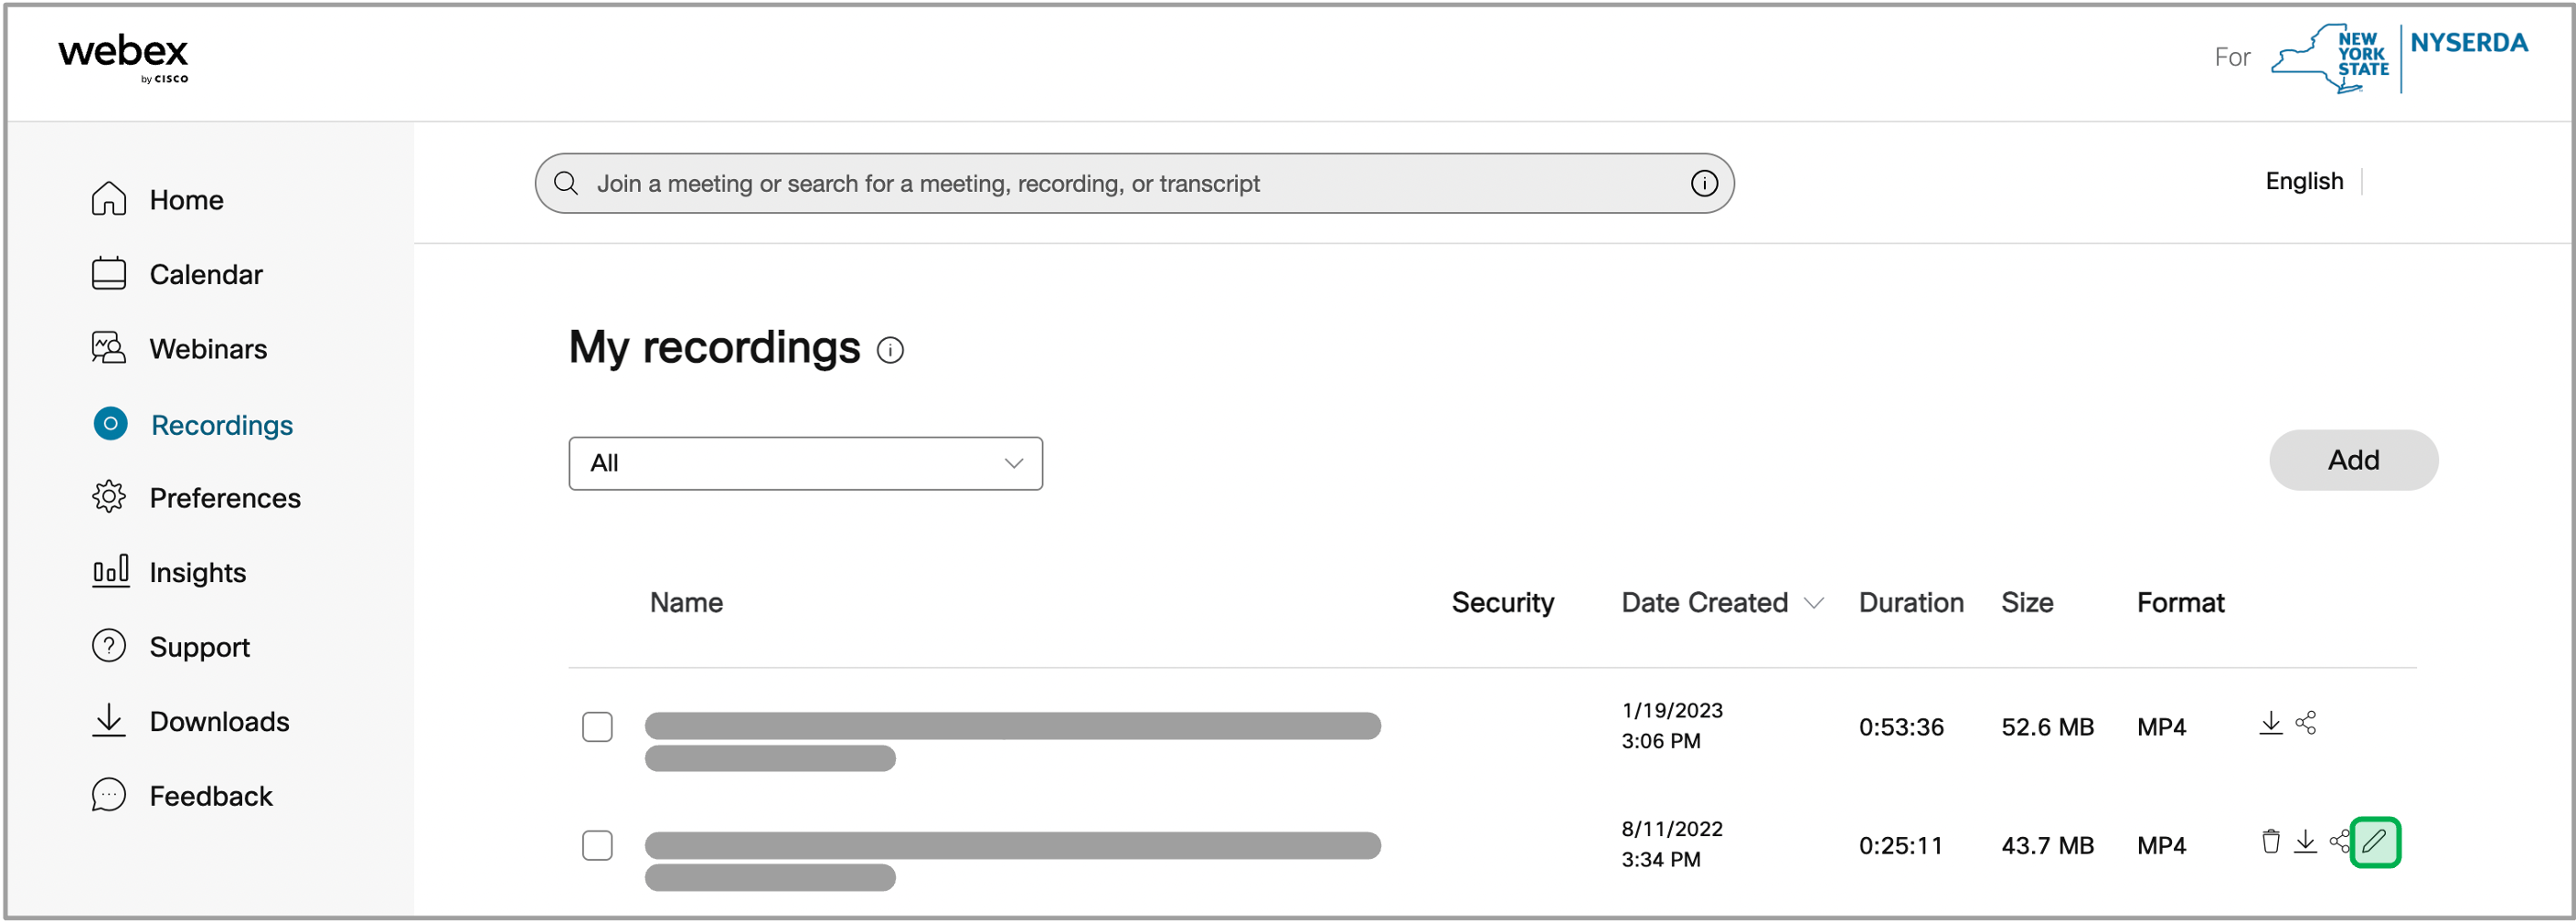
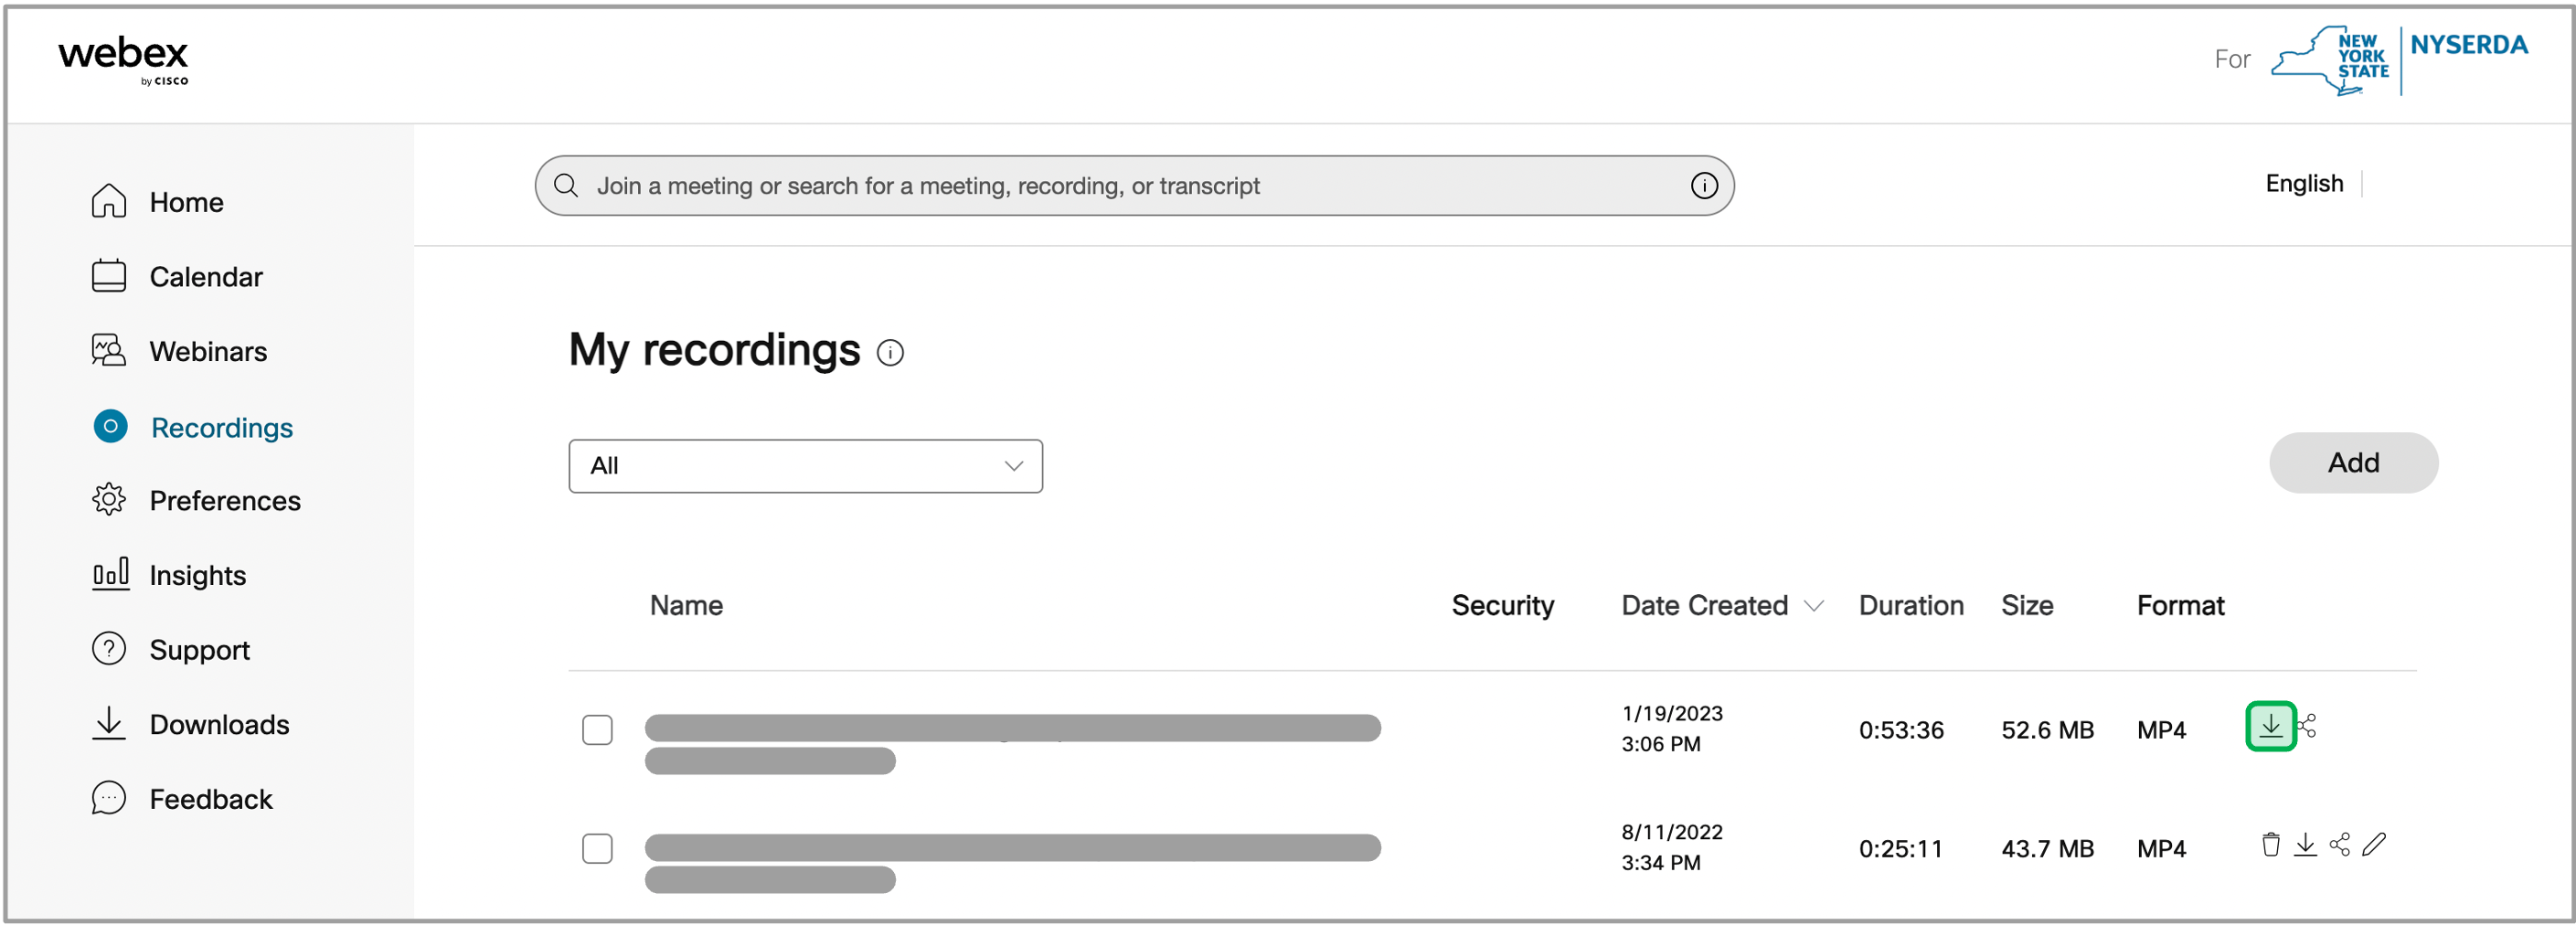
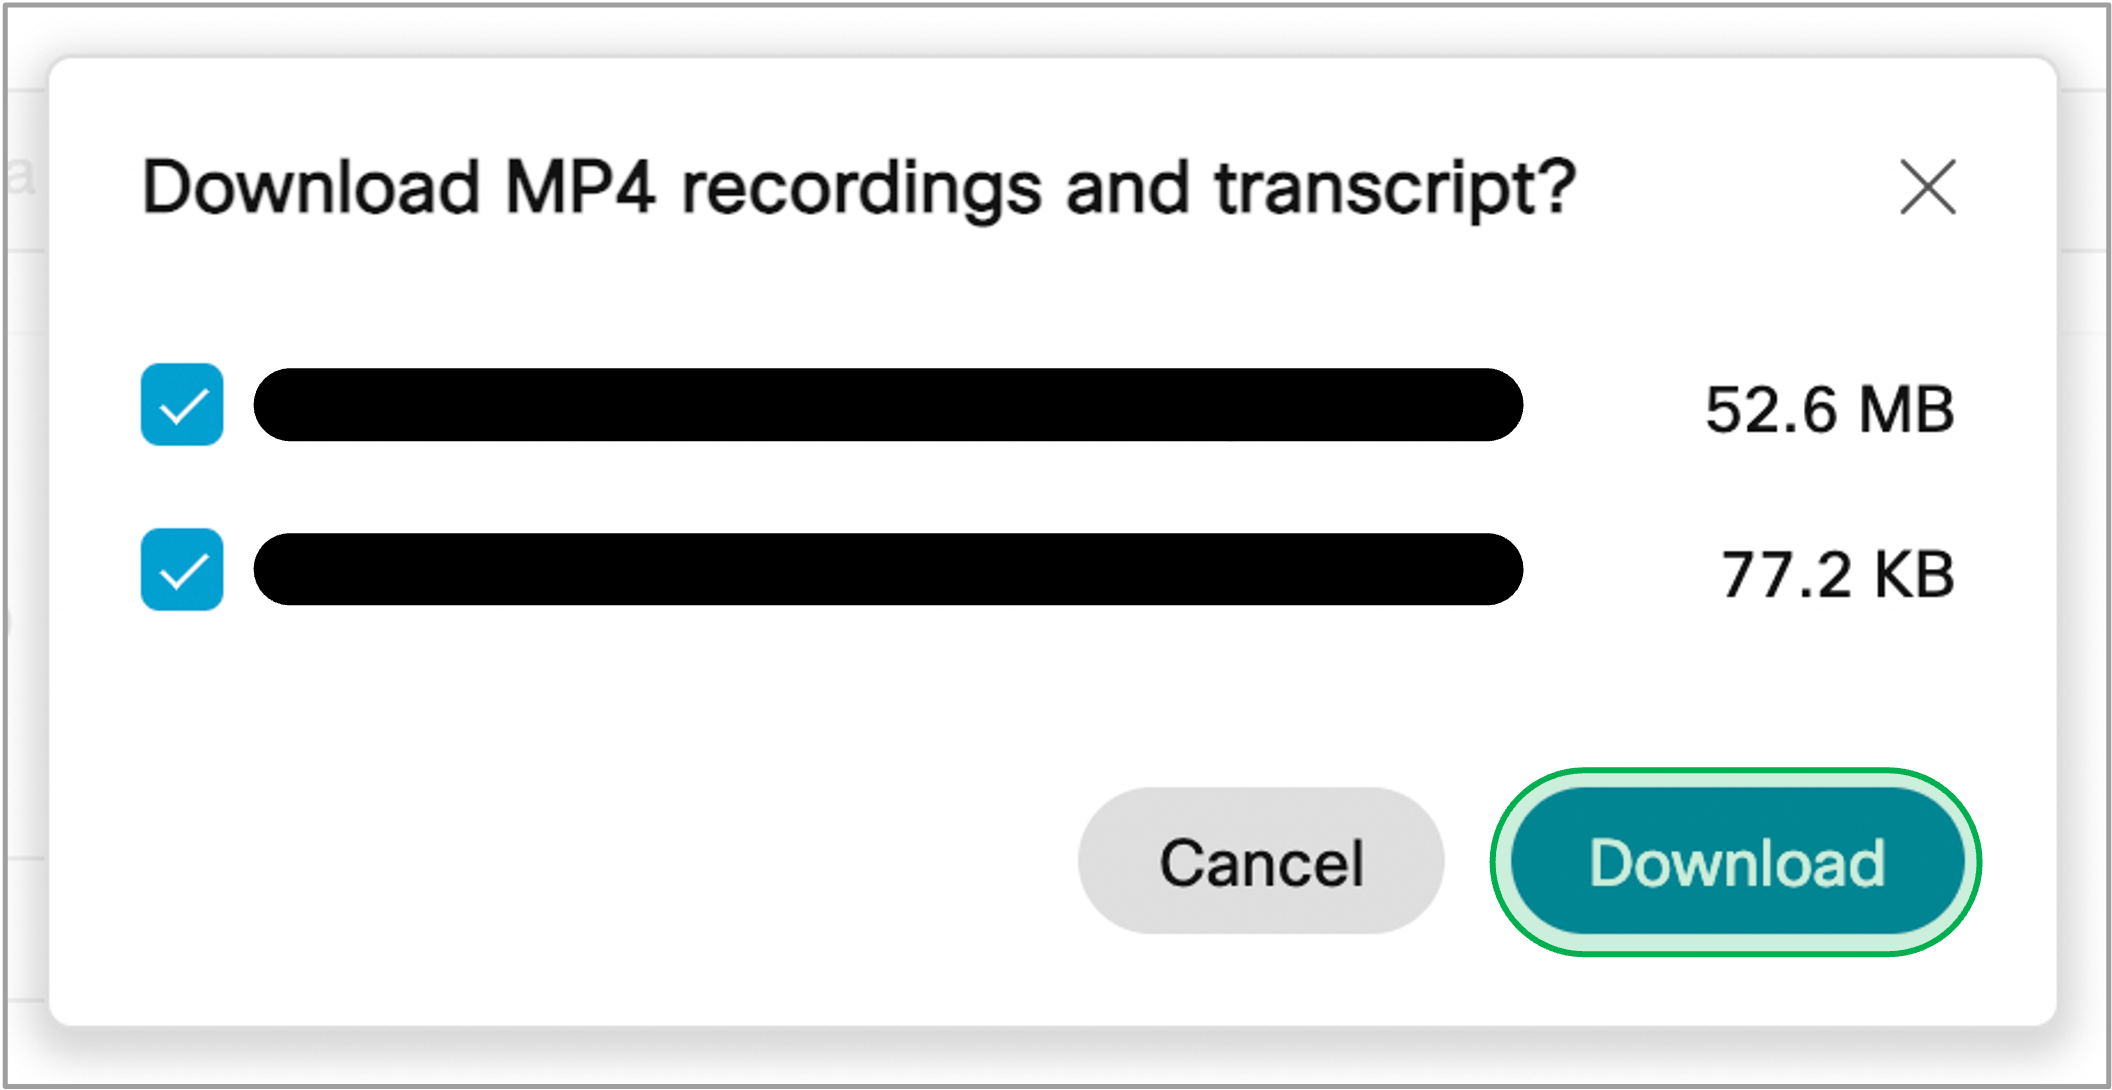
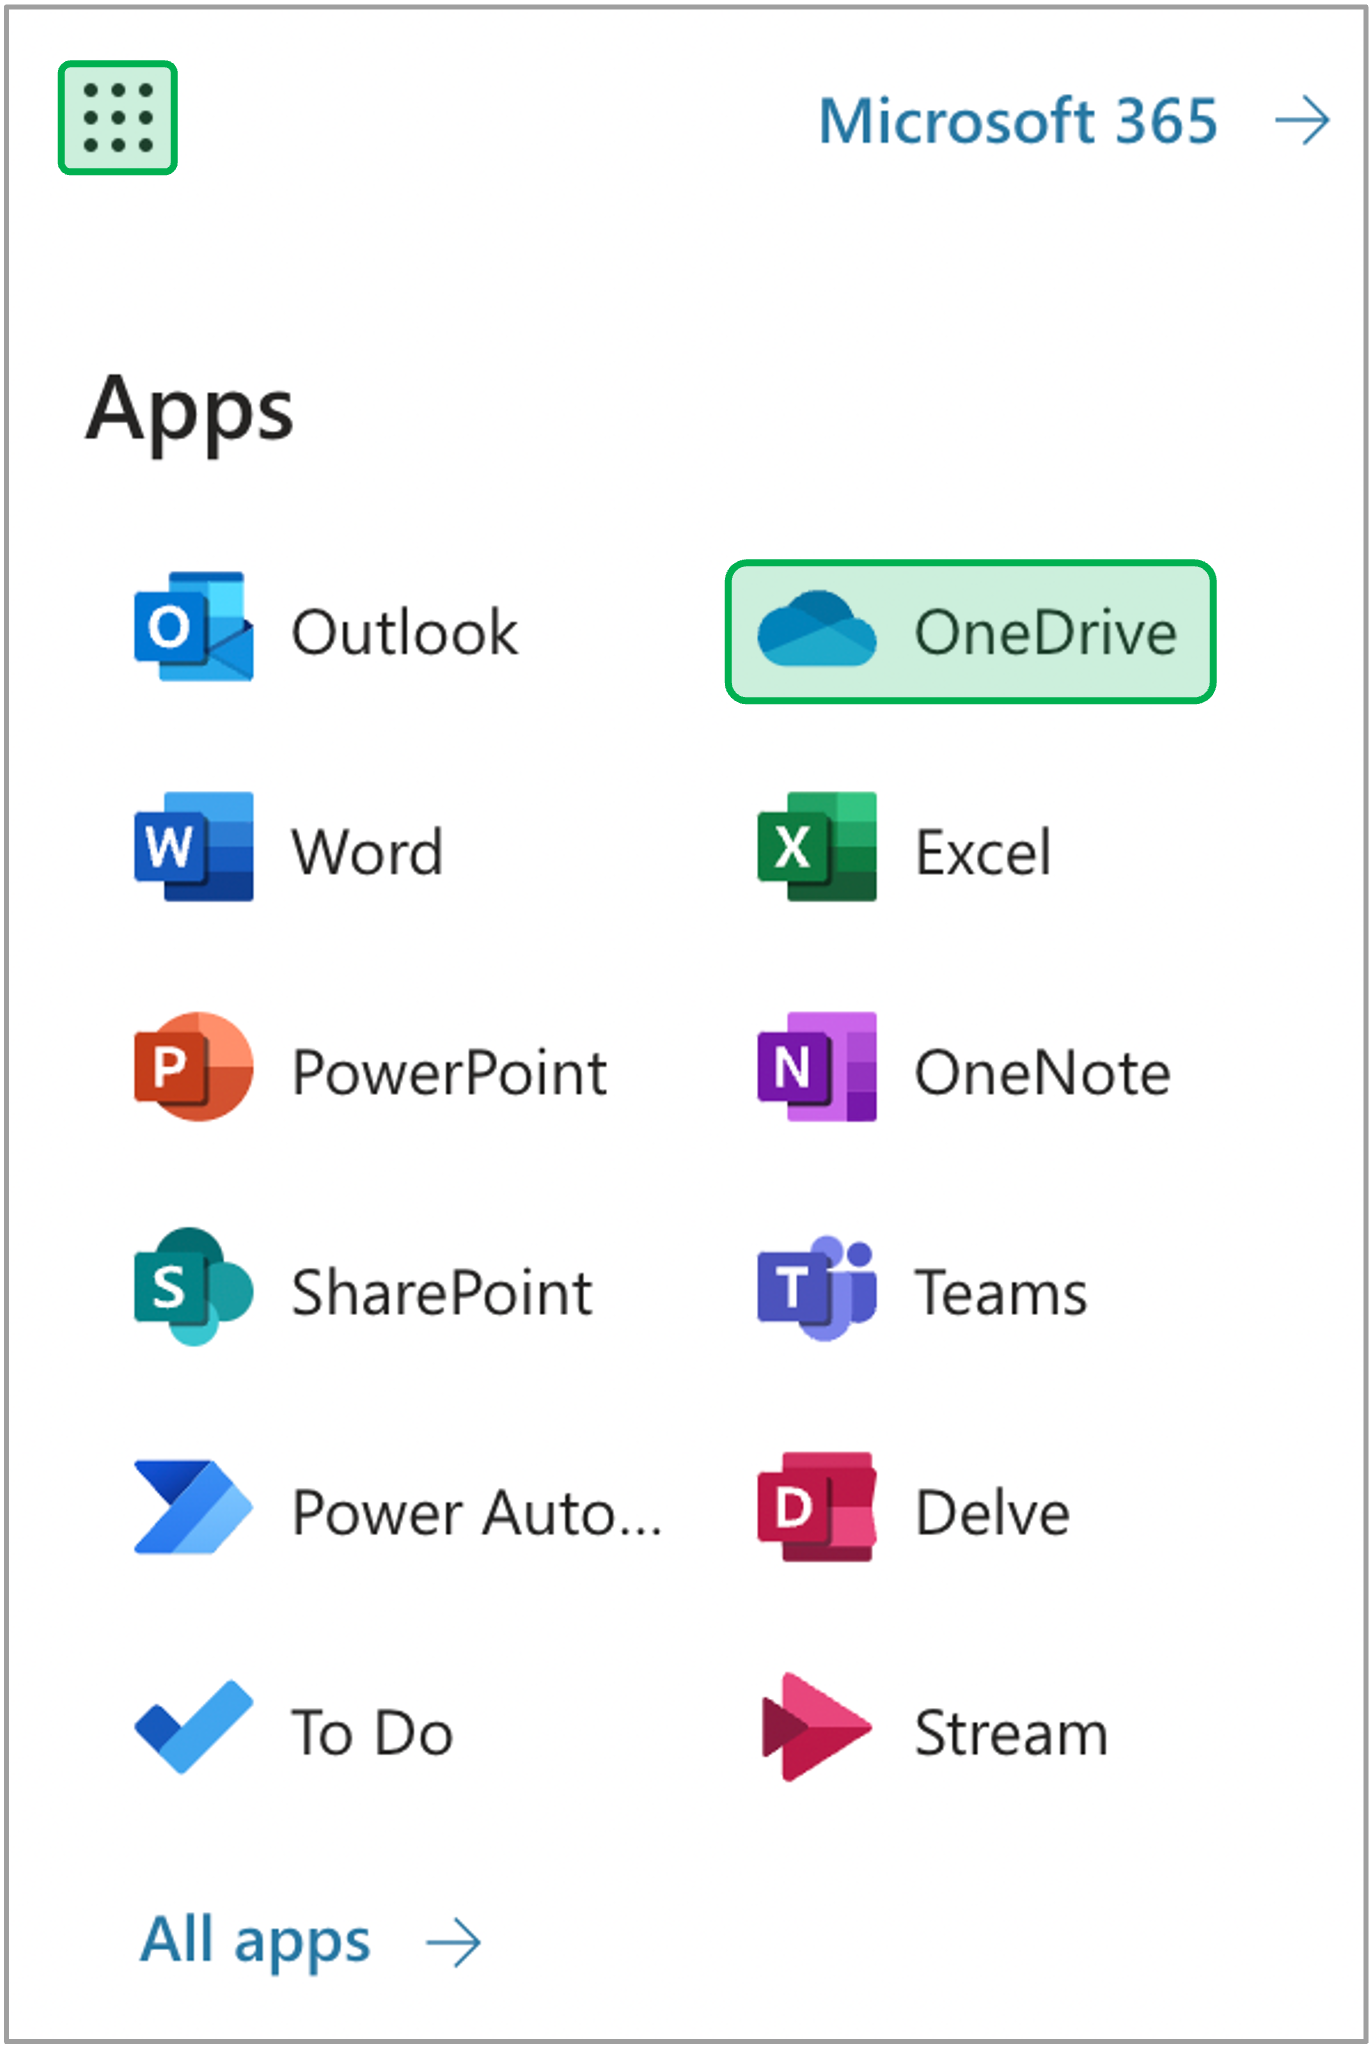
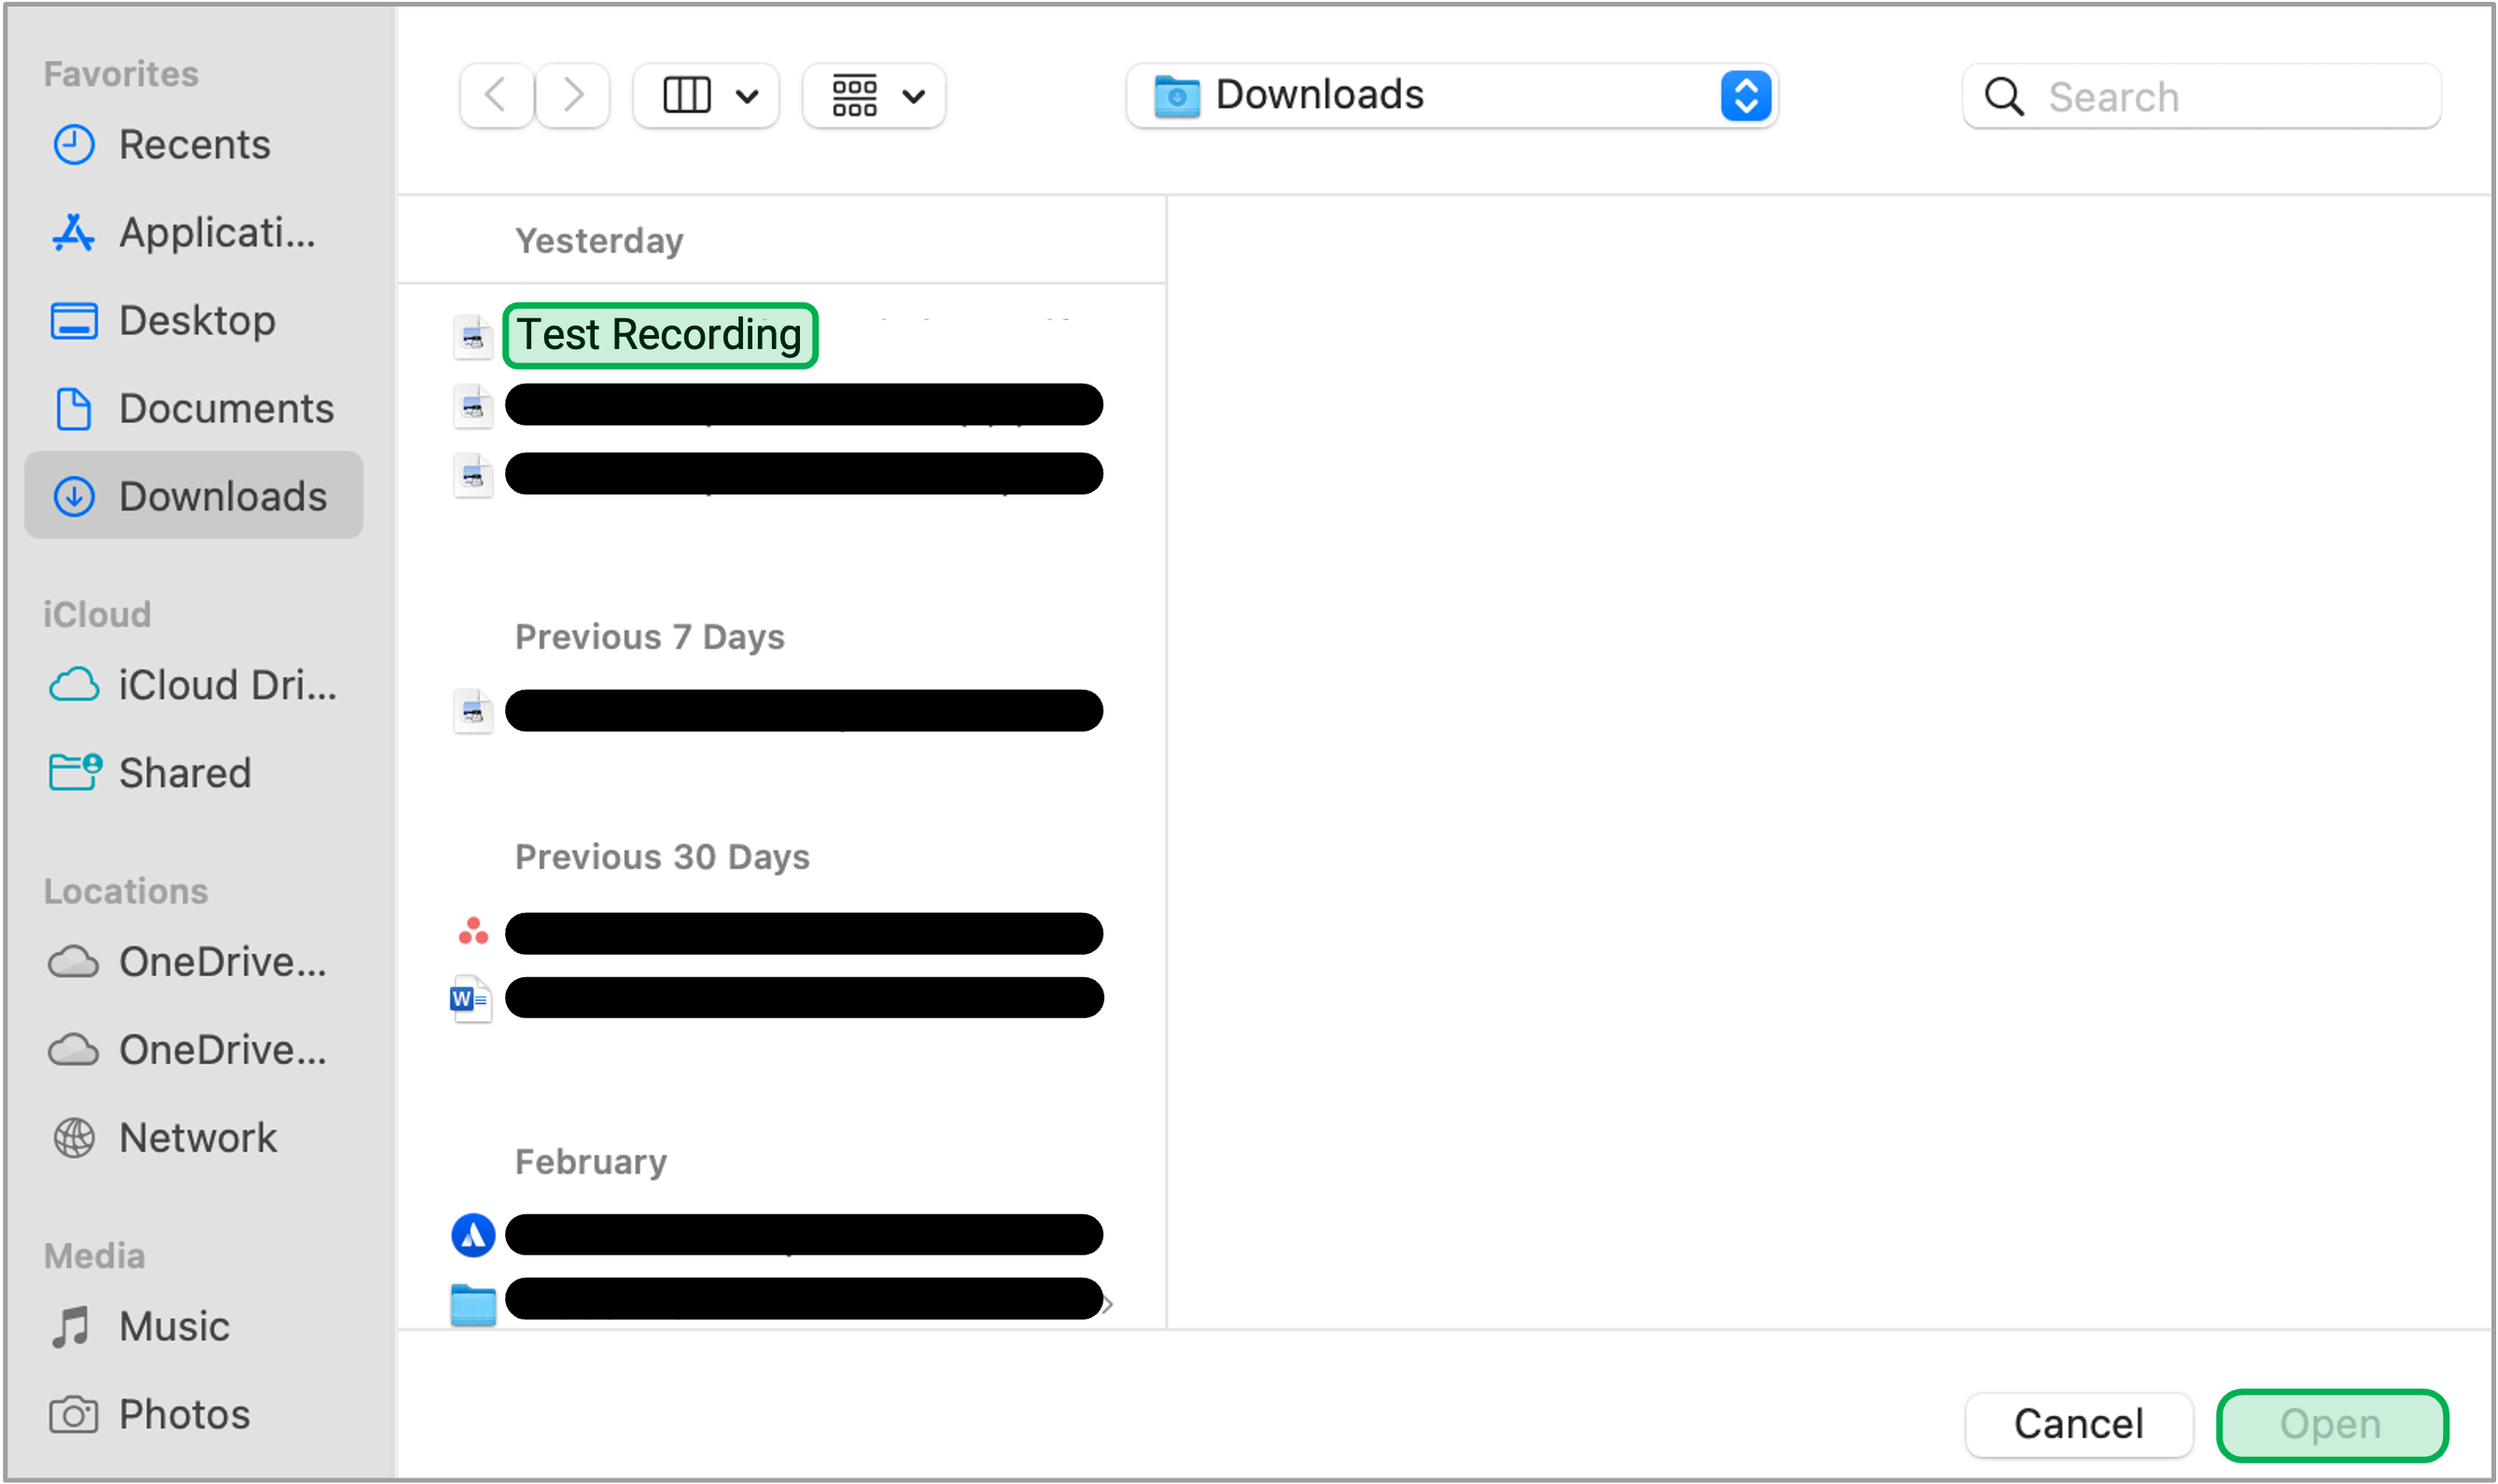
IntroductionThis page provides guidance on downloading recordings from WebEx and uploading them into your OneDrive. |
| UI Steps | ||||||||||||||||||||||||||||||||||||||||||||||||||||||||||||||||
|---|---|---|---|---|---|---|---|---|---|---|---|---|---|---|---|---|---|---|---|---|---|---|---|---|---|---|---|---|---|---|---|---|---|---|---|---|---|---|---|---|---|---|---|---|---|---|---|---|---|---|---|---|---|---|---|---|---|---|---|---|---|---|---|---|
| ||||||||||||||||||||||||||||||||||||||||||||||||||||||||||||||||
|

| HTML |
|---|
<style type="text/css">
#title-text { display: none;}
</style> |
Overview
Content Tools