Important Notice
The content in this space is currently being migrated to the cloud. Any content edits must be made by a Knowledge Base admin until migration is complete.
To request content edits, please submit a request to the Strategic Operations Training Team![]() and include the page URL and details on required edits.
and include the page URL and details on required edits.
A member of the Strategic Operations Training Team will reach out for clarity if needed.

WebEx: Download Saved Recordings to OneDrive
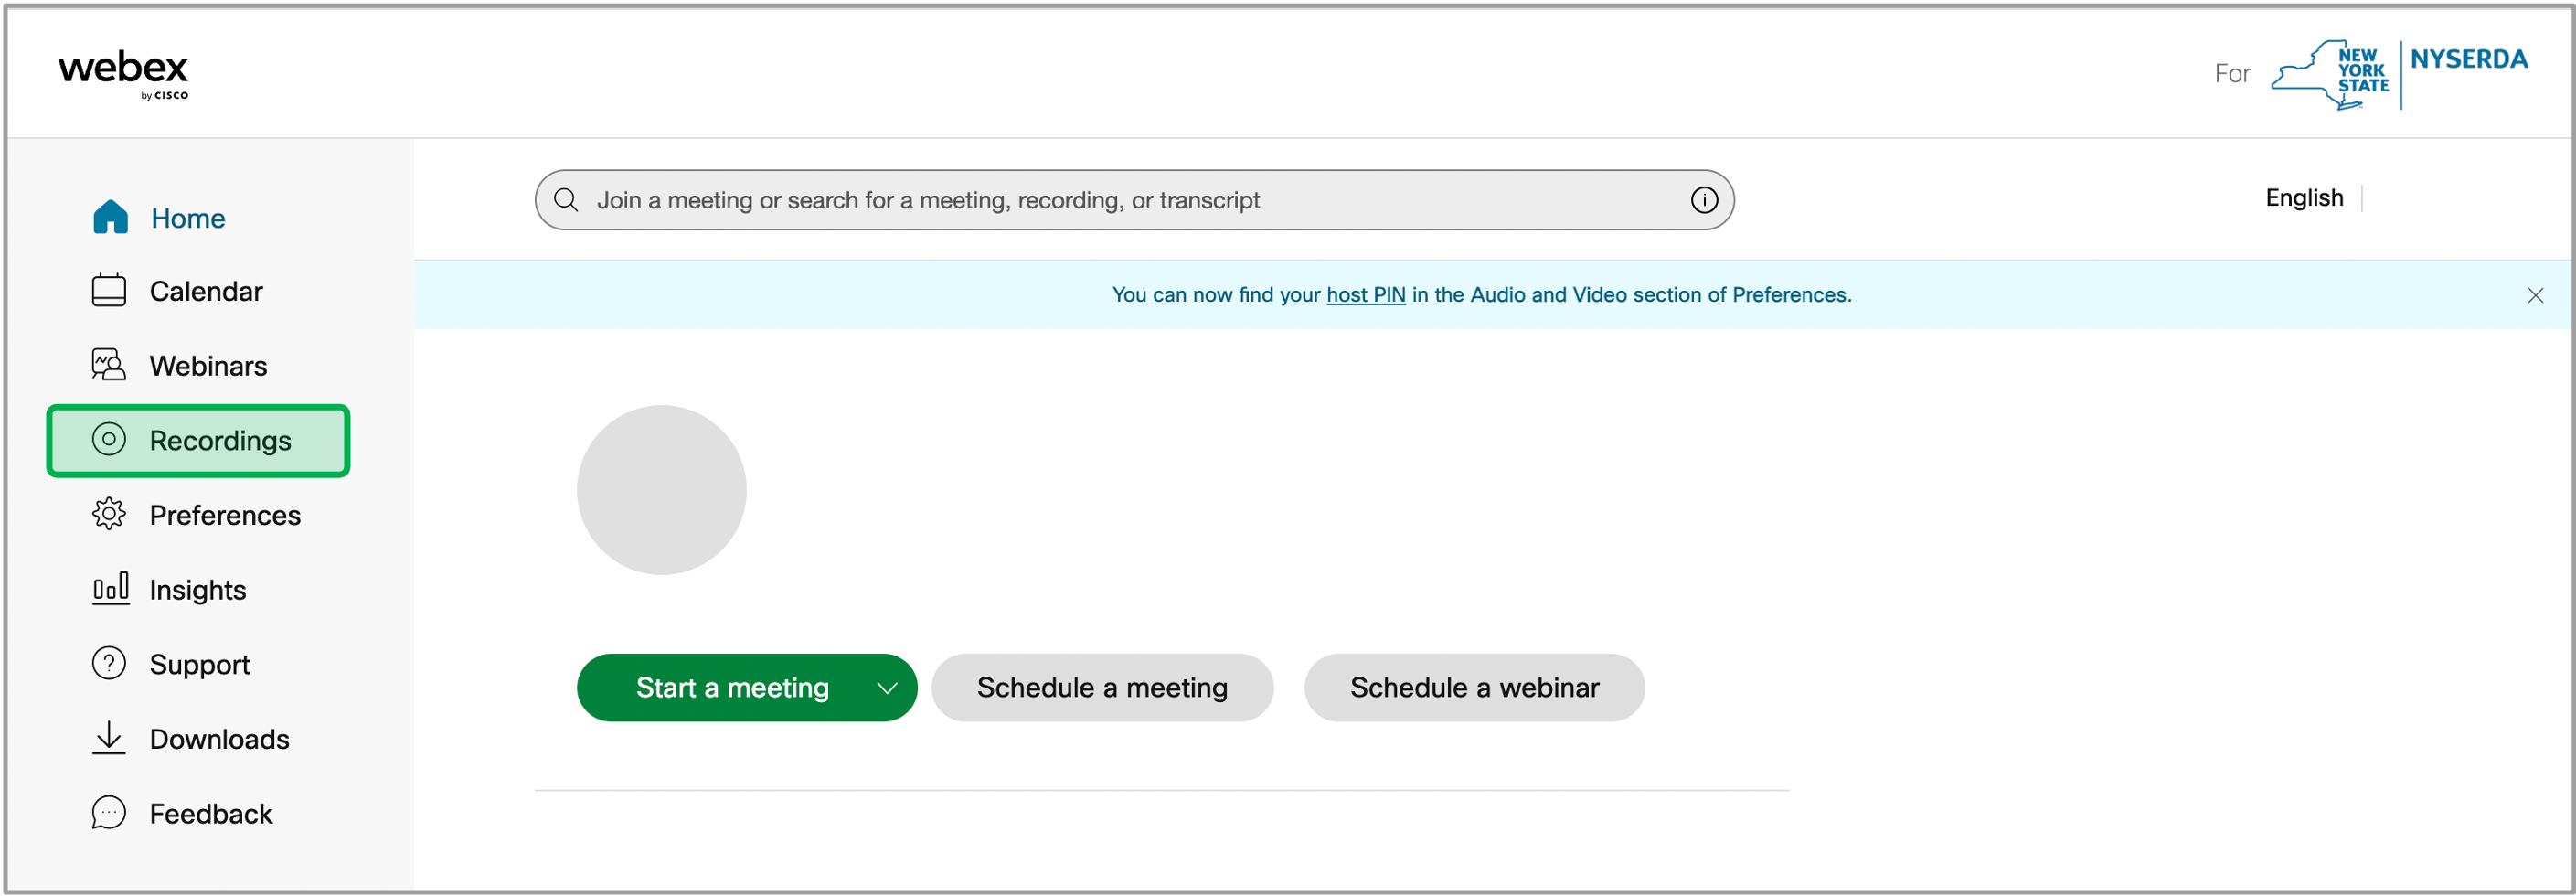
Log into WebEx https://nyserdany.webex.com/.
Select the Recordings tab from the left-hand navigation bar.
Before downloading, click the Pencil Icon to edit the recorded meeting.
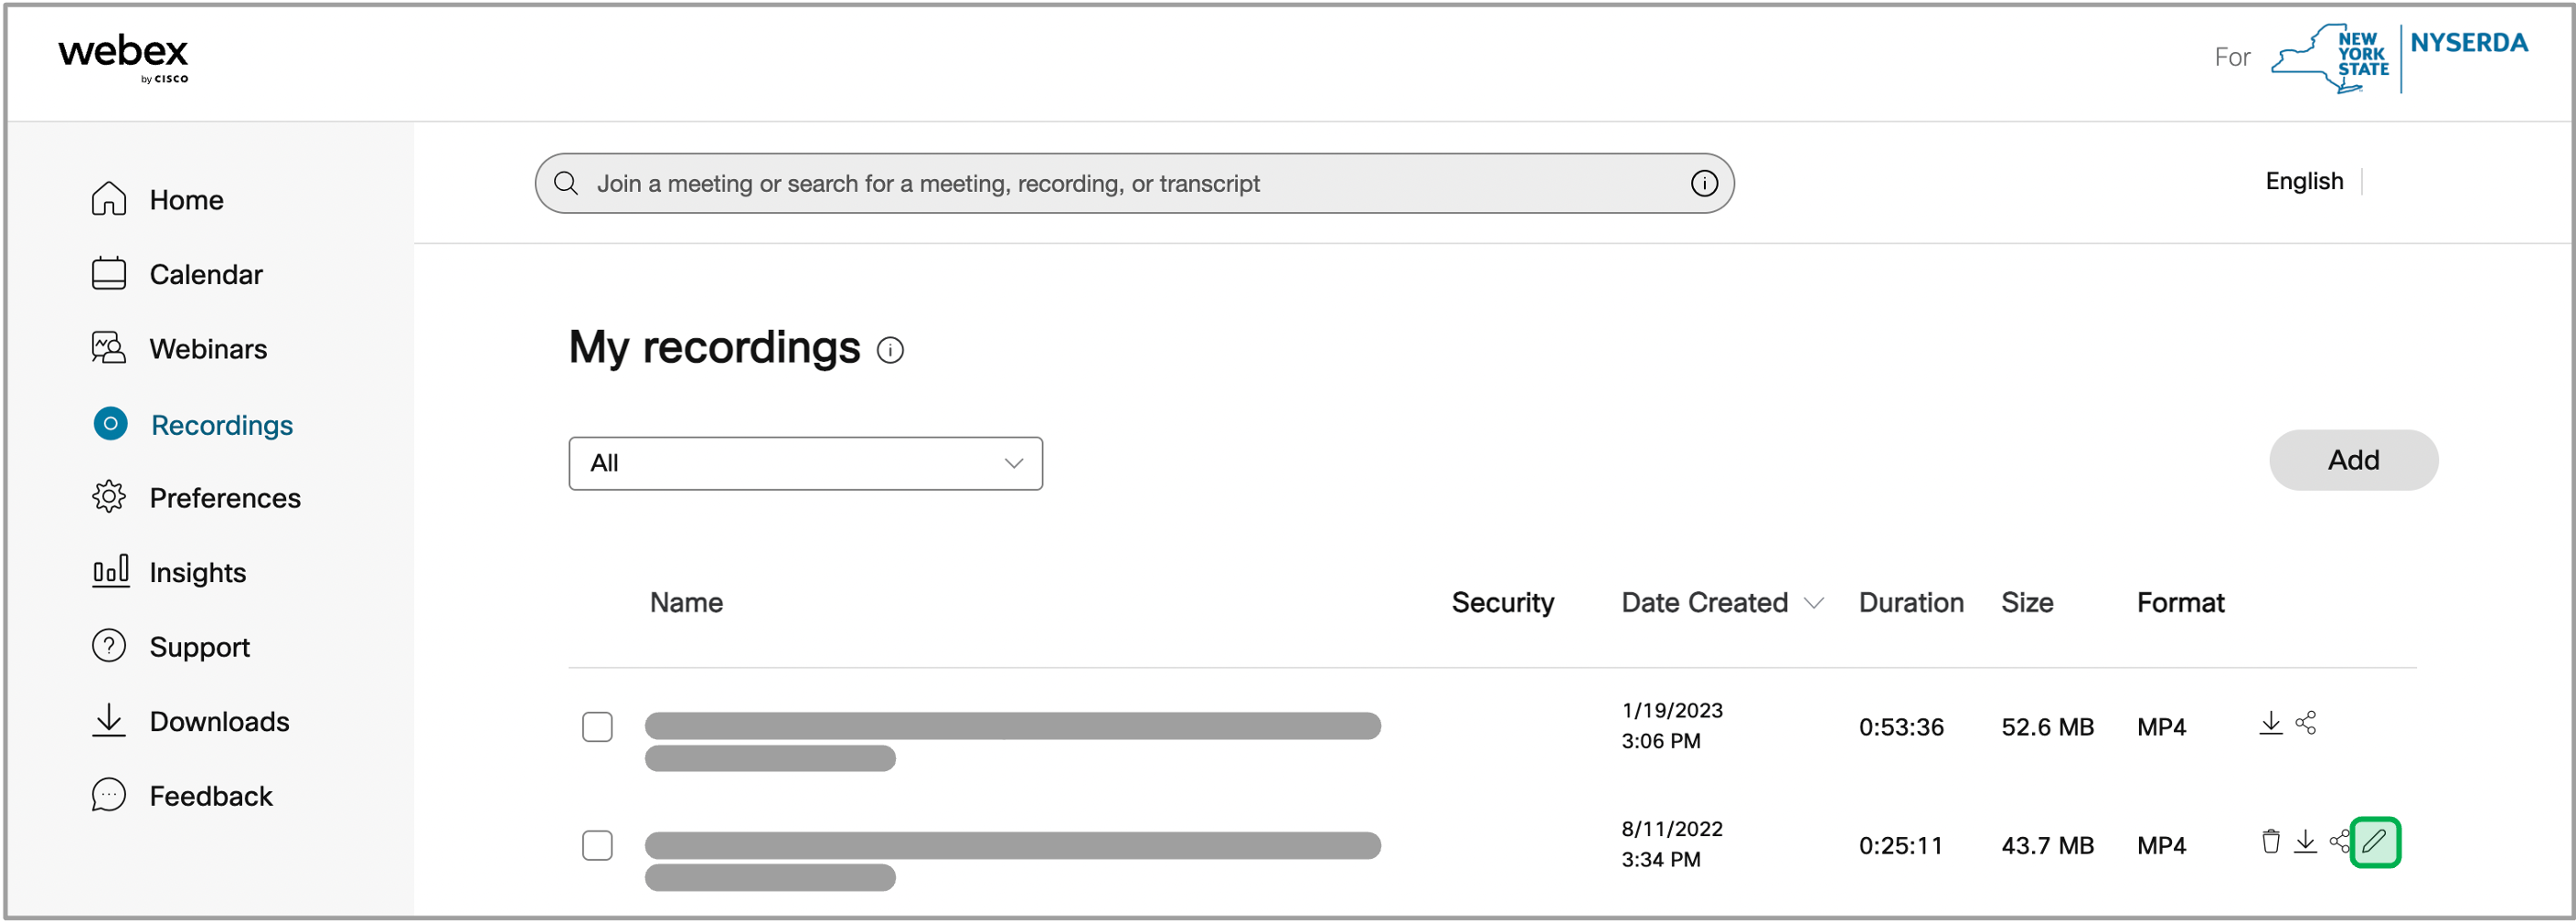
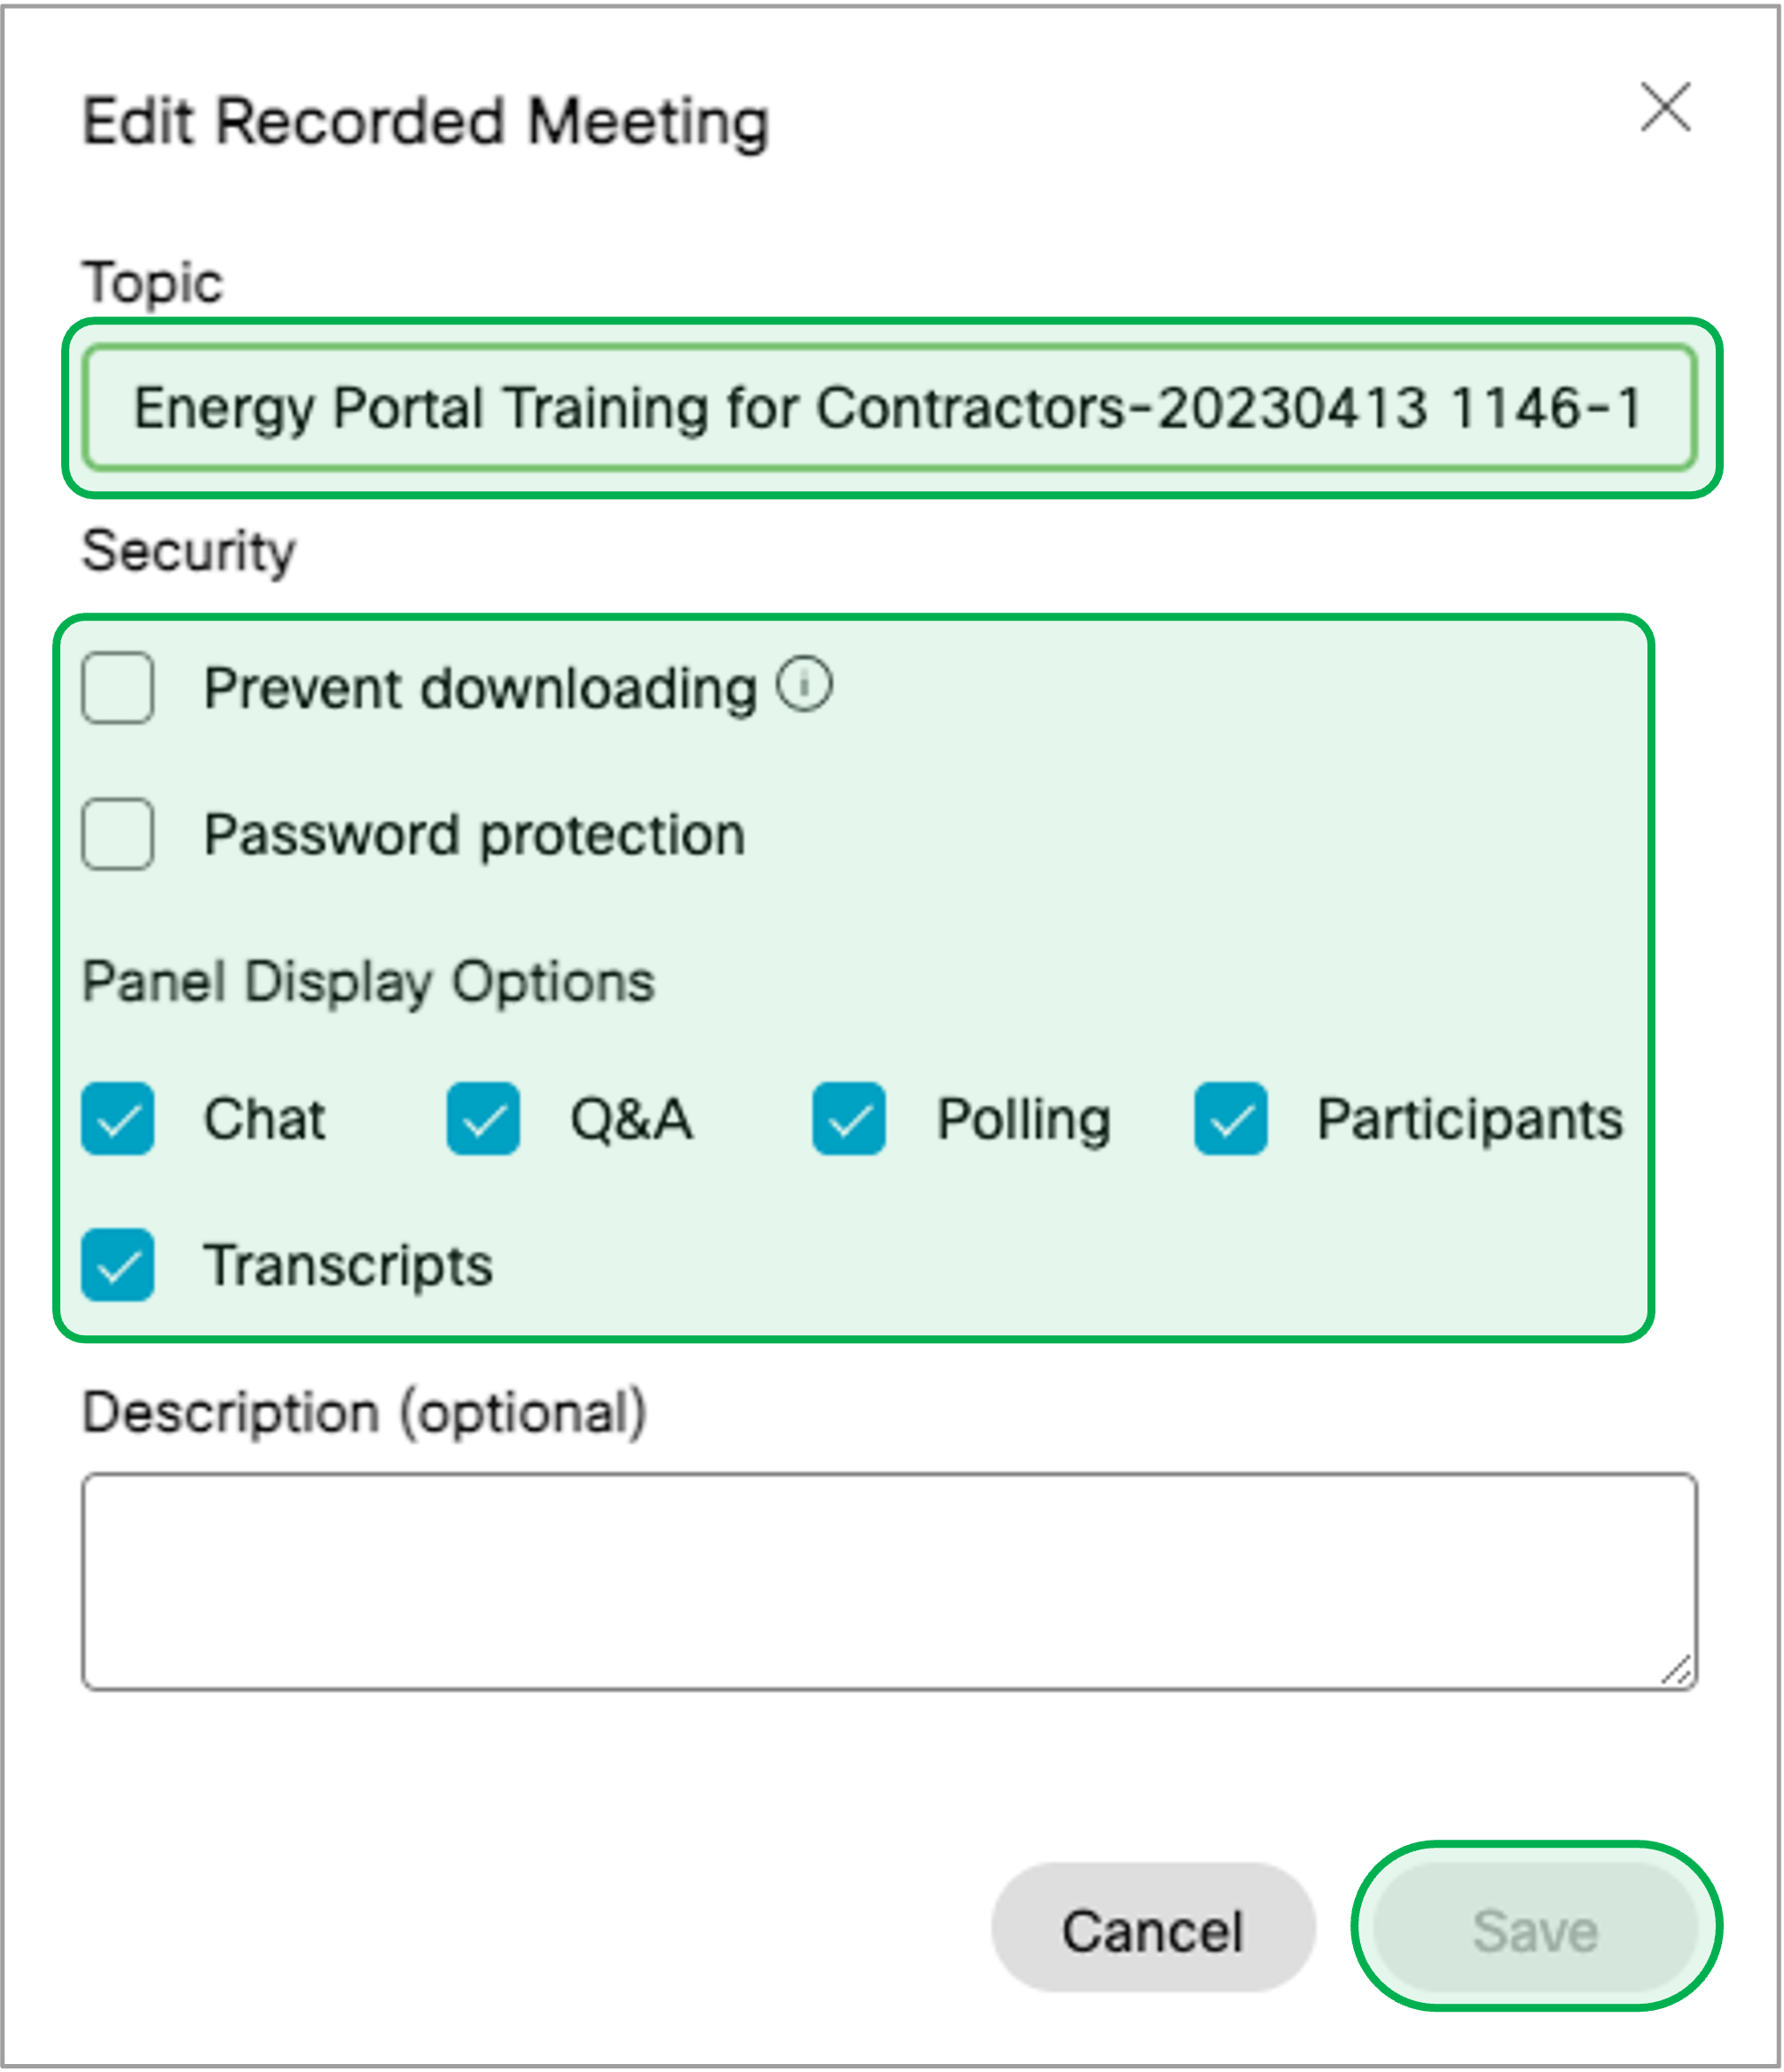
Users could update the following, then click the Save button if changes are made:
- Recording Name - if the user wants to remove the date and time stamp of the recorded session)
- Prevent Downloading - prevents others from downloading the video)
- Password Protection - these only applies if you are sharing a link to the video through WebEx)
Panel Display Options - Typically, the Chat, Q&A, Polling, and Participants should be removed as they are often not needed in the downloaded recordings. The transcript can be kept on, but it will be displayed in the recording on the right-hand side of the screen.
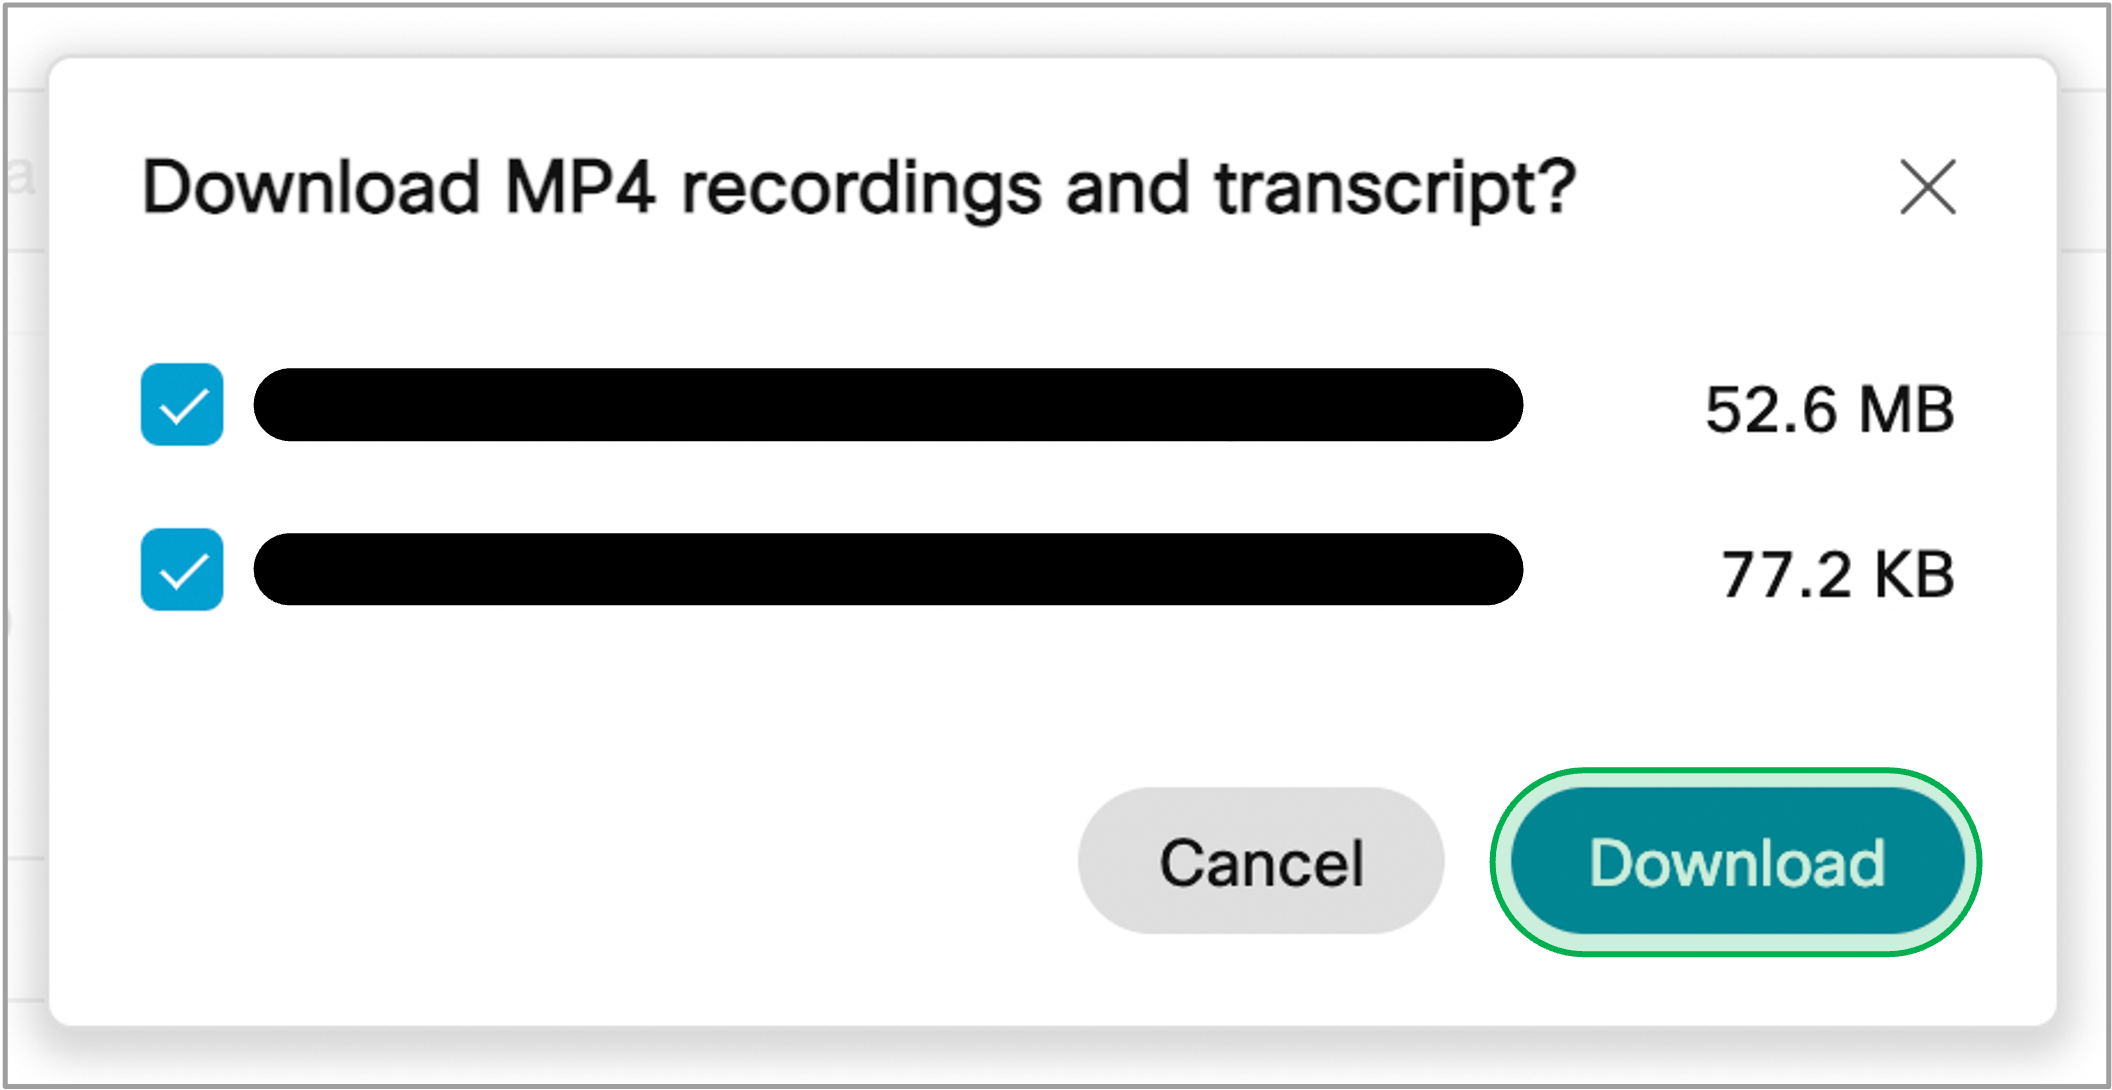
Once the editing is complete, click the Download Icon from to the recording you wish to download.
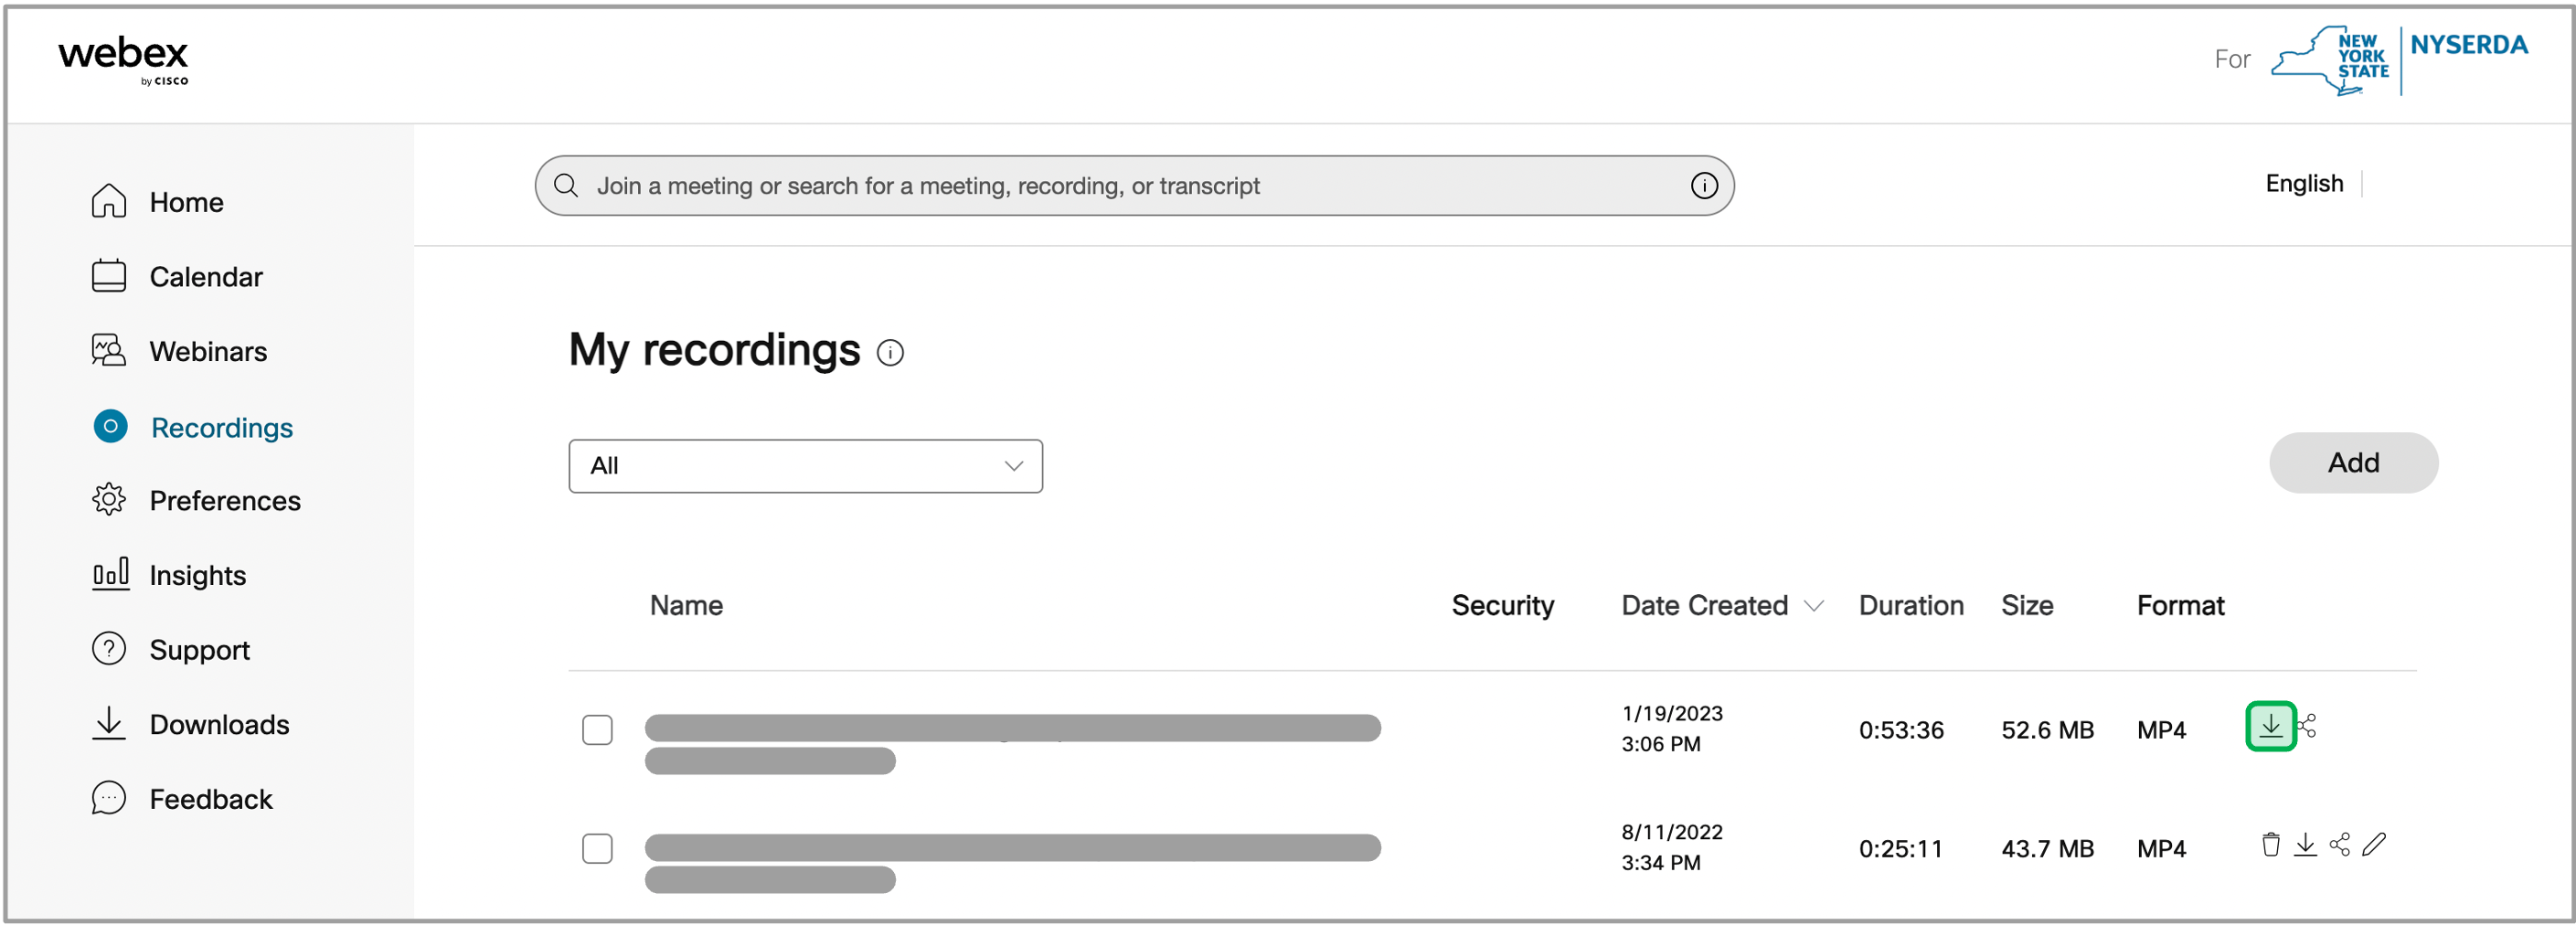
Click the Download button in the pop-up window.
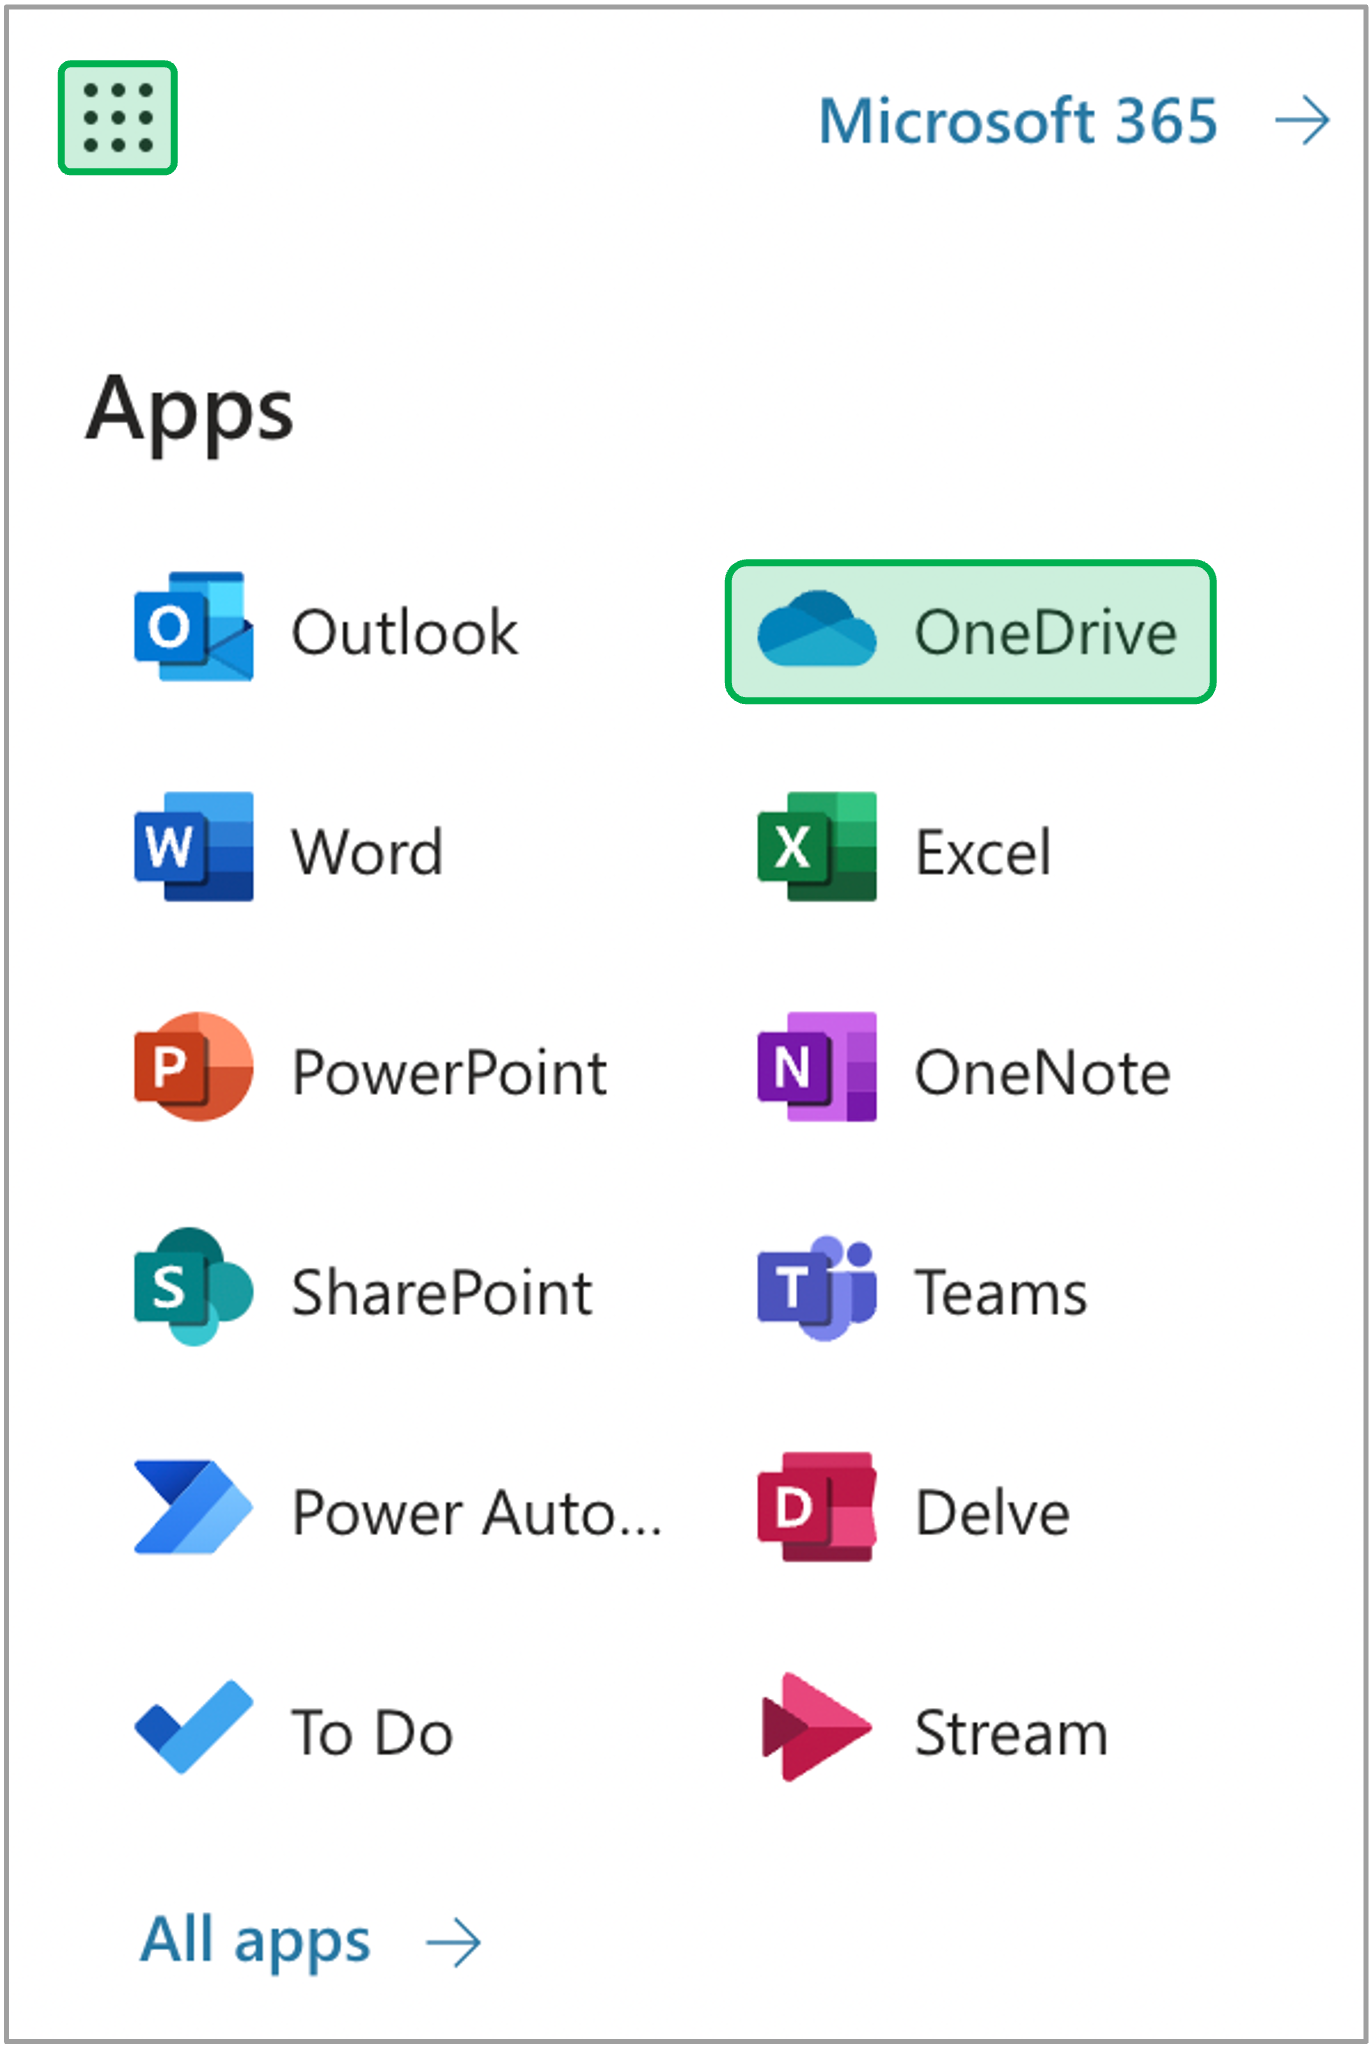
Once the video is downloaded, access your Office 365 account.
Click on the 3x3 Box Grid in the upper left-hand corner of the window, and click on OneDrive.
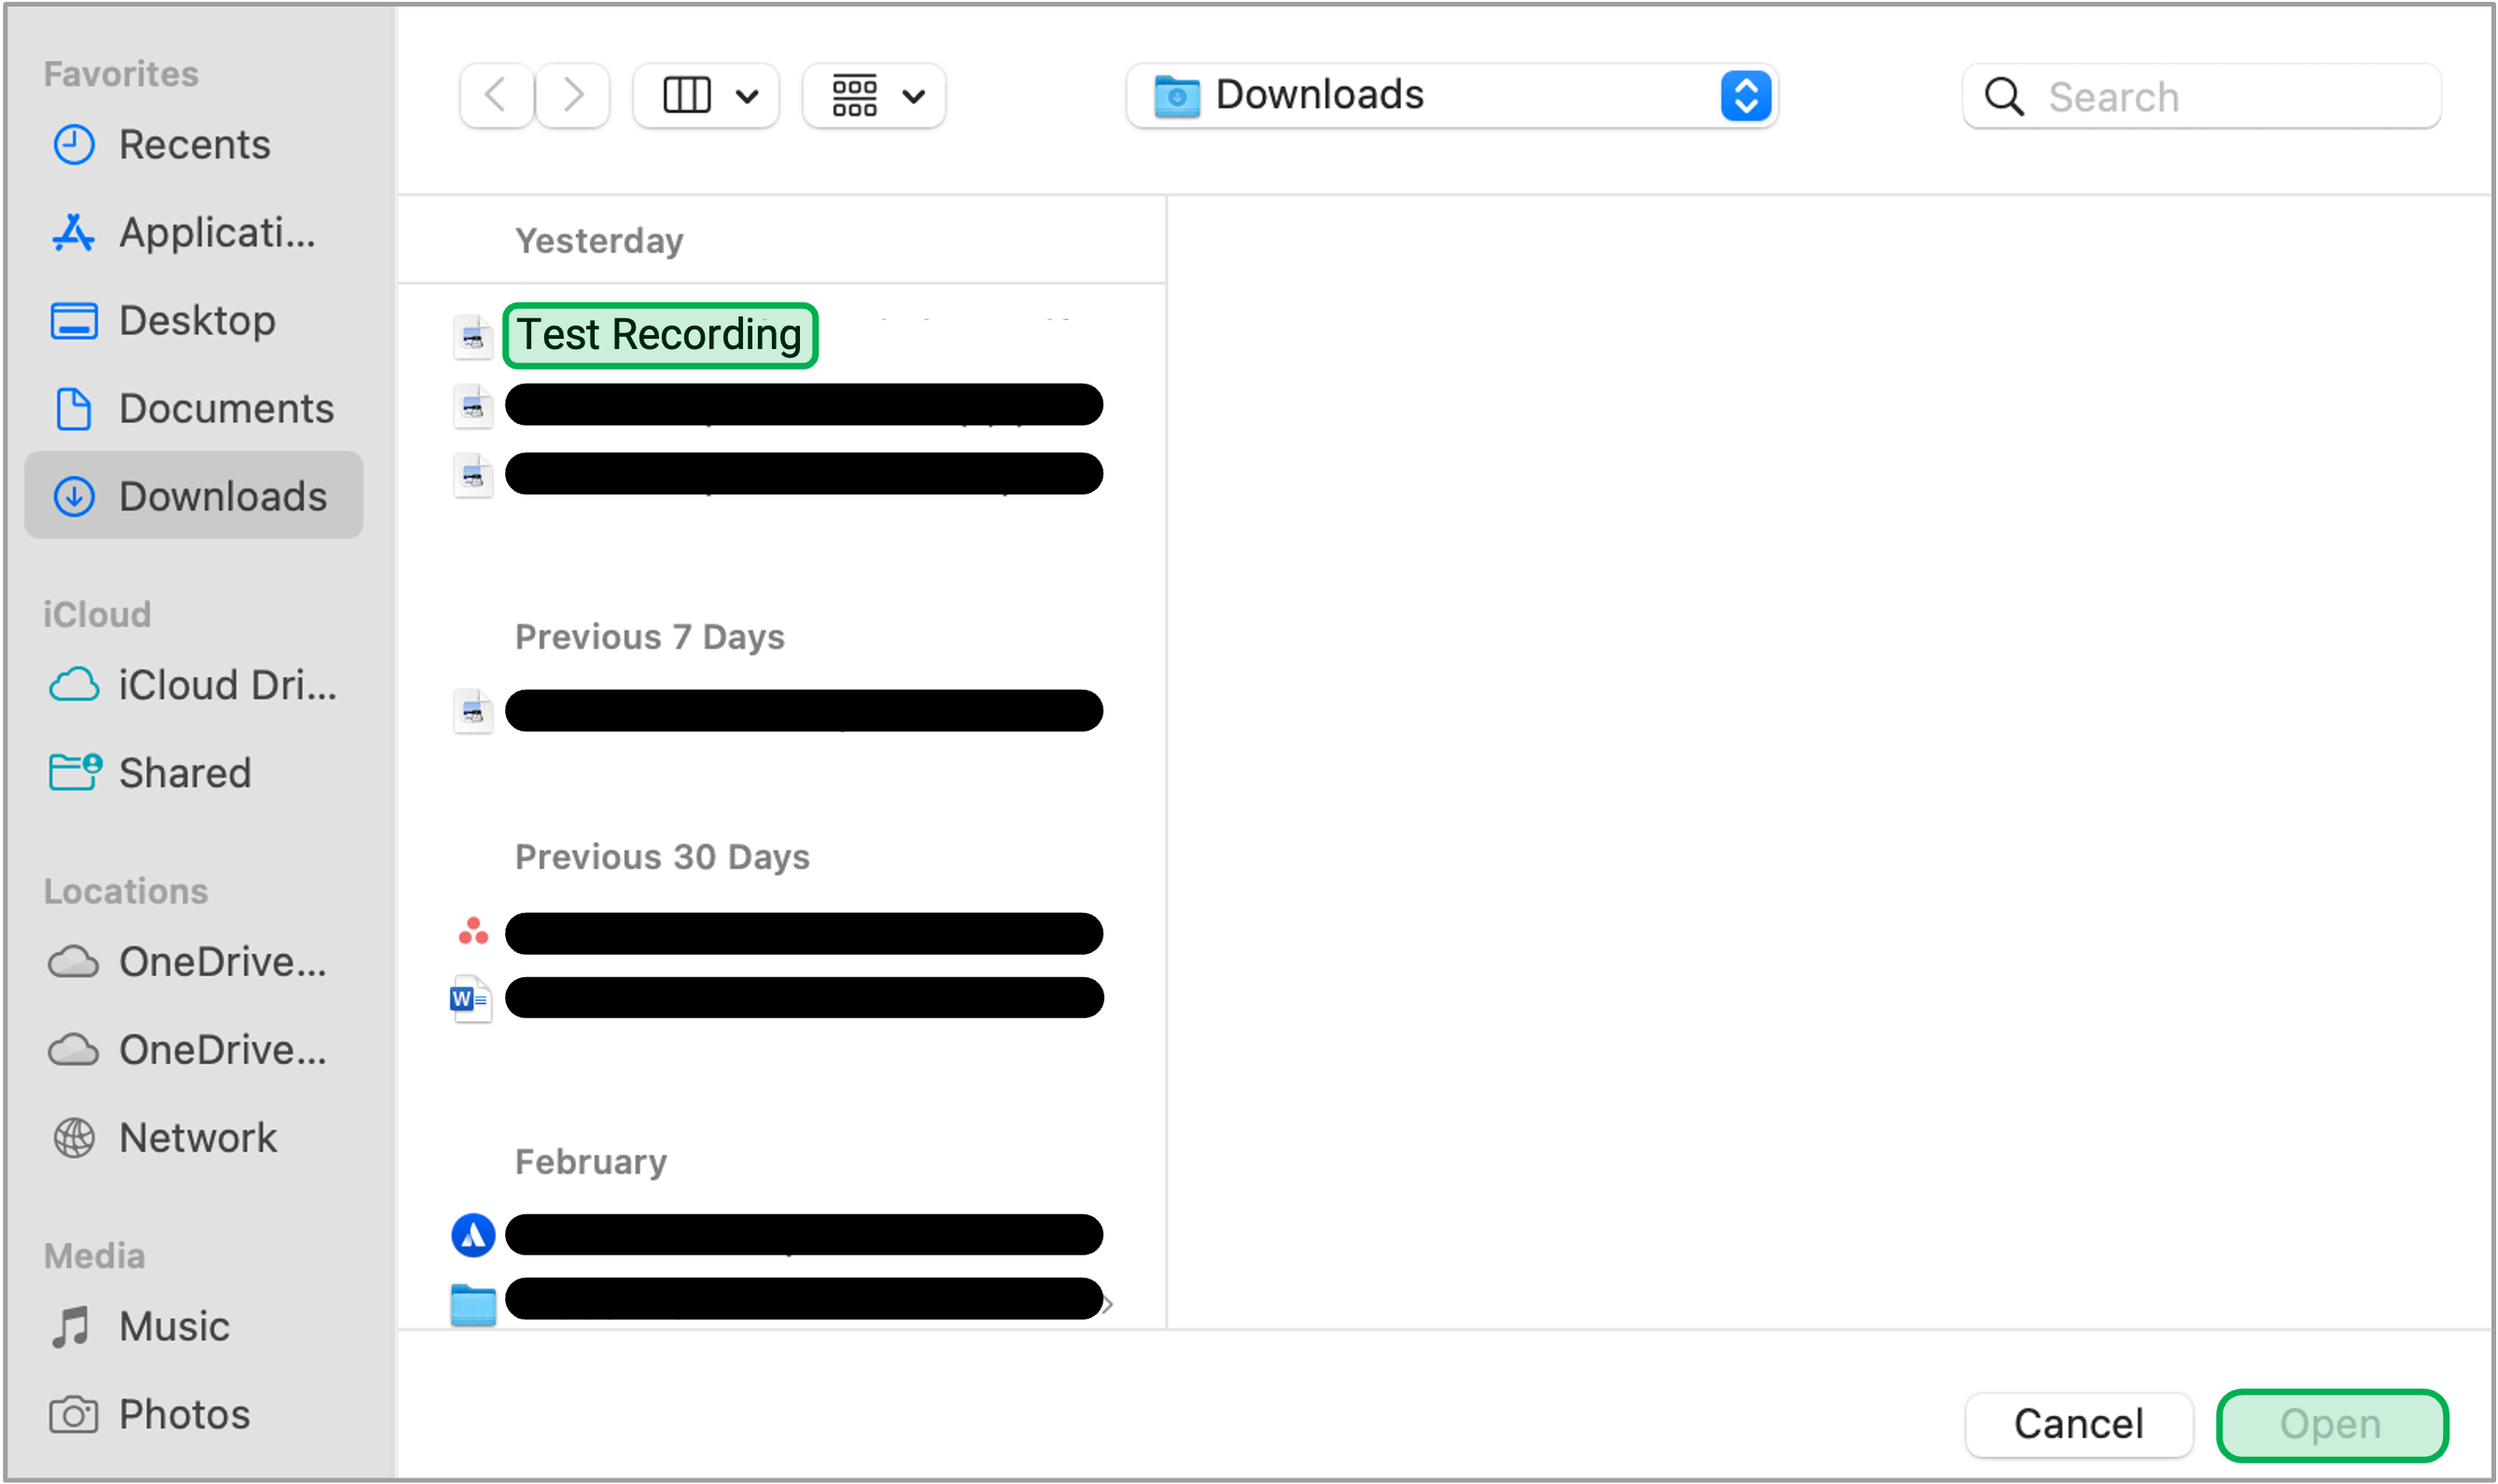
The page will redirect to OneDrive. Click on the Upload drop-down and select File.

Navigate to your Downloads folder in the pop-up window and select the recording you downloaded previously, then click Open.
Once the upload completes it will show in your files.
Overview
Content Tools