Important Notice
The content in this space is currently being migrated to the cloud. Any content edits must be made by a Knowledge Base admin until migration is complete.
To request content edits, please submit a request to the Strategic Operations Training Team![]() and include the page URL and details on required edits.
and include the page URL and details on required edits.
A member of the Strategic Operations Training Team will reach out for clarity if needed.

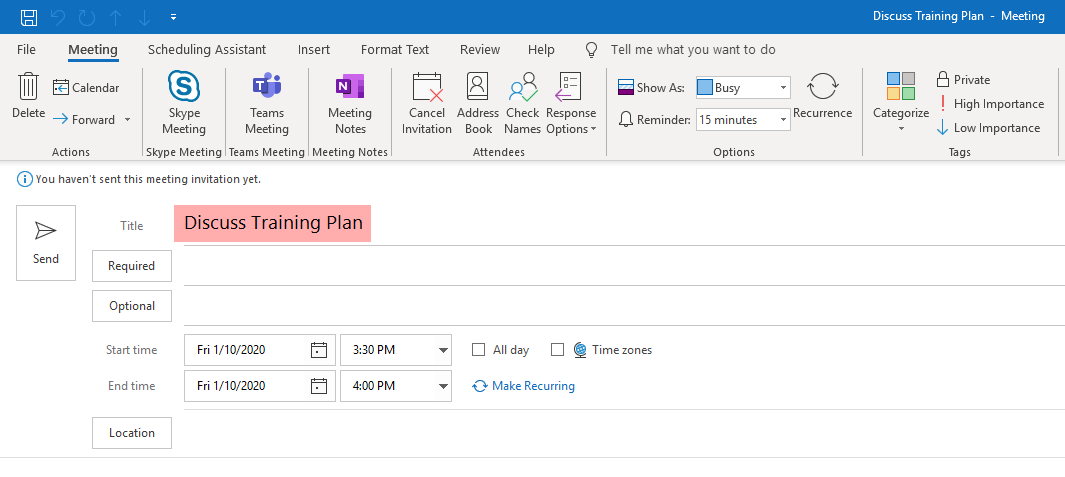
Outlook: Creating a Meeting in Outlook
Creating Meetings
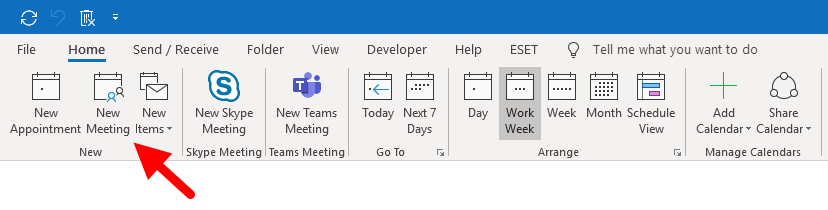
To create a meeting, navigate to the Outlook Calendar and click New Meeting.
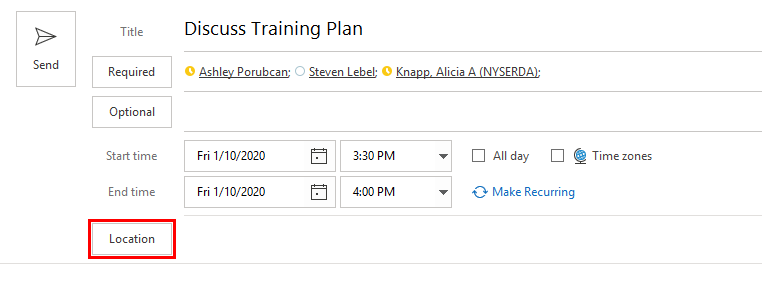
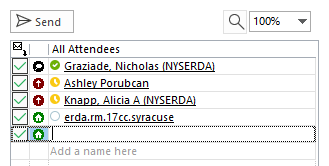
Adding Invitees
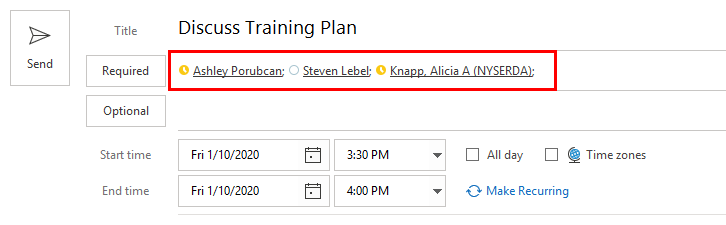
Meeting invitees can be required or optional. Enter meeting invitee names in the respective fields. As you type, names will automatically populate.
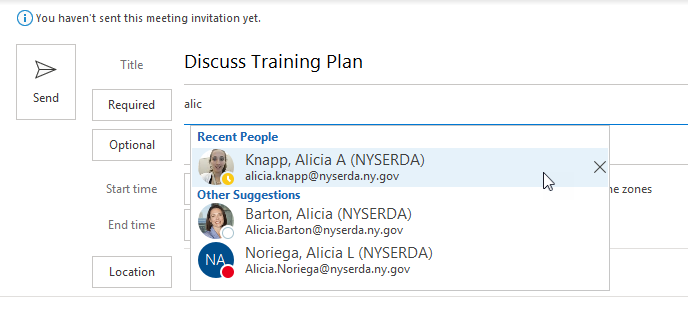
You will see a list of recent contacts as well as other contacts in the active directory who match your typing. You may select contacts as they display to complete your entry or you can continue and complete the contact's name.
Adding Invitees using the Address Book
If you cannot locate a contact, click either Required or Optional to open the Outlook Address Book.
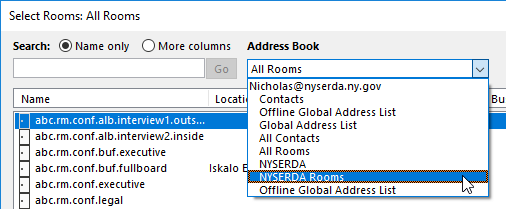
In the Address Book window, click Address Book to select the directory that includes your contact.
**Tip: The NYSERDA Address Book contains all NYSERDA contacts. After you load the address book, you can search for contacts by last name.
Locate each person you would like to invite.
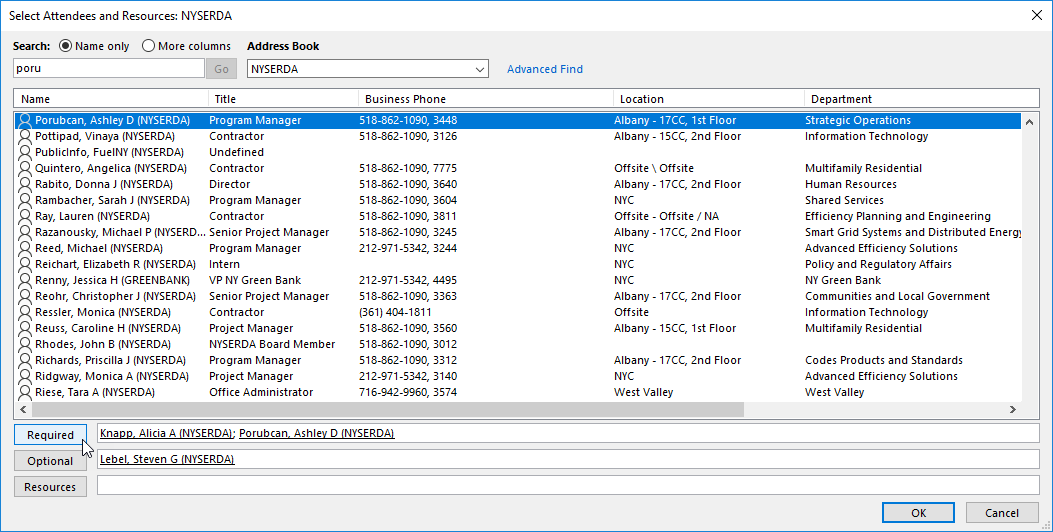
Highlight the contact name:
- Click Required to add the contact to the required attendees list.
- Click Optional to add the contact to the optional attendees list.
Click OK to finish.
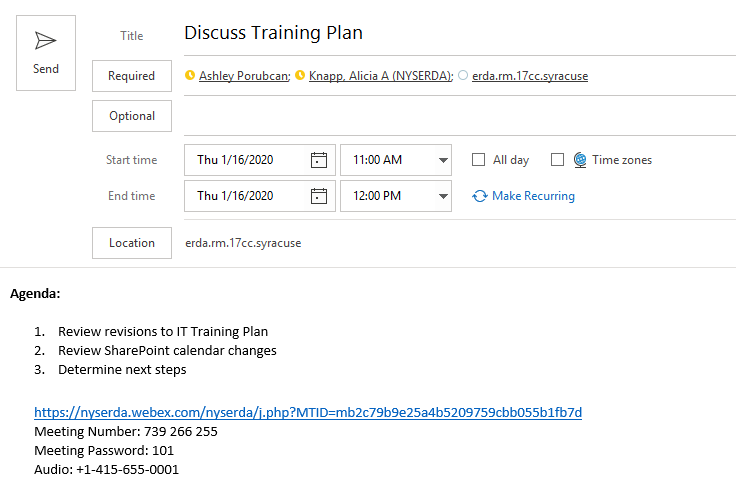
Adding a Meeting Title
Enter a name for your meeting in the Title field.
Adding a Meeting Location
To add a location for your meeting, click Location.
A pop-up window opens and displays All Rooms (all rooms in the New York State system). Click the Address Book dropdown list and select NYSERDA Rooms to locate NYSERDA's conference rooms.
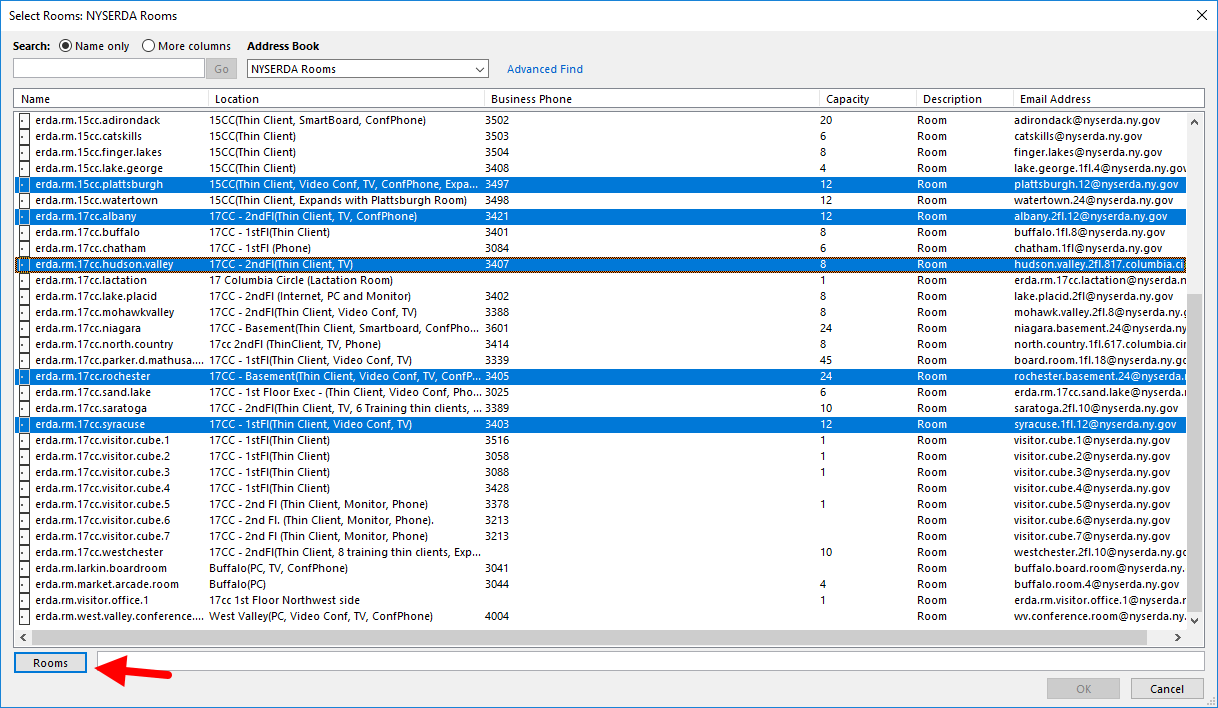
Select the conference room(s) that you would like to use. To select multiple rooms, hold Control (Ctrl) on your keyboard and click to select each room.
**Tip: Selecting multiple rooms allows you to reserve rooms that connect to one another and also allows you to preview each room's schedule using the Scheduling Assistant.
Click Rooms to add the selected room(s) to the meeting.
Click OK to confirm.
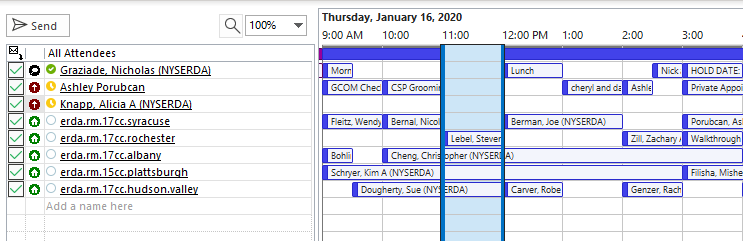
Using the Scheduling Assistant to Locate Available Rooms
When you add multiple rooms to a meeting invitation, you can use the Scheduling Assistant to locate one that is available at a specific time.
Navigate to the Scheduling Assistant tab. You will see a calendar view for all invitees and all rooms.
Scroll through the calendar view to locate a time where both the invitees and the room are available. When you locate an open time, click and drag your cursor from the beginning to the end of the time slot.
After you have selected a time, delete the rooms that you are not using from the meeting. Click the room name in the All Attendees list.
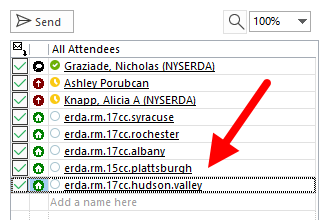
Next, press Delete on your keyboard to delete the row. Repeat this process for each room that you are not using.
Entering an Agenda
Enter an agenda or any additional details (e.g. Conference Line, WebEx Details, etc.) in the meeting message.
Be sure to consider the following points in your agenda:
- Identify and prioritize items to cover
- Ensure that each item supports the overall purpose of the meeting
- Structure your agenda to allow ten minutes at the end of the meeting for to review key decisions and action items and to allow participants to travel to their next appointments
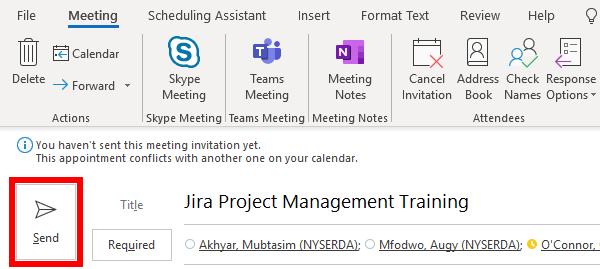
Sending the Meeting Invitation
To send a meeting invite, click Send at the top of the message.
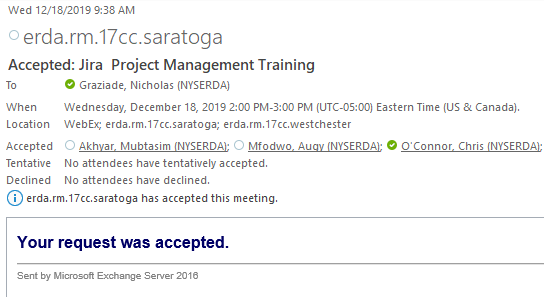
If you have reserved a conference room the system will automatically send a message from the scheduled location indicating that you have successfully secured the room.
Overview
Content Tools