Important Notice
The content in this space is currently being migrated to the cloud. Any content edits must be made by a Knowledge Base admin until migration is complete.
To request content edits, please submit a request to the Strategic Operations Training Team![]() and include the page URL and details on required edits.
and include the page URL and details on required edits.
A member of the Strategic Operations Training Team will reach out for clarity if needed.

Outlook: Creating a Distribution List
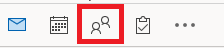
Click on the people icon at the bottom left hand corner of the Outlook application to enter into your personal contacts.
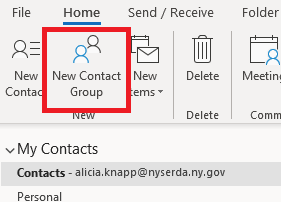
On the home tab select New Contact Group.
Create a name for your distribution list. In this case we'll use the name "My Distribution List".
![]()
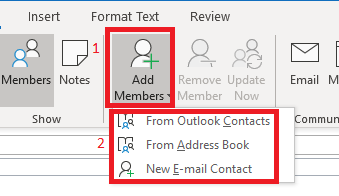
Click the option to Add Members and then select the type of attendee you wish to add:
- "From Outlook Contacts" – select from a person within your personal contacts
- "From Address Book" – NYSERDA employees
- "New E-mail Contact" – Manually enter an email address book
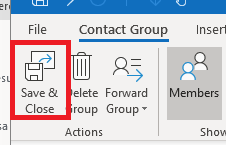
Select Save & Close.
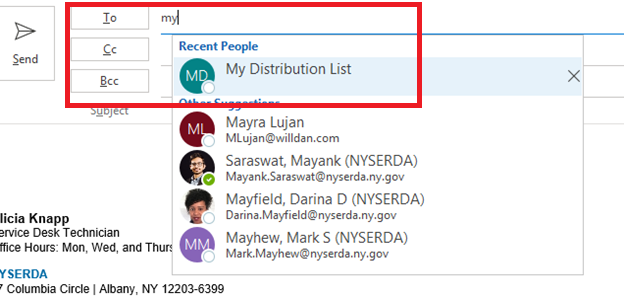
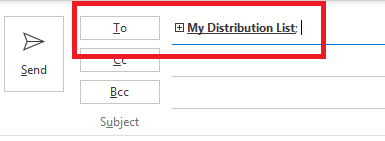
Open a new email in the To field put in your distribution list.
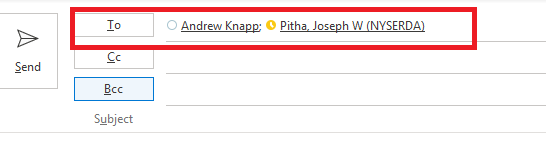
If you click on the + sign on the name you will see that it expands to show all the names within your distribution list.
Overview
Content Tools